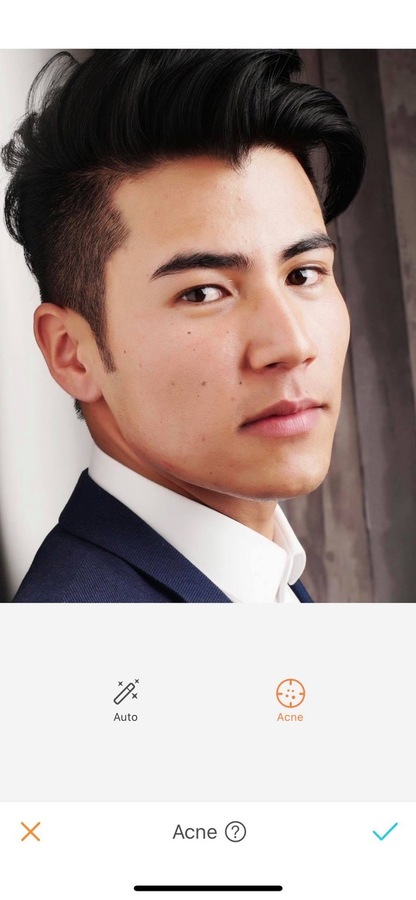
In today’s tutorial, we are focusing on the Acne feature of the AirBrush app. This feature easily removes pimples, red spots, blackheads and other blemishes.
The Acne feature is handy and comes with two options: the Auto mode, that will apply automatically onto the entire face, and the Acne mode allowing you to target specific areas.
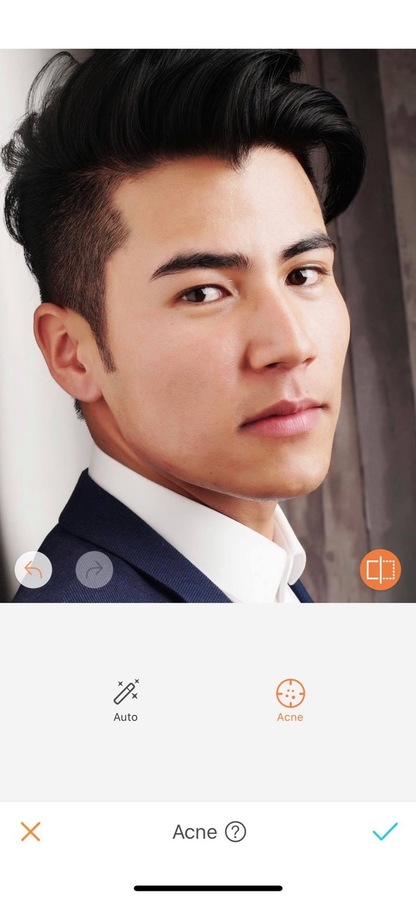
Auto Mode
Once the picture is uploaded with the Acne feature, both options will appear on your screen. For the Auto mode, simply click on the icon and the action will be completed instantly. Within seconds, the skin appears smoother and clearer without any pimples or blemishes.
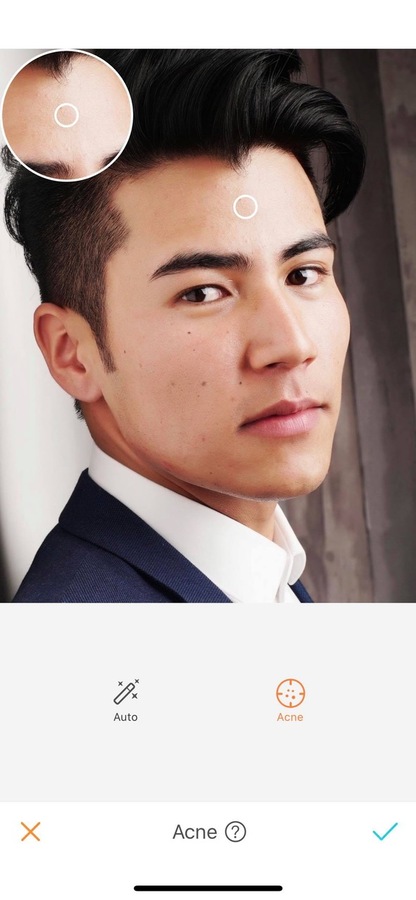
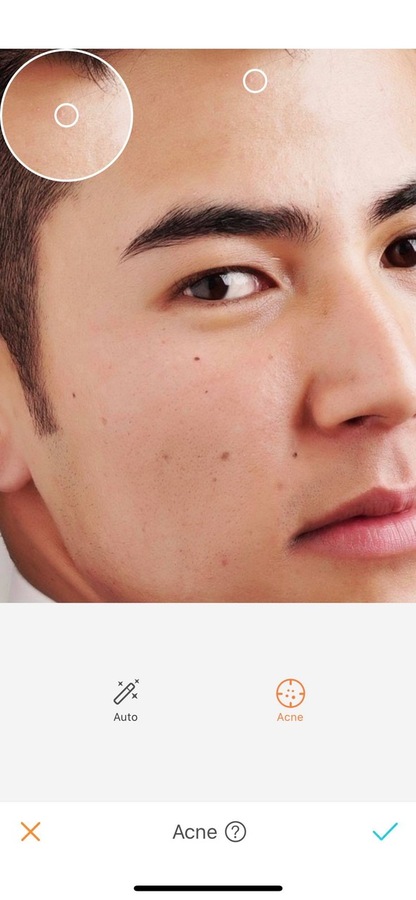
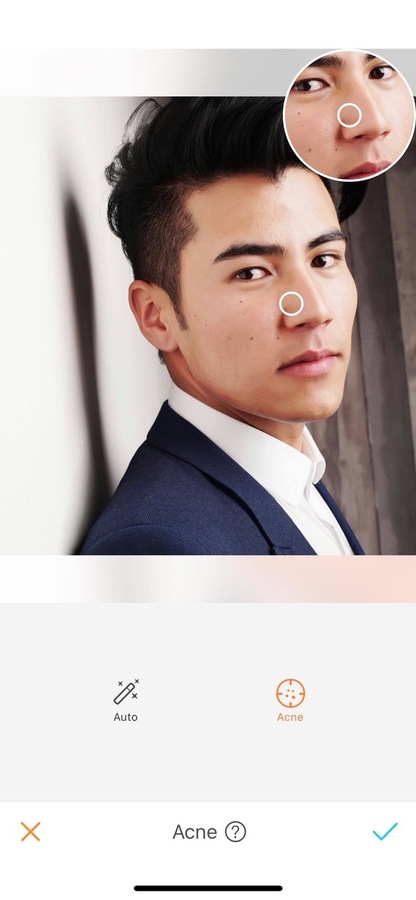
Acne Mode
The Acne option offers more precision and allows you to target specific areas of the face. This gives you the opportunity to aim for the rebellious T-Zone for example. To use the Acne mode, zoom in as much as needed and click on the zone you want to see disappear. For greater precision, a zoom window will appear on the top left side of your screen.

You haven’t tried this feature yet? Don’t wait anymore, take a selfie and head to the AirBrush app! Send us the results on Instagram at @airbrushofficial and use the hastag #AirBrushApp for a chance to get featured!
- How to use: Sculpt - 03/11/2023
- How to use: Reshape - 02/11/2023
- How to use: Beauty Magic - 11/08/2023


- How to use: Sculpt - 03/11/2023
- How to use: Reshape - 02/11/2023
- How to use: Beauty Magic - 11/08/2023