In today’s tutorial we are going to learn about the Resize feature in the AirBrush app. This is an easy tool that allows you to increase or decrease the size of your features, objects, and even the landscape. For more accuracy, Resize comes with a scrolling bar to adjust the intensity from -100 to 100
Resize
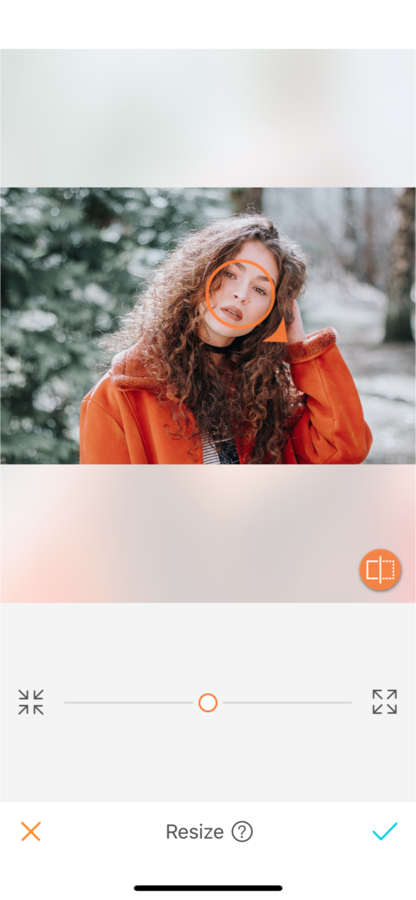
Once you’ve uploaded your picture into the AirBrush app, open the Resize tool.
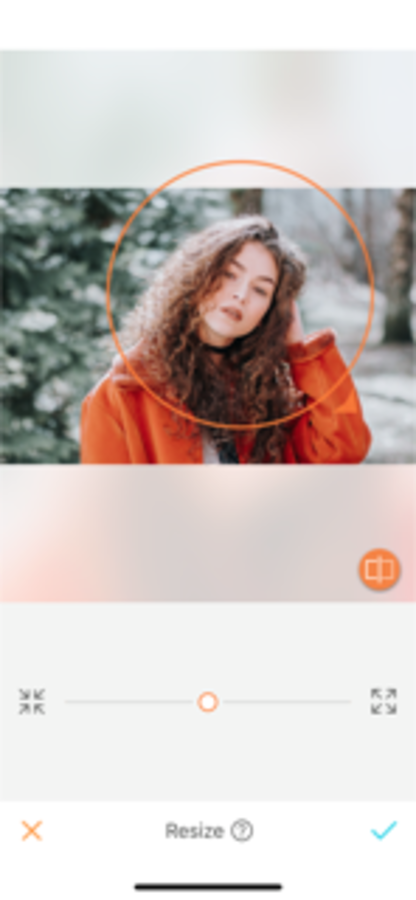
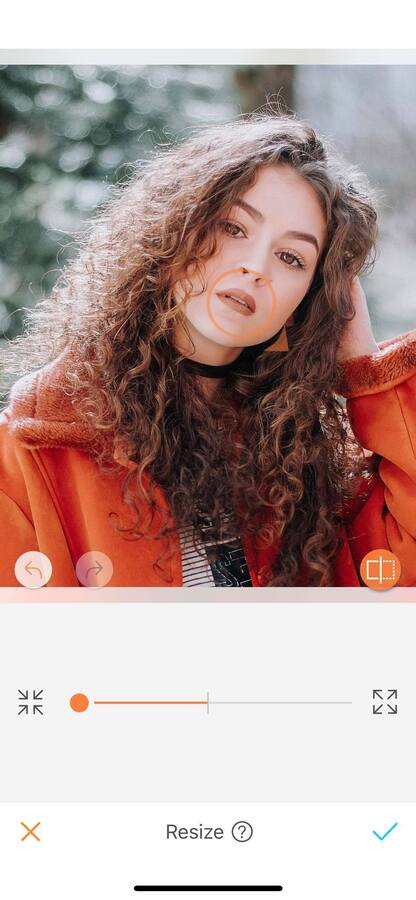
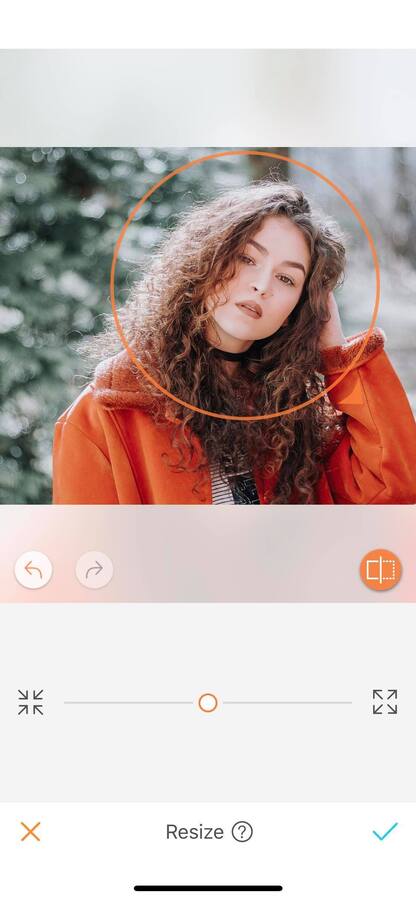
An orange circle will appear in your photo. This circle defines where the effect will be applied. Drag the circle over the area where you would like to apply the effect. The size of the orange circle can also be increased or reduced by dragging the orange arrow on the circle.

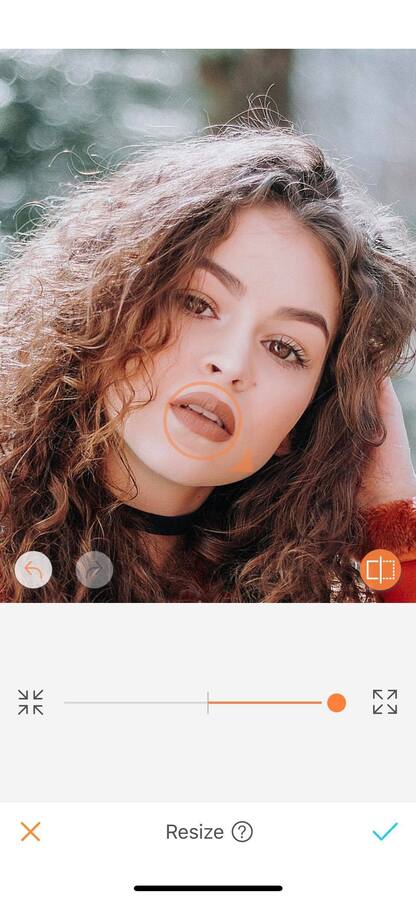
Increase the features
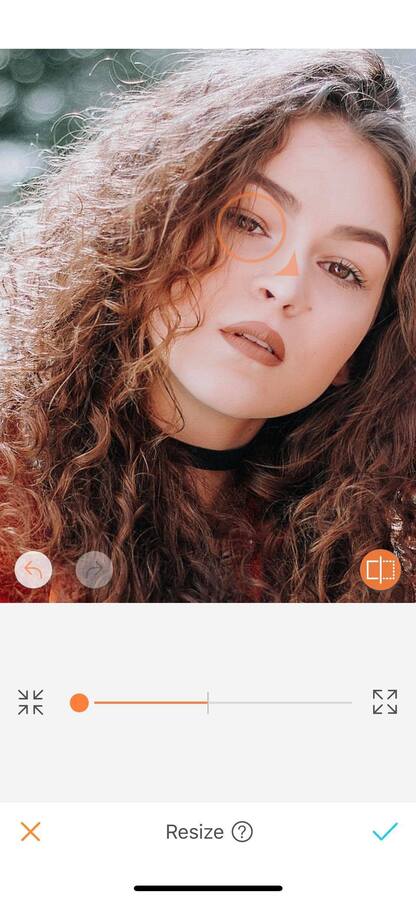
Once you have adjusted the area you want to edit with the orange circle, you can increase your features. To do this, drag the dot to the right side of your screen. The intensity range goes from 0 to 100. For better accuracy, zoom in as much as needed.

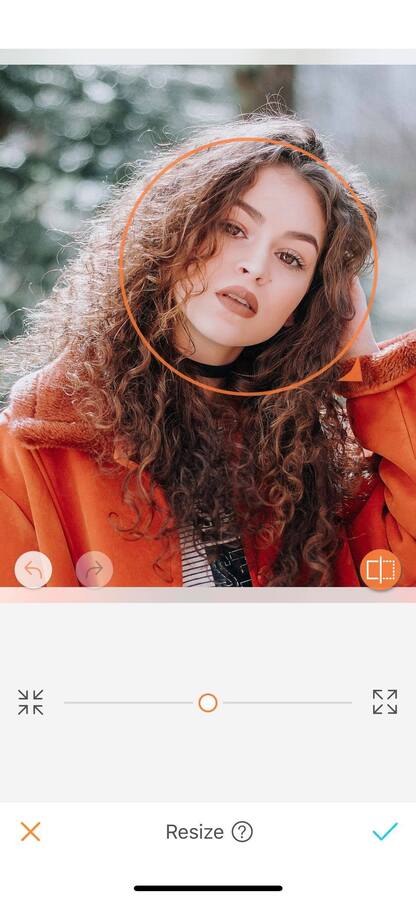
Decrease the features
To decrease the features, use the other side of the scroll bar. By dragging the dot to the left side you can now decrease your features from 0 to -100.
You haven’t tried this feature yet? Don’t wait anymore, take a selfie and head to the AirBrush app! Send us the results on Instagram at @aAirBrushOfficial and use the hashtag #AirBrushApp for a chance to get featured!
- How to use: Sculpt - 03/11/2023
- How to use: Reshape - 02/11/2023
- How to use: Beauty Magic - 11/08/2023


- How to use: Sculpt - 03/11/2023
- How to use: Reshape - 02/11/2023
- How to use: Beauty Magic - 11/08/2023