Today’s tutorial is all about your smile. Smiling is a great feeling. It makes us happy and brings joy to the people around us. But sometimes it’s difficult to have confidence in your smile, for those days, you can count on AirBrush. With the Whiten feature, smile as much as you want. While taking a picture there are many things to consider, such as pose, shot angle, and lighting. Bad lighting can create shadows on your picture and smile. This tool allows you to easily whiten your picture and teeth.
How to use the Whiten feature?
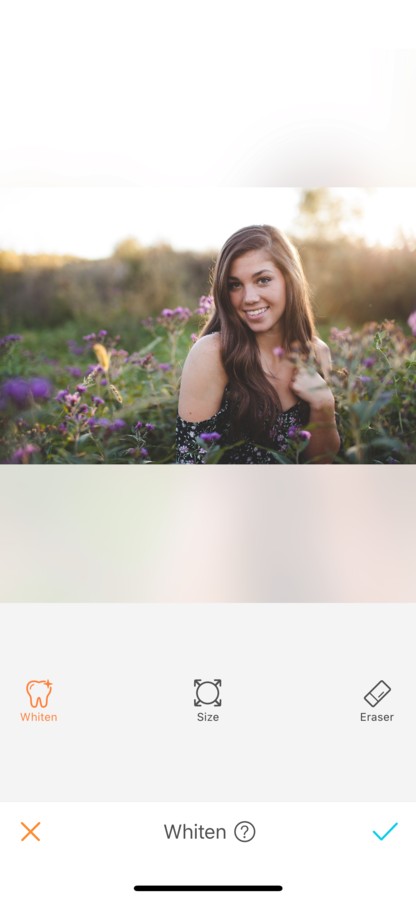
First, upload your picture into the AirBrush app and then open the Whiten tool. This one is represented by a sparkly tooth.
Size
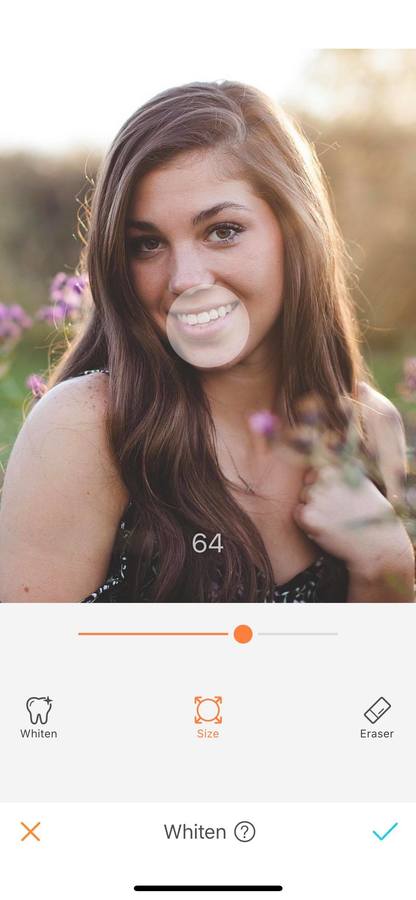
The first step in your edit is to adjust the brush size. To do this, select the size option and drag the dot along the slider. You can then increase or decrease the size brush by dragging the dot to the right or left. The brush size range goes from 0 to 100.
Whiten
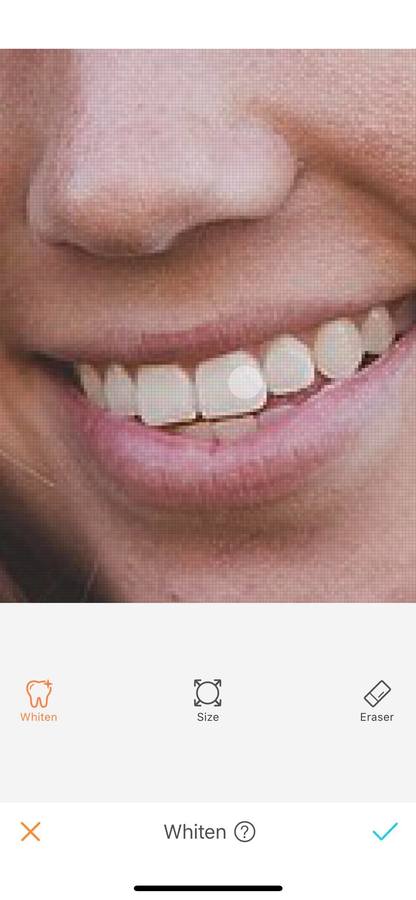
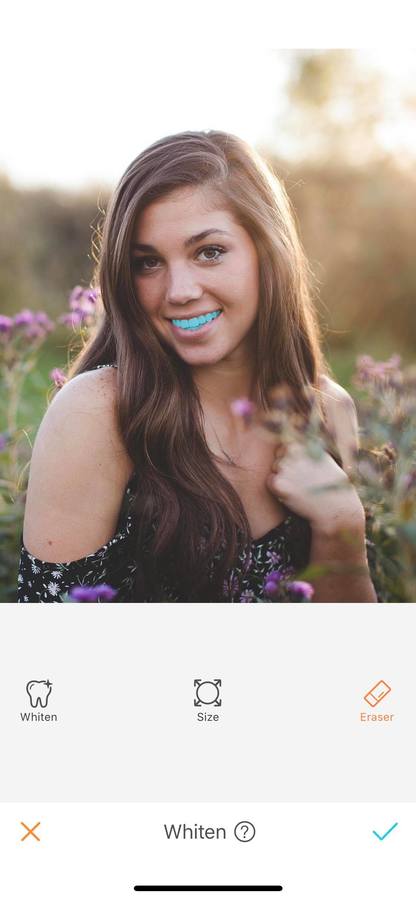
To whiten your teeth, simply select the Whiten option and run your fingers on the picture. For more accuracy zoom in as much as needed and operate slowly, you don’t want your gums to turn white.
Eraser
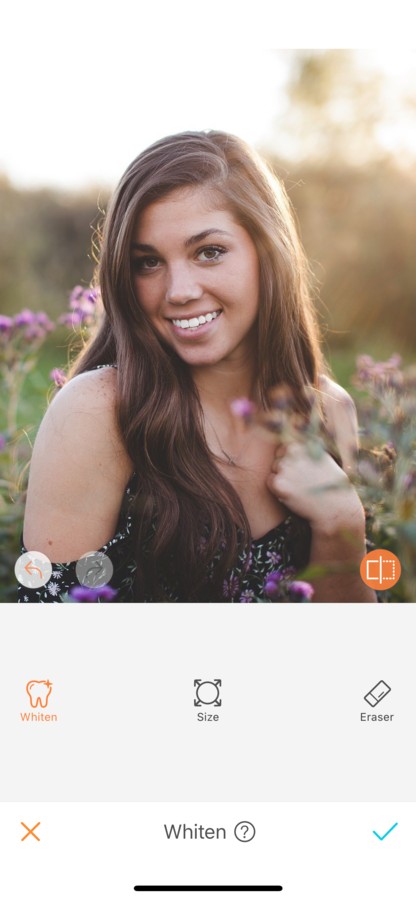
If you’ve made a mistake, don’t worry! This tool comes with an eraser option; this allows you to easily remove the effect from the picture without having to start over.
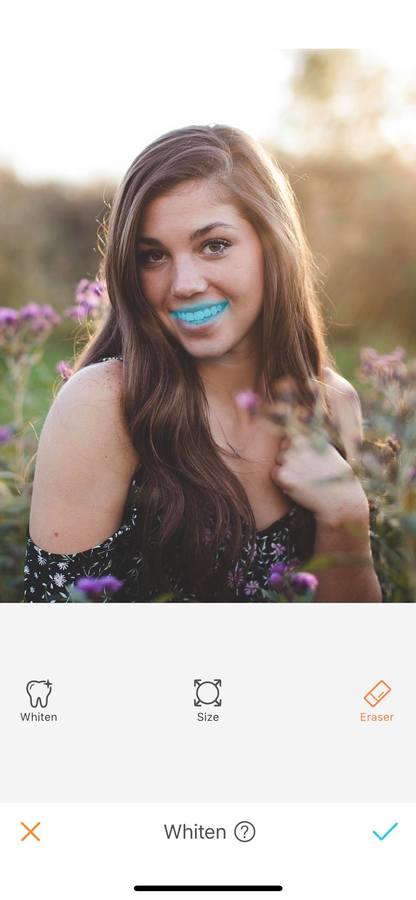
To remove the effect, select the eraser, and hold it for a few seconds and the edited areas will turn blue. You can now remove the effect.
Here at AirBrush we love to see you smile! Show us your great smiles by tagging us on your Instagram pictures with the hashtag #AirBrushApp. And join the AirBrush lover community on our account @Airbrushofficial and get a chance to be featured!
- How to use: Sculpt - 03/11/2023
- How to use: Reshape - 02/11/2023
- How to use: Beauty Magic - 11/08/2023


- How to use: Sculpt - 03/11/2023
- How to use: Reshape - 02/11/2023
- How to use: Beauty Magic - 11/08/2023