Whether you’re on a quest for the perfect selfie or striving to capture the ideal portrait, mastering the art of highlighting your best angles, working with lighting, and bidding farewell to unwanted blemishes and wrinkles is the way to go. So, let’s dive into how you can create the most stunning picture of yourself.
First things first, let’s ensure you’ve got a pristine photo to work with. Say goodbye to any random background distractions by cropping them out. It’s like they were never there in the first place! And the good news is, Airbrush has got your back with its precision cropping tool, making this process a breeze.
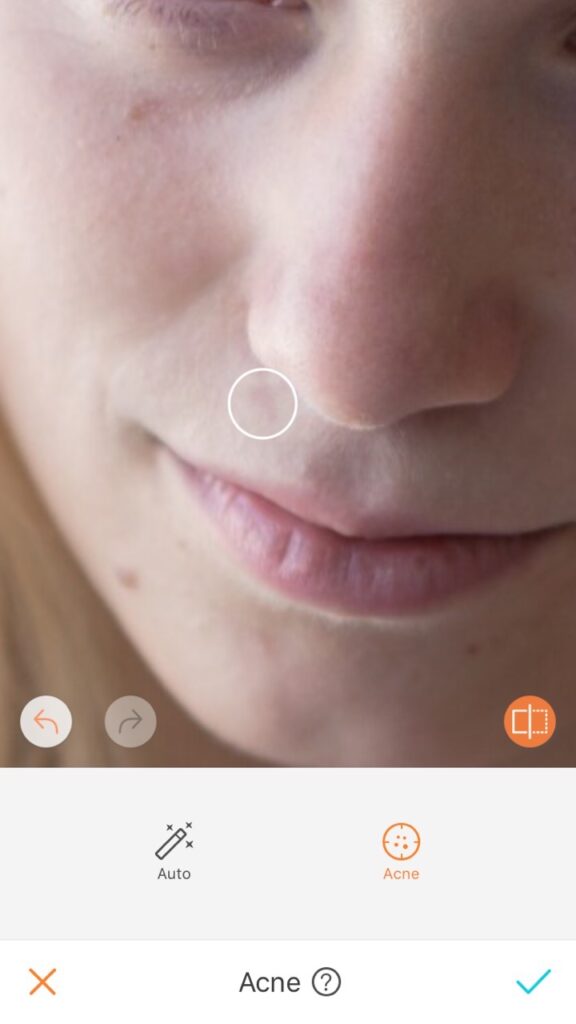
Now, when it comes to those pesky blemishes, meet your new best friend – the Acne tool in Airbrush. It’s nothing short of incredible! This tool allows you to zero in on zits or pimples, and with a simple click, watch them disappear into oblivion. So, get ready to reveal your flawless self in no time! ✨📸

- If you have a lot of wrinkles or fine lines that you want to cover up, use the “Firm” feature to trace and eliminate them as well!
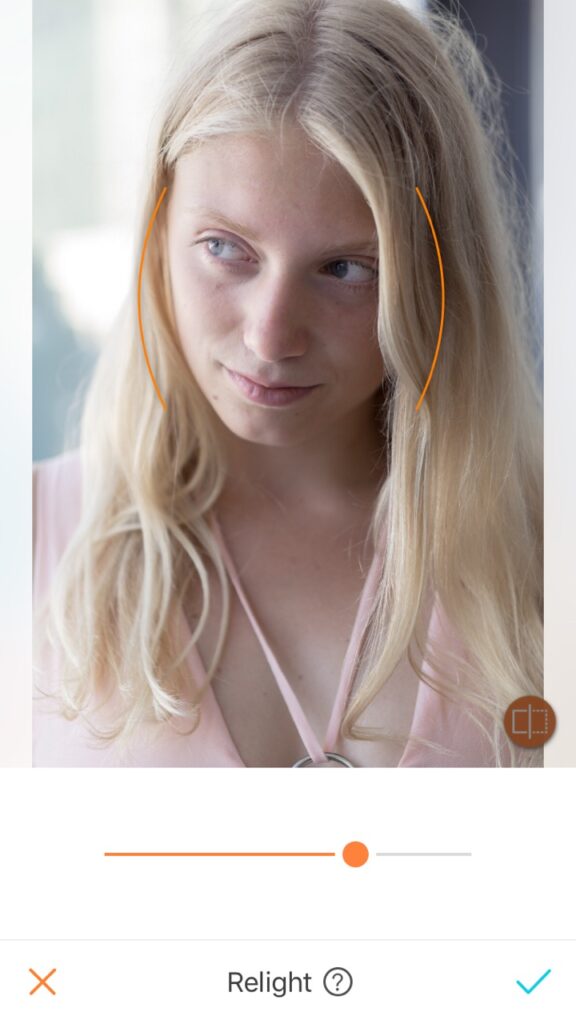
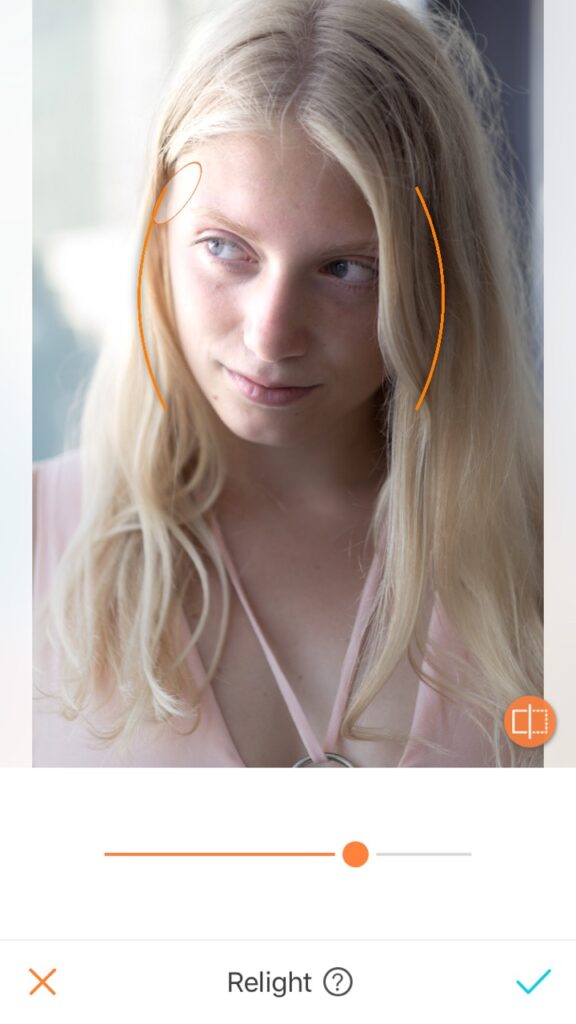
- 4. Play with the lighting. One of the most amazing features of AirBrush is the ability to change where the lighting source is coming from! The “Relight” tool allows you to move the light source to the most flattering position.
- Use the “Beauty Magic” section to do any reshaping or resizing of your facial features! This is a really useful tool since we all have areas we wish were different!
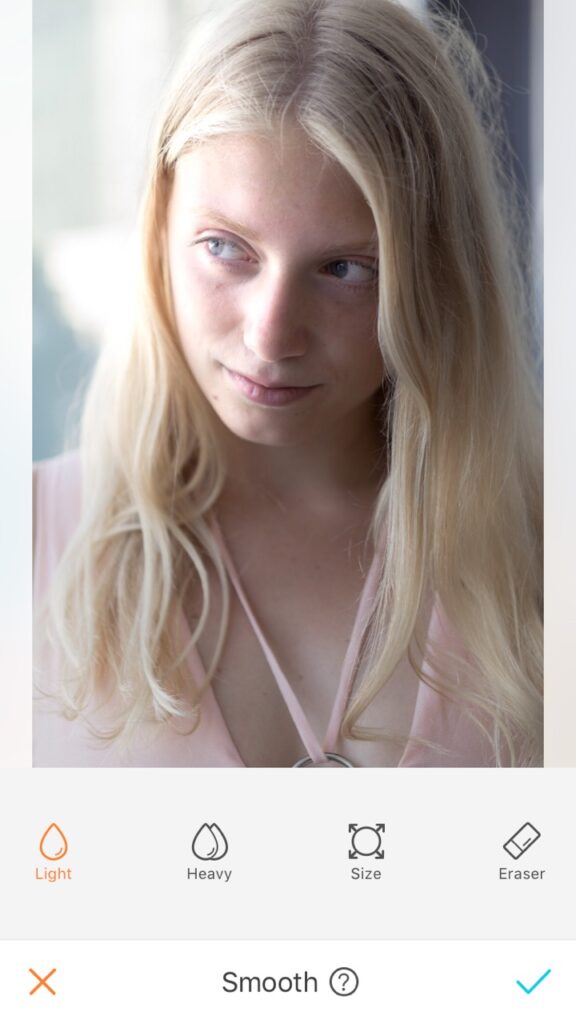
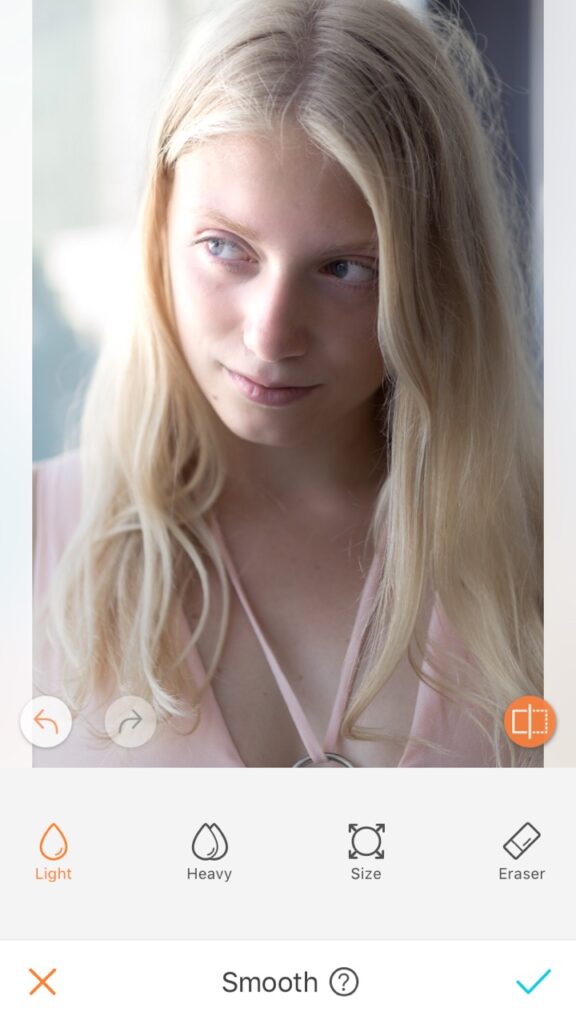
- Smooth out any other general lumpy areas that have blemishes with the “Smooth” effect. This is great for lessening the prominence of freckles and birthmarks. It should be your last step as the above features are much more precise!
- Finish all of your skin touch-ups and lighting changes before you start playing with the “Color” tool! You want to have a smooth surface to work with when you reshape and alter the photo. Thus, you don’t want to have the colors get in your way.
- Enhance any unique composition items in the photo. If you have some cool streetlights in the background, use the “Bokeh” feature to make them stand out! You can also blur the background to keep the focus on the subject.
- Make use of the “Enhance” option. Because there are so many other features to use, sometimes the typical saturation, exposure, and temperature get lost. Don’t forget that the foundation matters! Use these to keep the flowery edits from falling flat on an
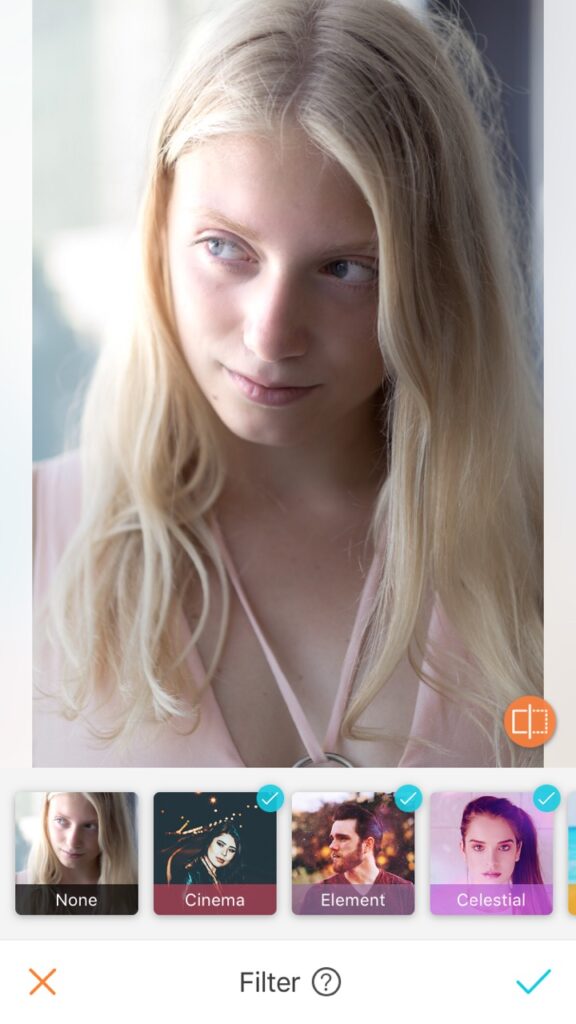
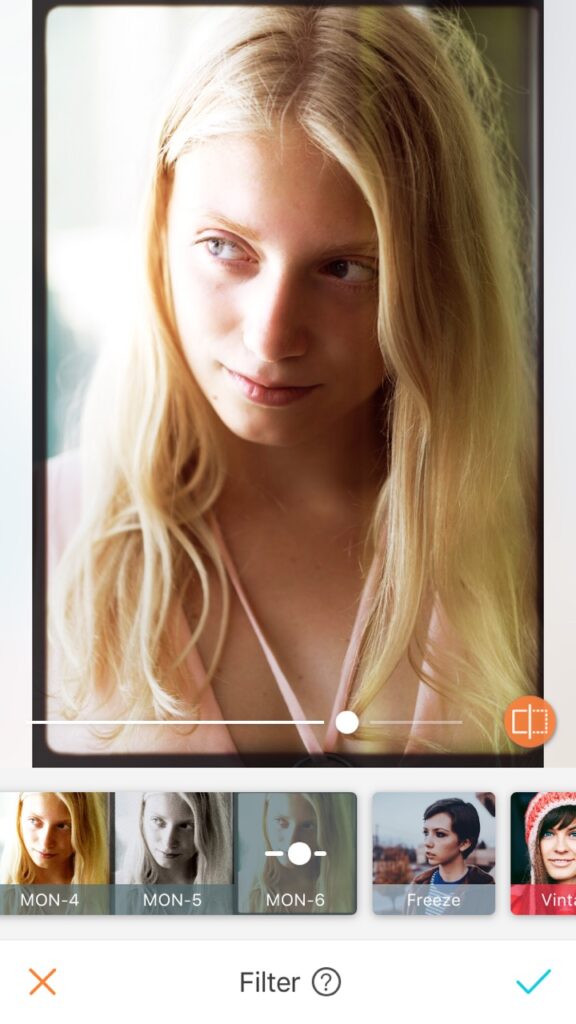
unprepared photo! - The last tip we have is that you want to save any filters for last. You don’t want to try to wrestle with getting your edits to match your filter. You want your filter to match your edits! AirBrush has several great filters that you can use, and they allow you to play with
the intensity of them!
There you have it! Those are our top tips for creating the perfect picture of yourself through the AirBrush App. Every formula needs to be tinkered with, so try new things and figure out what works for you! Your gorgeous self will shine through no matter what.
- 10 Tips to Achieve the Perfect Picture with AirBrush - 03/11/2023
- It’s Scorpio Season! - 02/11/2023
- Brush it out! - 31/01/2020


- 10 Tips to Achieve the Perfect Picture with AirBrush - 03/11/2023
- It’s Scorpio Season! - 02/11/2023
- Brush it out! - 31/01/2020