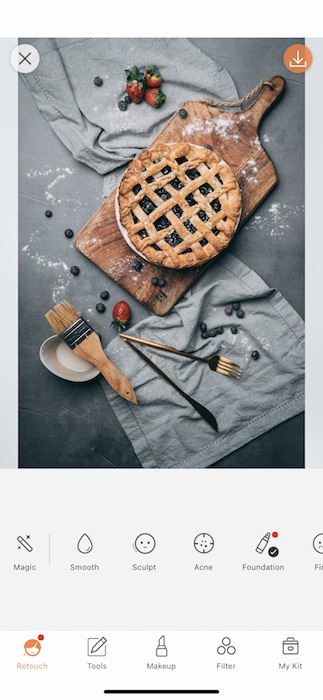
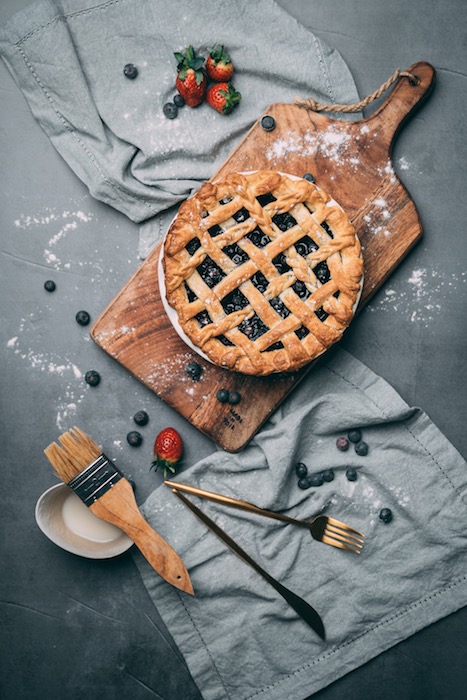
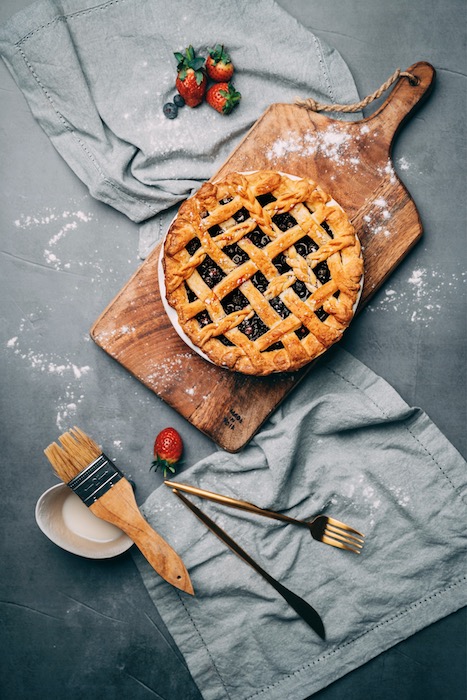
Math is crazy, amarite? Very few topics are as polarizing as the 1+1’s of the world. But between the math lovers and haters there is one day of the year where they can come together and celebrate, Pi day. On March 14th we honor the number that is Pi which is defined as the ratio of a circle‘s circumference to its diameter, and it also has various equivalent definitions. It appears in many formulas in all areas of mathematics and physics and the earliest known use of the Greek letter π to represent the ratio of a circle’s circumference to its diameter was by Welsh mathematician William Jones in 1706. Or, in case you didn’t understand any of that you can use the opportunity to celebrate pie! A perfectly round treat synonymous with that crazy number. To celebrate we decided to bust out 3.14 tips to the perfect pie edit. Now everyone’s happy! So, set your ovens to 325 and let’s get to baking.
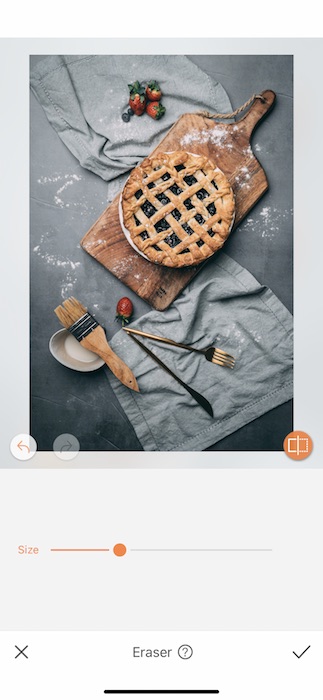
1. Clean it Up


A clean kitchen is a good kitchen and that applies to our photo edits.
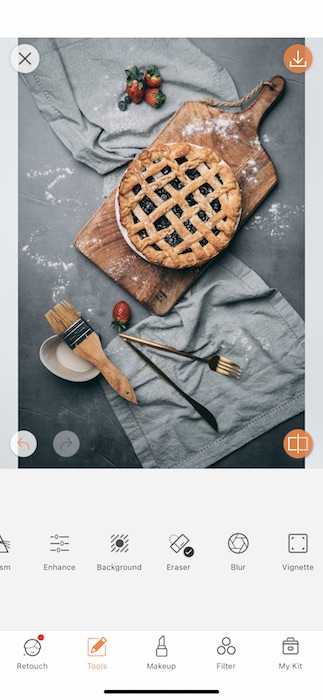
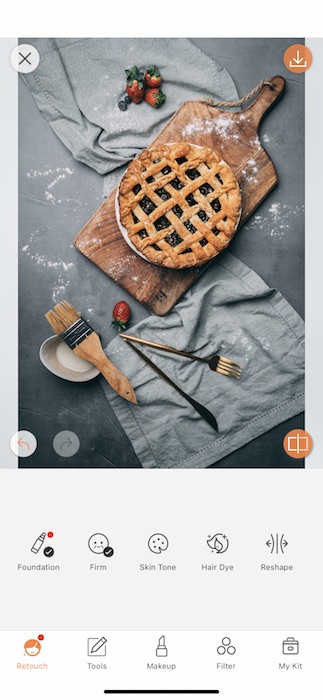
- Start off by finding your Eraser Tool in your Tools Tab.
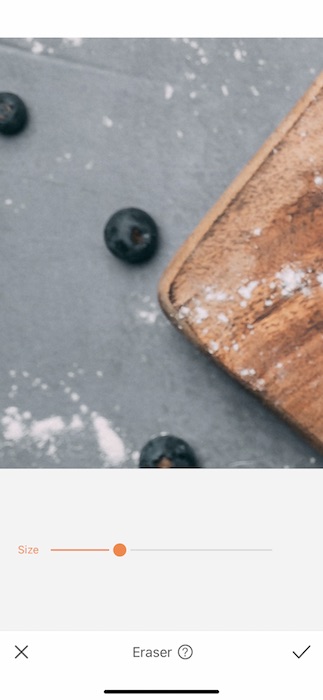
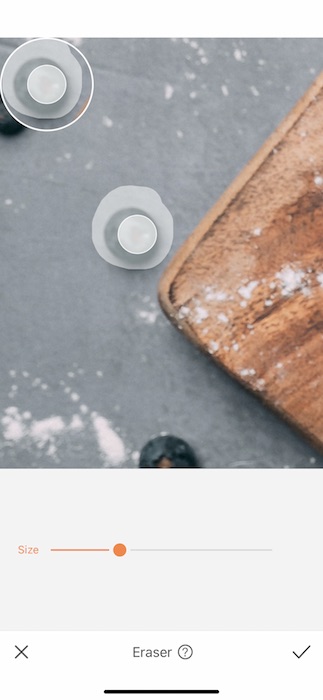
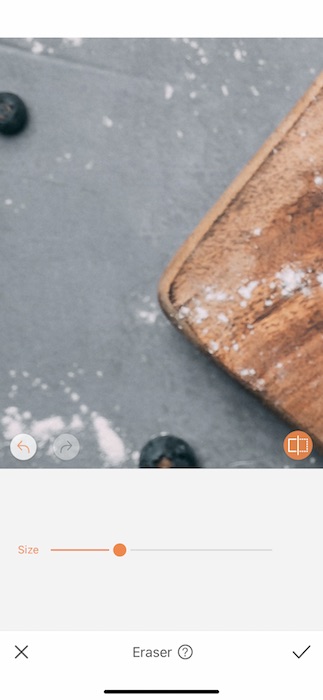
- Zoom in on your image and find the item you’d like to Erase.
- Adjust your brush size to fit the task at hand.
- Swipe around the object, in this case the blueberry, and make sure that it is completely highlighted before releasing.
- BAM it’s gone!
- Repeat this method until you’ve cleaned up your space.
- Tap the check mark to save your edits.
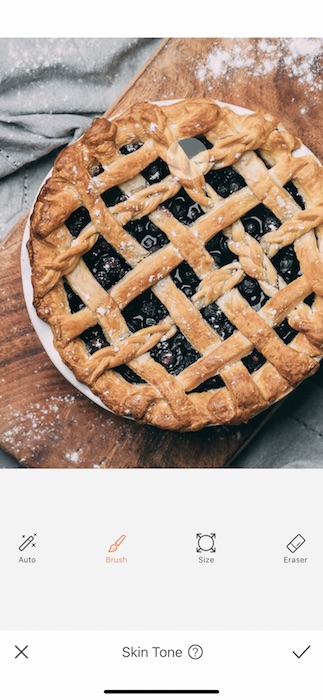
2. Golden Brown

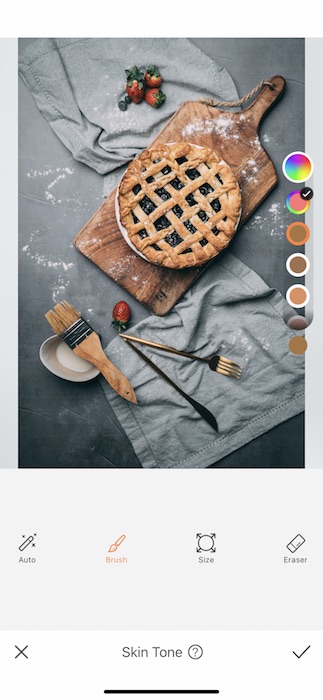
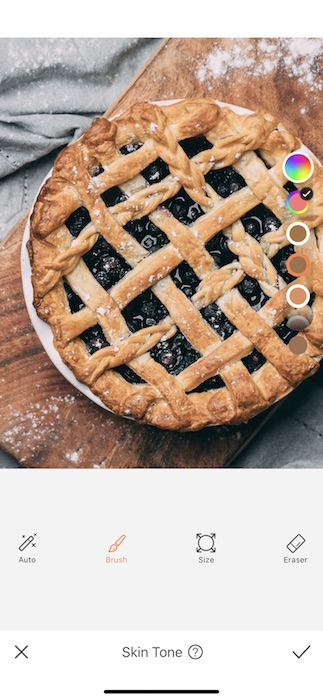
What’s more scrumdiddlyumptious than a buttery, golden, brown pie crust??
- The Skin Tone Tool was invented for tans but what’s more important than tanning your meal?
- Open your Skin Tone Tool which you can find in your Retouch Tab.
- Zoom in to the item you’ll be retouching.
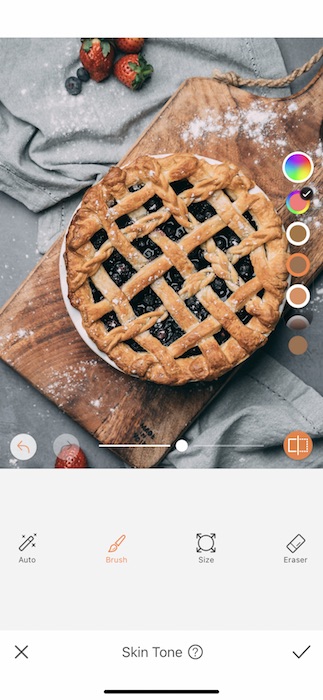
- Adjust your brush size to fit your delicious baked goods.
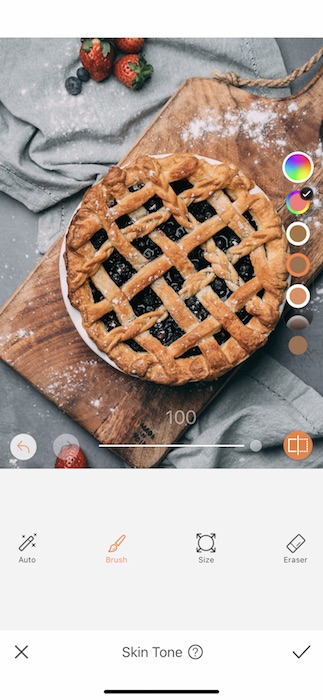
- Begin to swipe across the pie.
- If you go “outside the lines” you can always switch to the Eraser Function and clean it up.
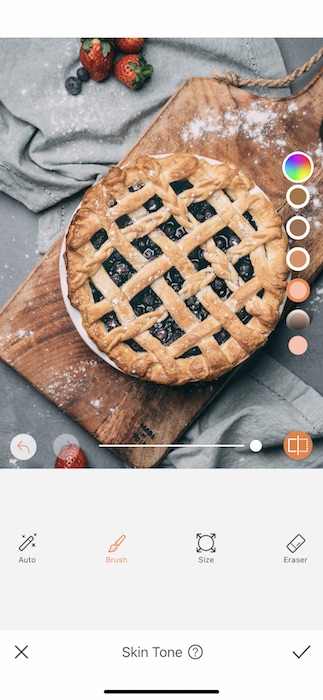
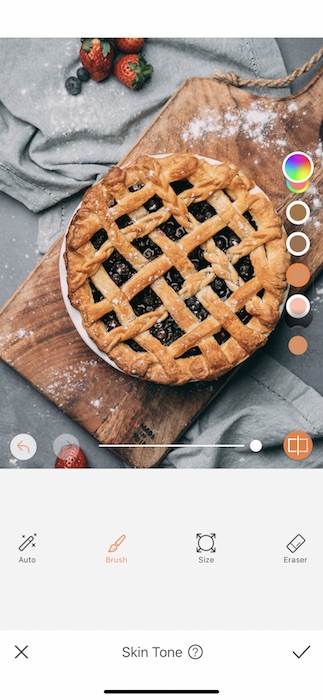
- Once you’re done coloring in your pie you can switch between swatches until you find the right one for you.
- Use the center toggle to adjust the weight of the tool (we wish we could adjust our own weights after all this pie heyooo).
- Tap the check mark to save your edits.
3. Detailed Down to the Decimal
A crispy, flakey pie crust is what an ideal pie crust should be. {Also, insert math joke.} Who even knows how to write those?
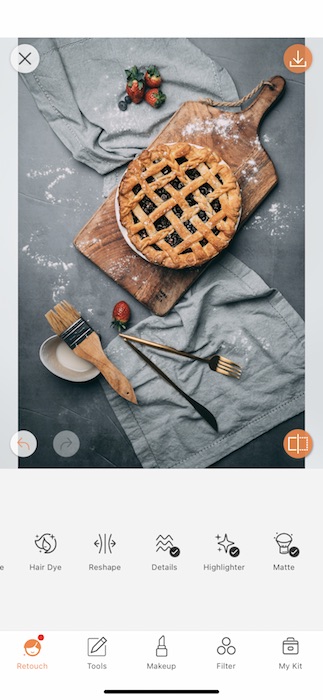
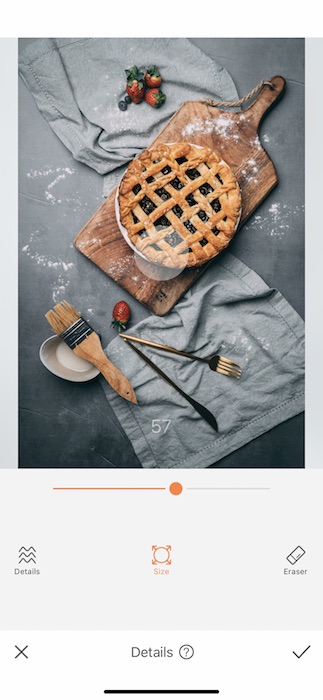
- Find your Details Tool in your Retouch Tab.
- The Details Tool allows you to sharpen the contrast on items you select. In this case we want to make sure the pie looks baked to perfection, the Details Tool is here to help.
- Adjust your brush size to fit the task at hand.
- Swipe the tool across the surface of your pie.
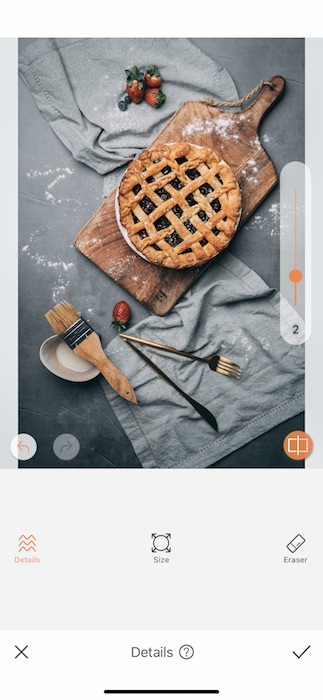
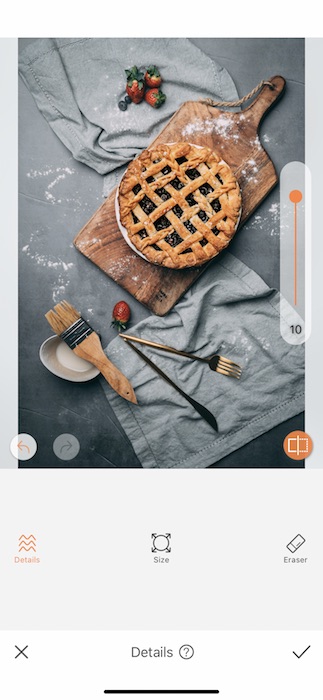
- Once you’re done selecting you can adjust the strength of the tool but using the toggle on the right hand side.
- Tap the check mark to save your edit.
#.14
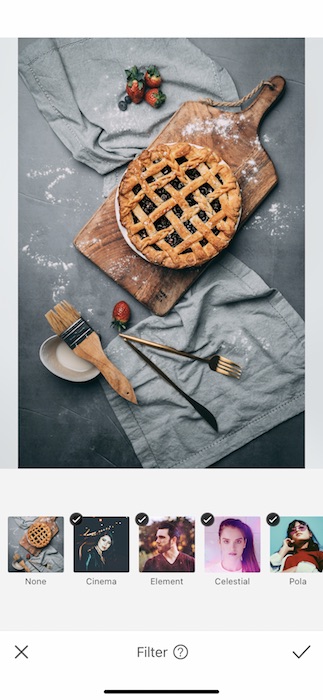
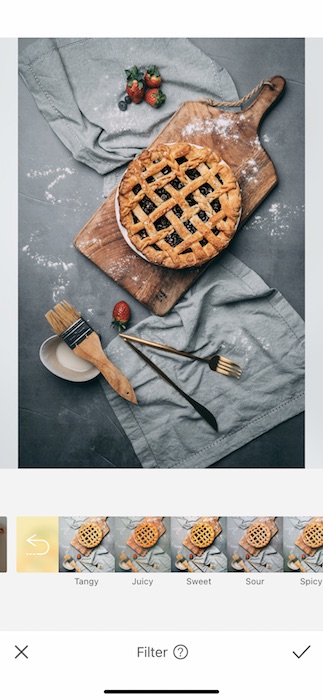
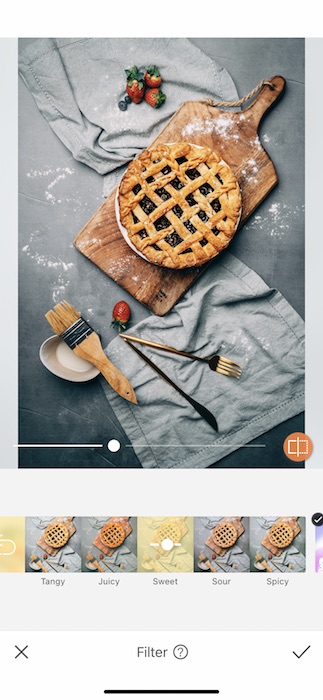
Why .14? Because it’ll take you less than 14 seconds to apply the perfect Filter.
- Let’s not beat around the bush here, we have a Filter Pack specifically for foodie edits called exactly that, the Foodie Filter Pack.
- We have a Filter for every flavor and today we’re feelin’ our Sweet tooth.
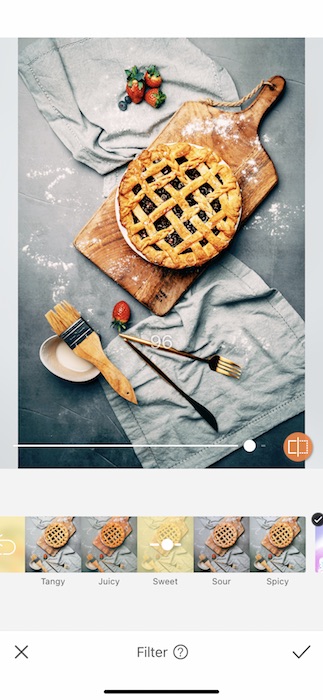

- Use the center toggle to adjust the weight of the Filter.
- Right gets stronger, left eases up.
- Tap the check mark to save your edits.
Voila! Nerds and normal people can now unite over the deliciousness of this pi day pie. Don’t waste a second, or even 3.14 of them. Get out there and edit your own Pi Day masterpiece and let AirBrush help you show off! Tag @AirBrushOfficial for a chance to be featured on our IG stores and use the tag #AirBrushApp for even more changes to be featured. Now we don’t want our pie to get cold, talk to you later!

- AirBrush Premium Feature: Sculpt - 03/11/2023
- Make the most of the Sculpt tool this Holiday Season - 02/11/2023
- How it’s Started, How it’s Going. Get that Glow Up! - 30/03/2021


- AirBrush Premium Feature: Sculpt - 03/11/2023
- Make the most of the Sculpt tool this Holiday Season - 02/11/2023
- How it’s Started, How it’s Going. Get that Glow Up! - 30/03/2021