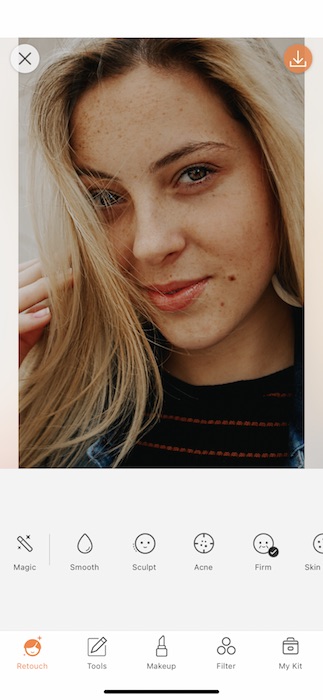
Eyebrows are the window frames of the house. They are incredibly important to the overall facade of your face. Nothing hurts more than taking a quick pic with a friend and finding that your eyebrows aren’t up to standard or even worse, fallen off! (some of us have to paint them on and that’s fine.) Well guess what? We’re here to banish all these problems with 4 quick tips to the perfect eyebrow edit. Put away the tweezers, this is going to be a clean job.
1. The Shape of You


One of our top tools at AirBrush is the Sculpt Tool
- Find your Sculpt Tool in your Retouch Tab.
- On the bottom of your screen you’ll see all the different features offered by the Sculpt Tool.
- Swipe all the way to the right to find the Eyebrows Feature.

- The Lift Feature allows you to raise or lower your eyebrows.
- You can go from “SURPRISE to don’t talk to me” with a quick swipe of the center toggle.


- The Distance Feature allows you to separate the double mint twins that frame your eyes.
- Drag to the right to seperate them.
- Drag to the left to bring them closer together.

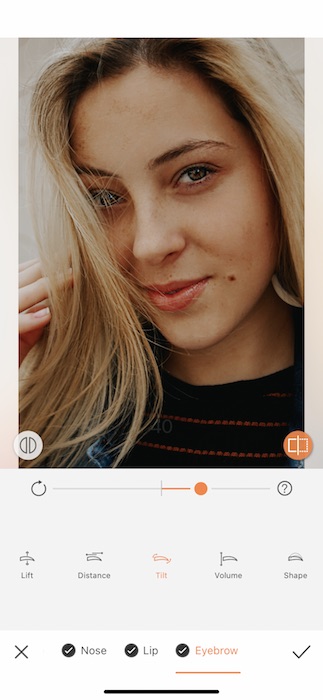

- Sometimes a great way to turn up the #flirtfactor is to play with that arch.
- Use the Tilt Feature to angle those brows to perfection.


- Some things are pretty self explanatory. The Volume Feature allows you to play with eyebrow volume with a couple slides of the fingertip.


- Lastly, the Shape Feature is here to put you together.
- Use the Shape Feature to define your eyebrow shape and raise the arch.
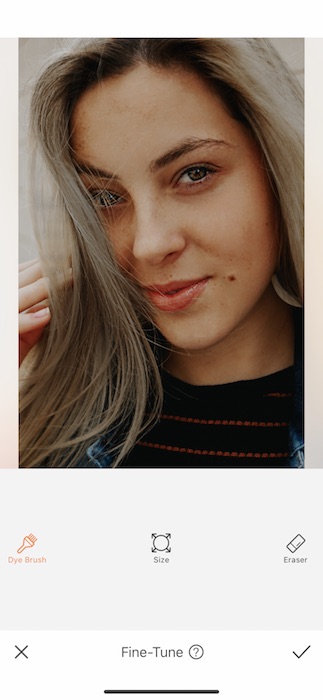
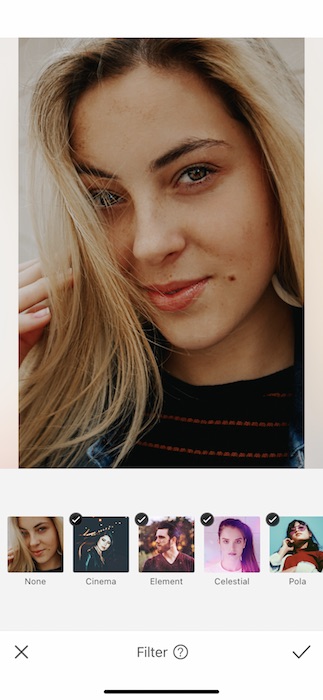
2. Filler Queen

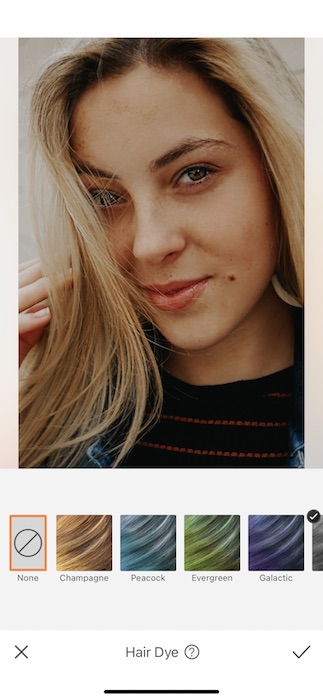
- In the real world this would be a whoooooole thing but with AirBrush it’s out of this world simple.
- Find your Hair Dye Tool in your Retouch Tab.
- Notice that the tool will automatically select your hair in the image and change it to the selected Hair Dye.
- Tap the Fine Tune Feature button on the bottom left hand corner.
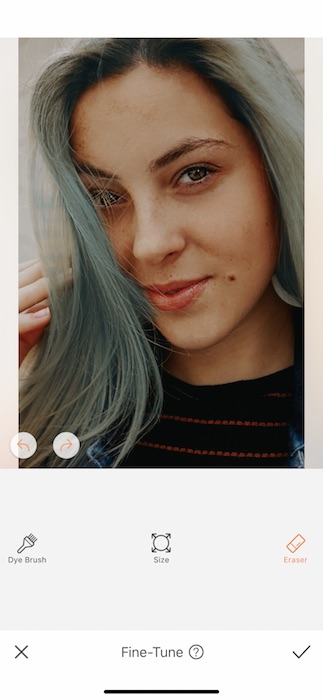

- With the Fine-Tune feature you can manually select which area to apply the dye to.
- This is the same method used to change your clothes colors or anything for that matter.
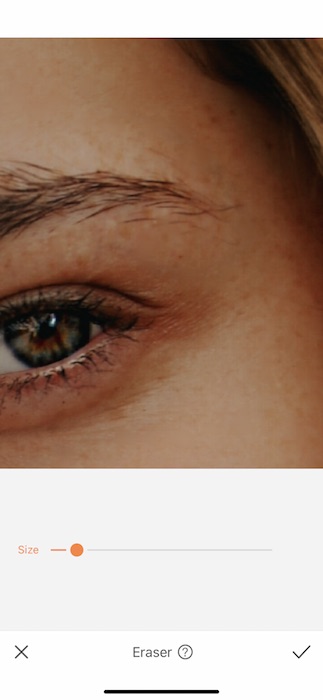
- You have two options when using the Fine-Tune Feature. You can either use the Dye Brush to apply the dye or use the Eraser to remove the dye.
- The Size Feature is there to help you adjust the Brush Size to fit your pic editing needs.
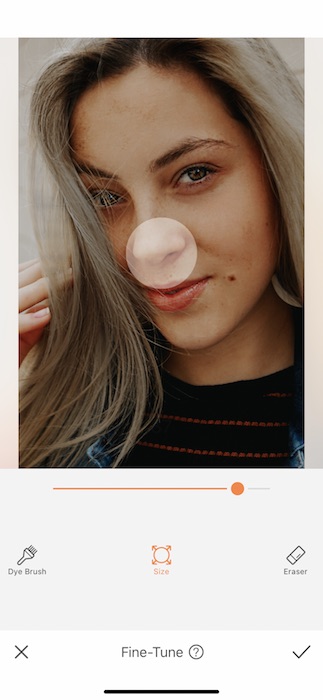

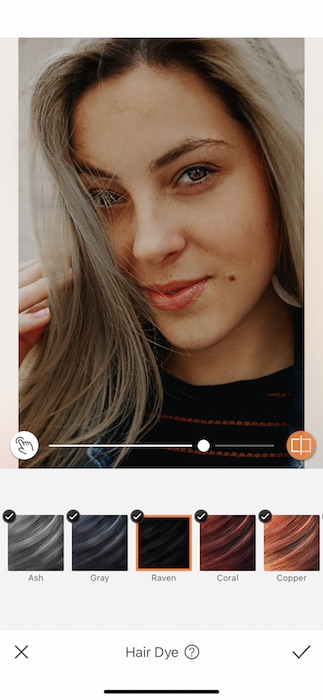
- Start by selecting the Eraser.
- Adjust your Brush Size to the largest size then use it to erase the selected area.
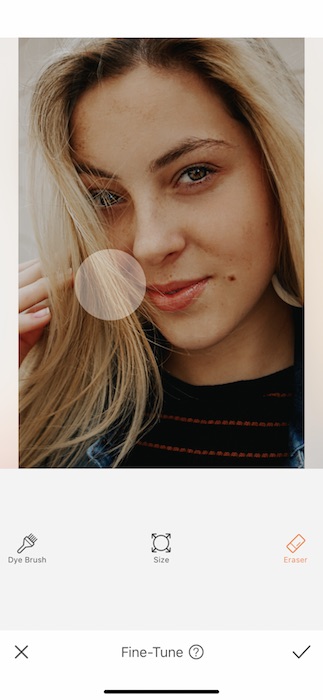
- Next, adjust your Brush Size to the smallest size.

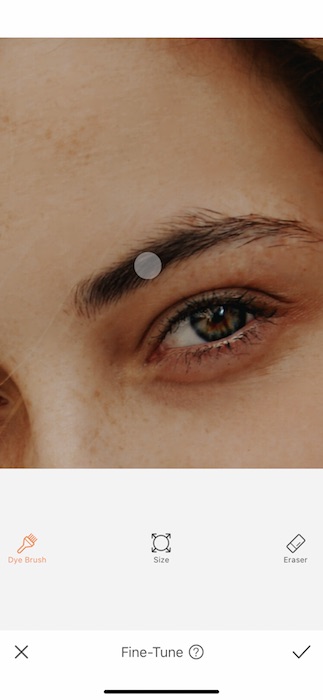
- Once you’ve removed all the dyed area zoom in to start applying to your eyebrows.
- Lightly brush the Hair Dye on to your eyebrows as needed.
- Tap the check mark on the bottom right to save your progress.

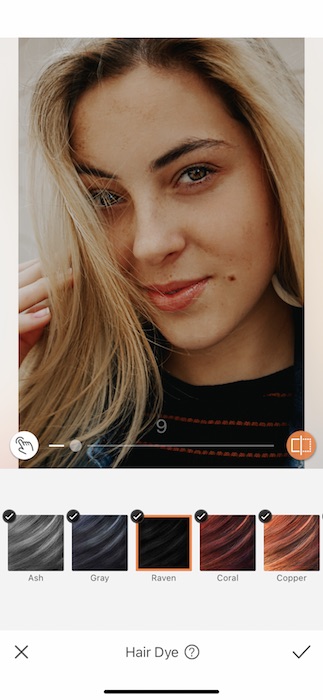
- Once you’ve saved your progress use the center toggle to adjust the Tool strength.
- You can even switch between Dye colors if you’re feelin’ frisky.
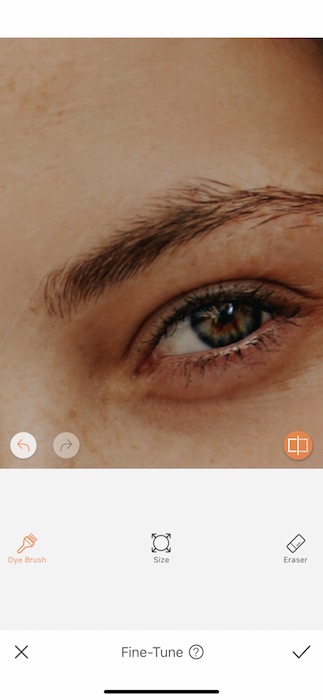
3. Goodbye Tweezers


- in your Tools Tab lives a magical Tool called Eraser.
- Find your Eraser Tool by swiping

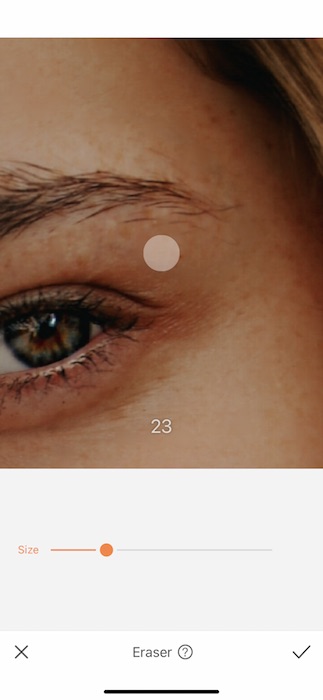
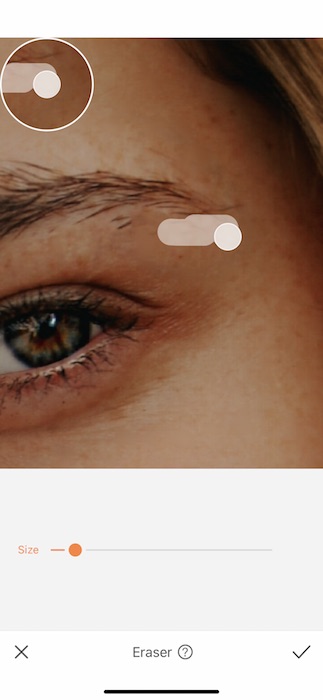
- Open your Eraser Tool and adjust your Brush Size as needed.
- Make sure to zoom in to your image to get all those pesky brow follicles.
- You can still adjust your Brush Size as you erase away.
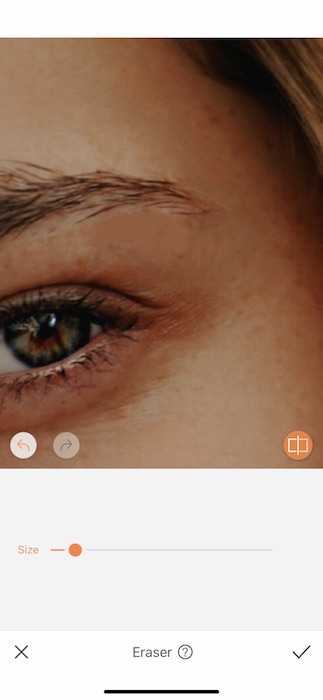
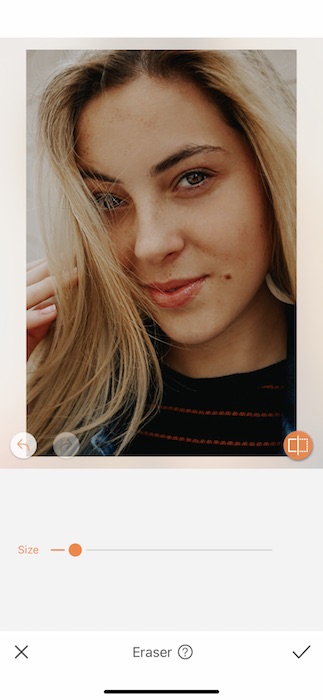
- Once you are done cleaning your eyebrows you can zoom out to check your progress then tap the check mark to save your progress.
4. Beauty is in the Lens
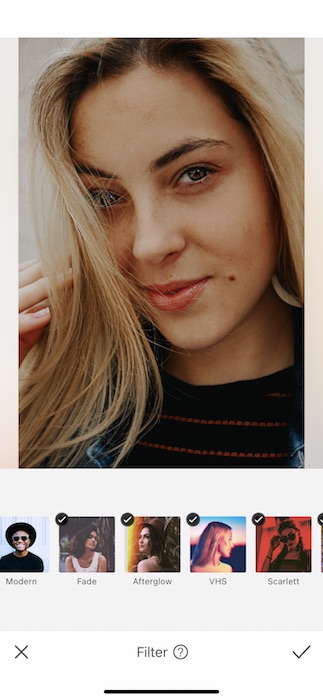
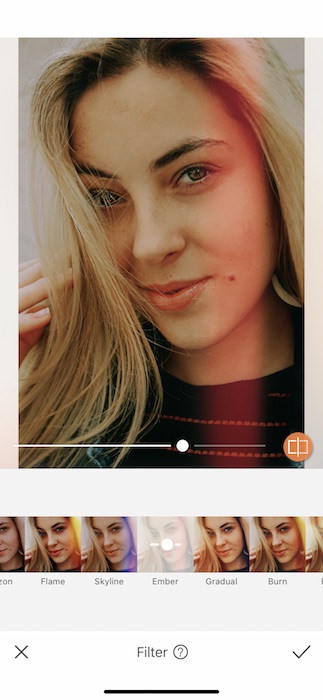
- Going through all this effort and not using a filter is like putting on all your makeup, doing your hair, wearing a nice outfit then walking out the door in 2 day old socks.
- It’s wrong.
- Head on over to your Filter Library and find yourself a filter that highlights your gorgeous new eyebrows
- For our purposes we’re using Ember from the Afterglow Filter Pack.
- Tap the check mark to save your progress.
She Ready


Is there such a thing as a digital esthetician? If there is, consider yourself licensed, Honeyyyyy. Now that you’ve mastered the art of the eyebrow edit, go make some facial magic. Don’t forget to tag your beauty school buddies at AirBrush by using #AirBrushApp on your next eyebrow edit. You might just get featured on our @AirBrushOfficial IG page! ‘Till next time!

- AirBrush Premium Feature: Sculpt - 03/11/2023
- Make the most of the Sculpt tool this Holiday Season - 02/11/2023
- How it’s Started, How it’s Going. Get that Glow Up! - 30/03/2021


- AirBrush Premium Feature: Sculpt - 03/11/2023
- Make the most of the Sculpt tool this Holiday Season - 02/11/2023
- How it’s Started, How it’s Going. Get that Glow Up! - 30/03/2021