From as far back as the Fabulous Lives of the Rich and Famous, we’ve all shared an interest in the living arrangements of others. Nowadays, it doesn’t even have to be rich and famous. We’re interested in what all income brackets are selling and buying. If you’re in the real-estate business, you’ll find yourself in the position of taking some real estate photography. And if you can’t afford a professional team, you can achieve a professional look with AirBrush.
Create a Shot List
Although some homes will have unique features to be captured, there are some typical shots that potential buyers will look for. It’s important to do a walk through ahead of the shoot to decide where the camera is best placed to capture each room. You’ll need at least two wide angled shots of the bedrooms, kitchen and living room; one shot of the bathrooms, garage and laundry room and two shots of the front of the house.
Drone Aerial Shots

With the advent of drone technology, you can gain a new perspective on your real estate photography. The best advantage of this is showing off the overall home layout at a glance. This would include landscape features like gardens, pools and turf. Secondly, it allows you to show how the property measures up to its neighbors and its unique position in the neighborhood.
Lighting

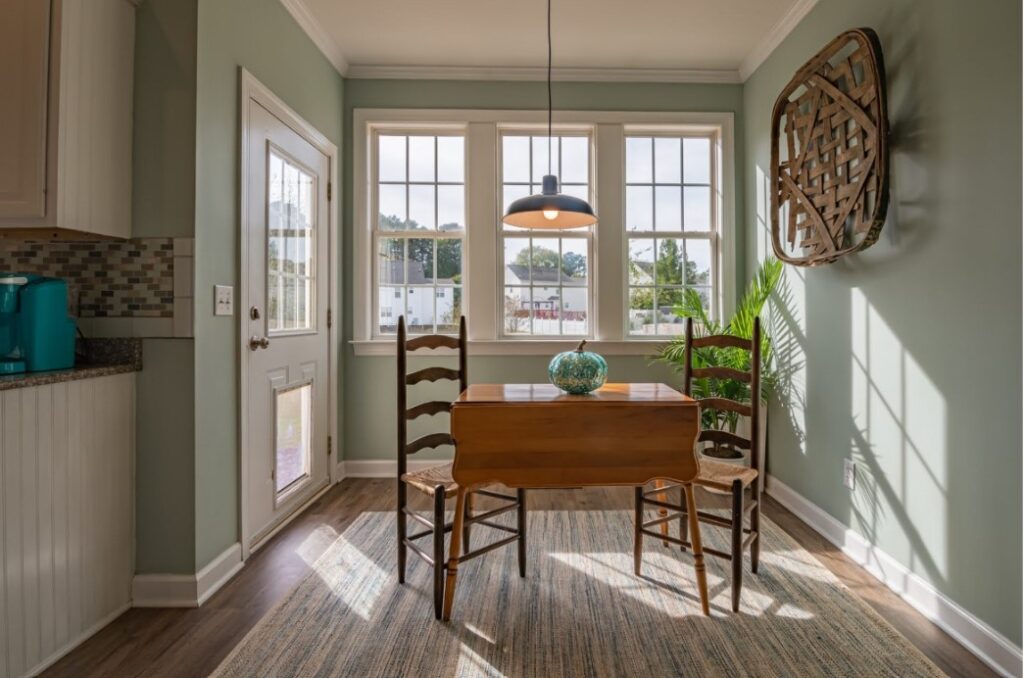
Natural lighting is the best option when it comes to photography and that includes real estate photography. Our AirBrush experts agree that scheduling the shoot for later in the day (think early afternoon) will produce the best results. Although morning light can be beautiful it is too weak to show the house off at its best. In case you are surprised by bad weather or a delay in the shoot time, our Enhance tool lets you brighten up any room.
Staging
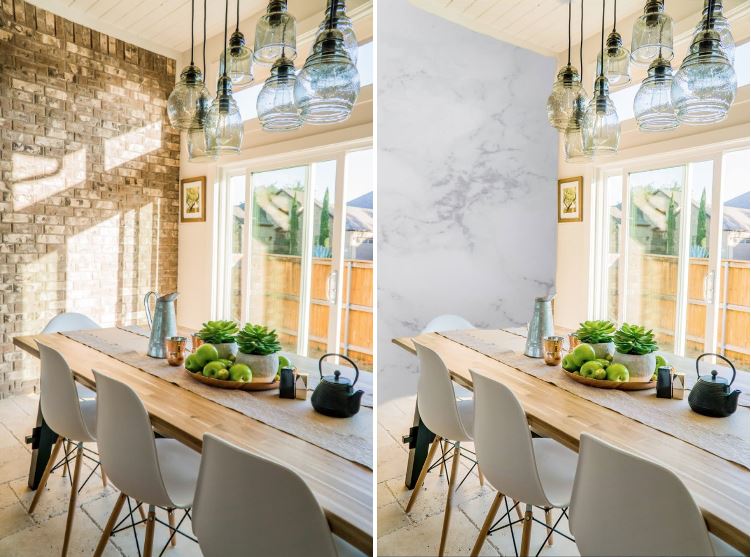
One of the secrets to bagging interest in real estate photography, is to have the home artfully staged. You want potential buyers to aspire to live in the home while being relatable. So you can lay out toys but it will only be one or two clean toys visible. Or you may have a throw laid casually over the couch with the remote on top. You can use the Background tool to bring in an upscale or unique piece of furniture to add to the staging of the home.
Color Grading
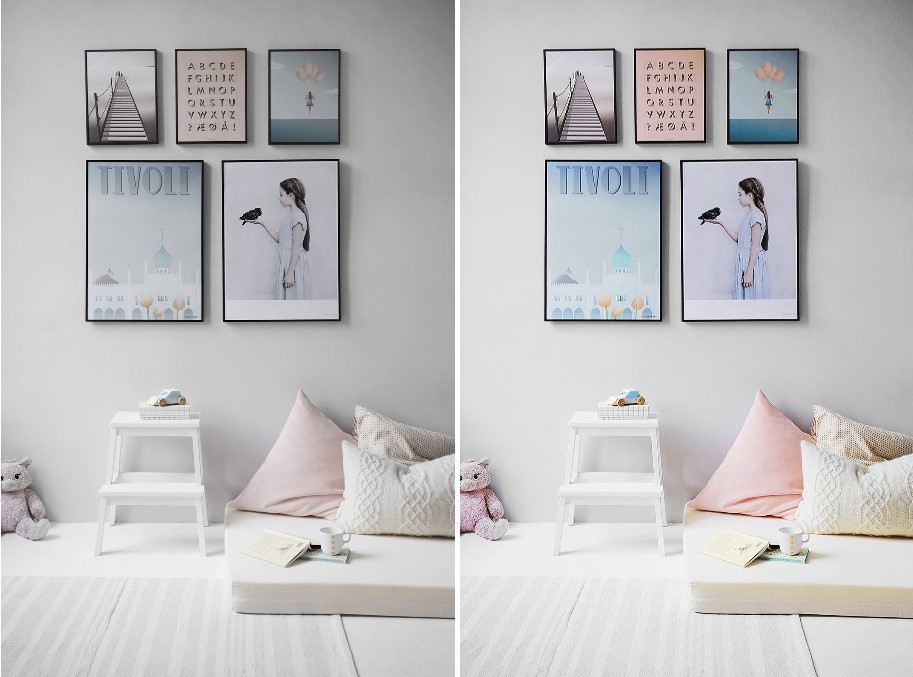
If you’re a one man show, you can feel limited by time and equipment. One of the issues you may encounter is your photos coming out overexposed or washed out. This is a common occurrence on both phone cameras and professional lenses. The colors you see in real life aren’t reflected in the photos you’ve taken. You can bring the color and vibrancy back with AirBrush’s Enhance tool that lets you adjust contrast and saturation for eye-cathing, true to life real estate photography.
Being a team of one or a beginner in the real estate photography space can be daunting but AirBrush, the easy photo editor, will have you up and posting in no time. Remember that these photos should only be posted on real estate sites but you can post on social media platforms too!. Once you do post, tag your posts with #AirBrushApp so we can find them. Then, follow us @AirBrushOfficial on Instagram for our latest tips, tricks and hacks!
- How to Keep Photobombers out of your Photos - 03/11/2023
- 7 AirBrush Editing Tools for Influencers to Easily Enhance Their Photos - 03/11/2023
- 7 Tools for Easy Photo Edits with AirBrush - 03/11/2023


- How to Keep Photobombers out of your Photos - 03/11/2023
- 7 AirBrush Editing Tools for Influencers to Easily Enhance Their Photos - 03/11/2023
- 7 Tools for Easy Photo Edits with AirBrush - 03/11/2023