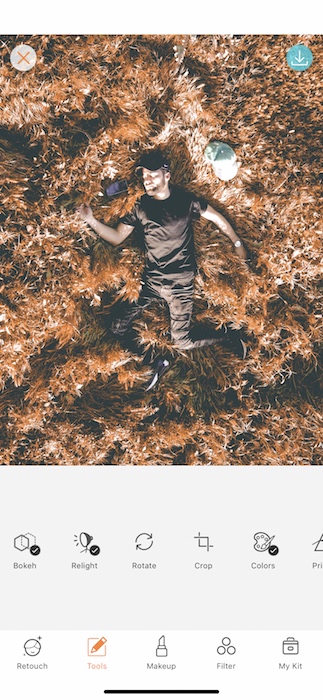
Space. The final frontier. We’re not talking about outer space. We’re talking about the use of space in your pictures. You may have heard of a little thing called the elements of design. This is art people talk for the things that make things artsy. In photos, one of the most important elements is space. It’s what makes a picture feel far-reaching and also inches away, literal camera magic. Today, we’re going to show you how to frame your Photography 101 picture to the halls of the Museum of Contemporary Art (MOCA) using AirBrush’s Crop & Rotate Tools. So strap on your space boots and get ready because we’re about to blast off.
You spin me right round baby
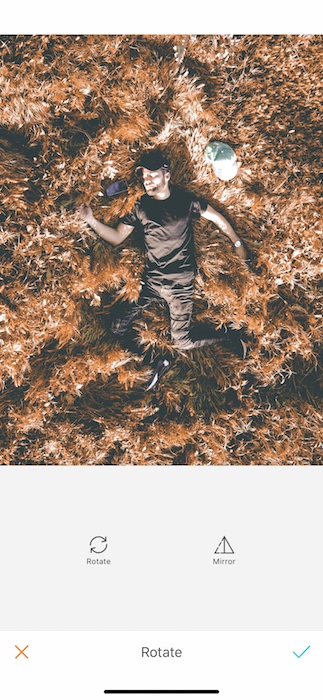
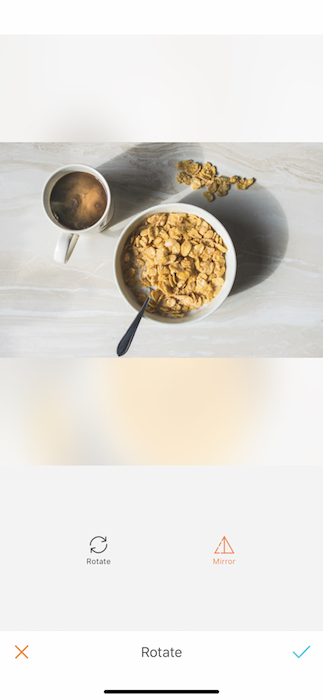
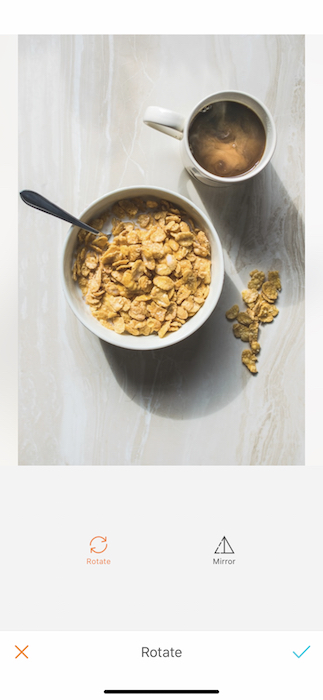
First, upload your picture into the AirBrush app and open the Rotate tool. It is located in the tool menu and represented by two arrows going into a circle. Once your picture is uploaded, two options will appear on your screen: the Rotate effect and the Mirror effect. Rotate is where we’ll start. With a simple click, change your photo vertically or horizontally. This givesyou the ability to find the perfect position.

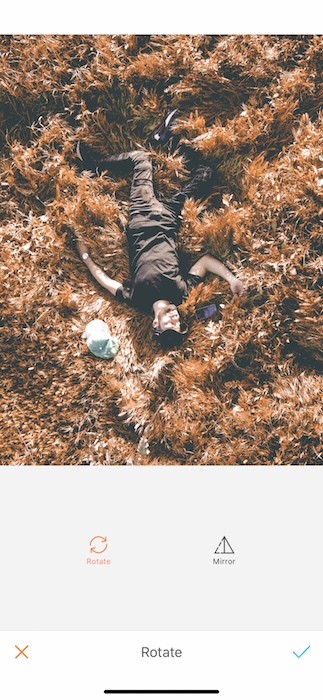
This is super ideal for flat lays or foodie pics. With each tap on the Rotate tool, the pictures will turn 90 degrees clockwise. We all have our good side, right? Well what if your good side is on the wrong side? Try the Mirror effect! This effect allows you to flip your image horizontally. Just upload the image to the Airbrush app and tap the Mirror icon.
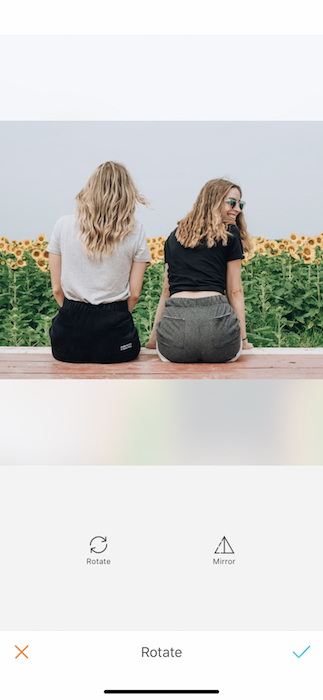

The Mirror effect only functions horizontally. For a vertical flip you’ll need to tap the Rotate icon then hit the Mirror effect. Are you waving around a wand? Cuz you just made some camera magic.
A new crop
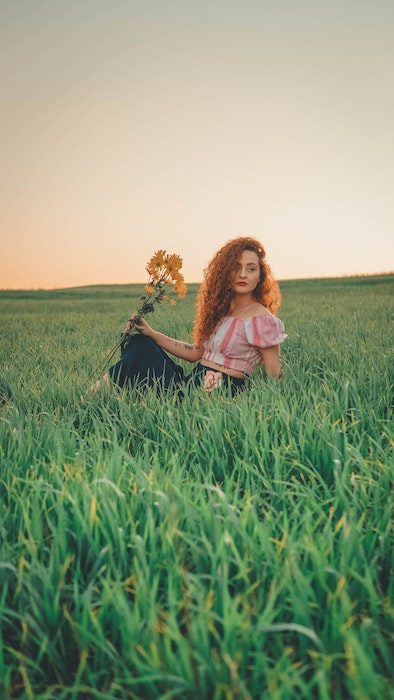
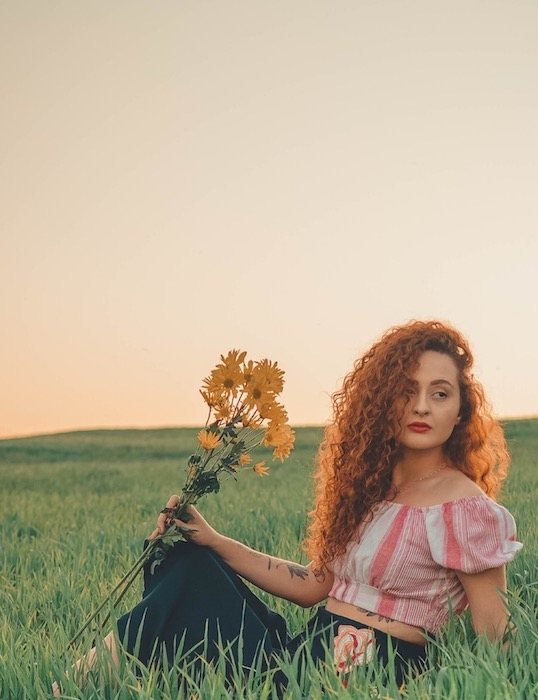
Cropping in photography means removing part of an image to delete unwanted objects, irrelevant details, or unused space in the background. Sometimes that space is an ugly wall, a photo bomber, or even an ex. Whatever the problem may be, there’s nothing that can’t be cropped away with some camera magic.
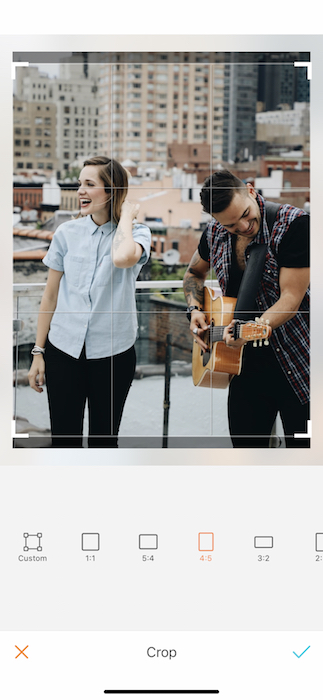
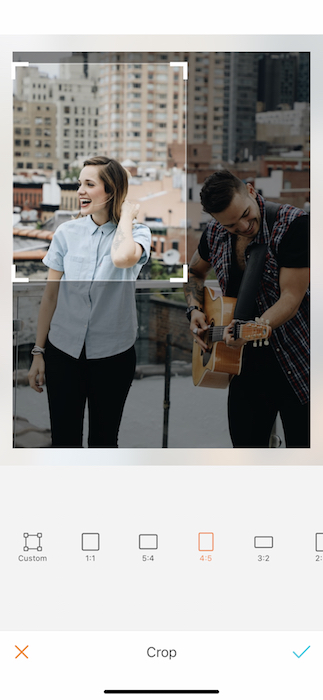
Once you’ve uploaded your picture to the AirBrush app, open the Crop feature in the Tool menu. Just a couple taps and you’ve made sure a gorgeous shot of you doesn’t go to waste. Just like magic!


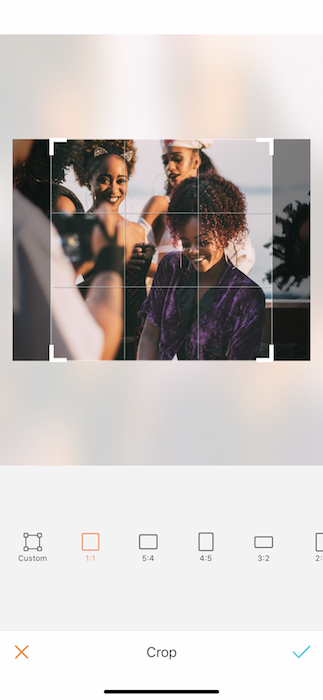
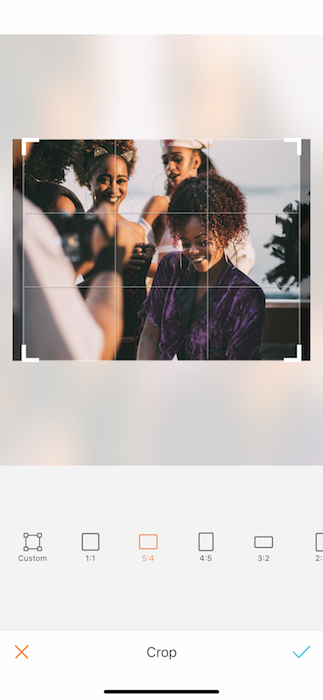
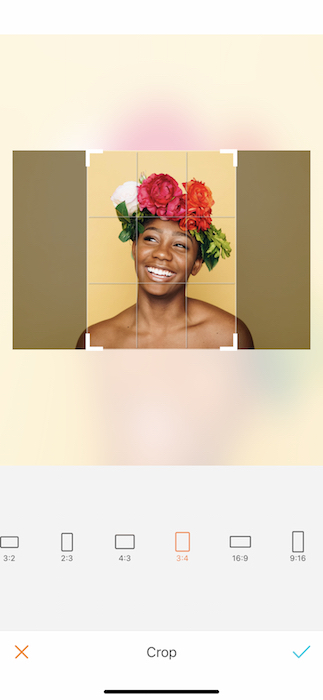
This tool gives you access to a Custom mode and 9 predefined sizes or ratios. To use them, select the desired size and shape. A preview of the cropped image will appear. You can then choose to leave it at its default placement or move it by dragging the shape across your screen.
You can choose among 9 predefined ratios:
1:1 – 5:4 – 4:5
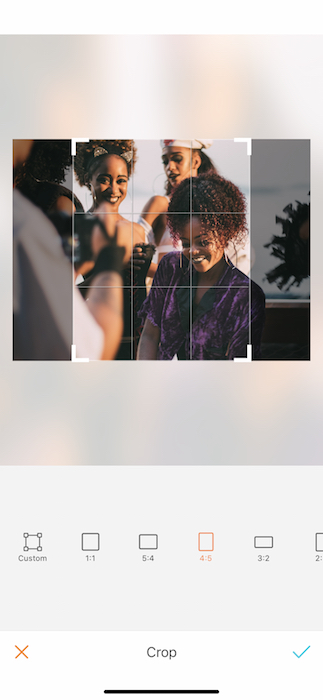


3:2 – 2:3 – 4:3
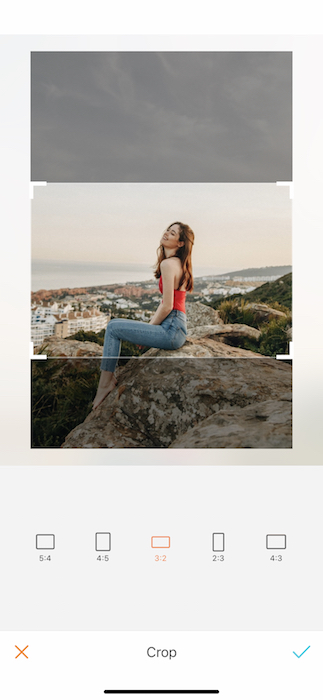
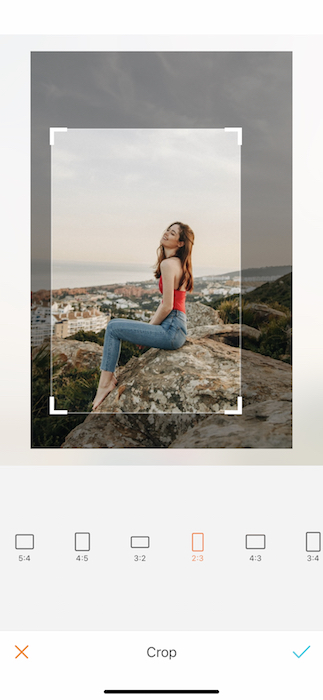
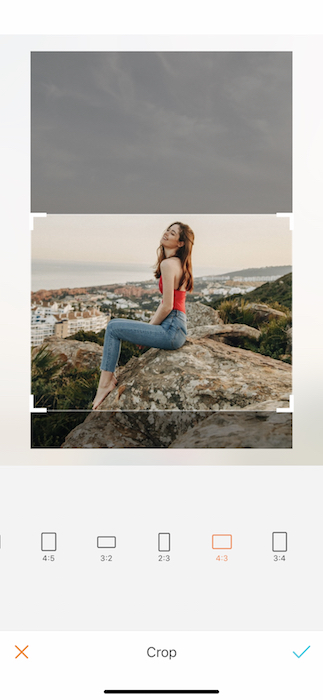


3:4 – 16:9 – 9:16 (Insta Story Dim.)
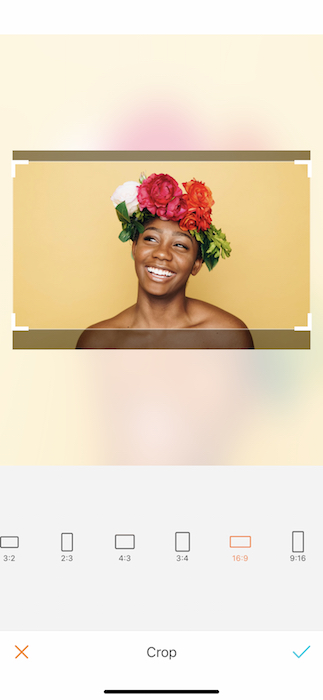
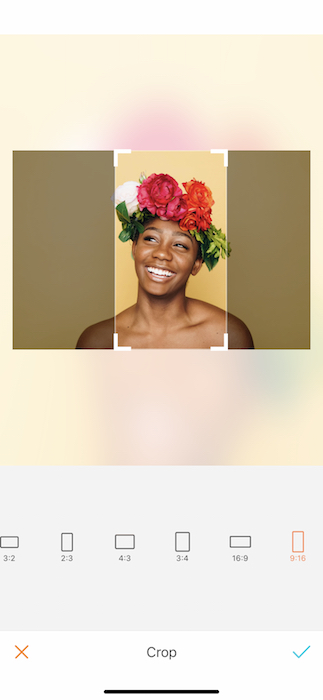


The 9:16 is the ratio needed for insta-stories. No more fussing with the drag and stretch. A quick trip to the Cropping tool we’ll have you set in no time.
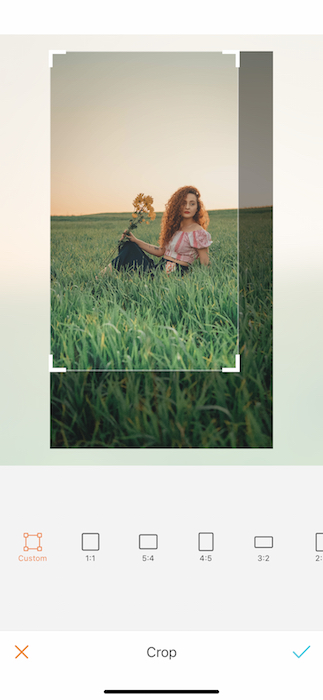
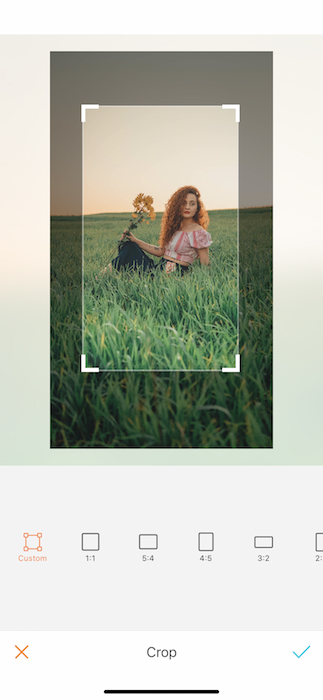
If you haven’t found the fit you wanted among the 9 predefined sizes, don’t worry! The Custom mode gives you the freedom to personalize the area you want. To do this, drag the corners of the square to your desired size, shape, and orientation.
Did you know this tool comes super handy when it comes to Instagram? By cropping your picture to a 1:1 ratio, it’s proven to increase your following! So what are you waiting for? Head to AirBrush app, upload your photography masterpiece and crop it! Show us the results on Instagram with the hashtag #AirBrushApp. Follow us on our official account @AirBrushOfficial and get a chance to be featured!
- AirBrush Premium Feature: Sculpt - 03/11/2023
- Make the most of the Sculpt tool this Holiday Season - 02/11/2023
- How it’s Started, How it’s Going. Get that Glow Up! - 30/03/2021


- AirBrush Premium Feature: Sculpt - 03/11/2023
- Make the most of the Sculpt tool this Holiday Season - 02/11/2023
- How it’s Started, How it’s Going. Get that Glow Up! - 30/03/2021