We are soooo stoked for Billie Eilish’s new documentary The World’s A Little Blurry. What’s not to love about the coolest chick in music right now? She’s got a devil may care attitude and the voice of an angel and we’re all about her updated neo-grunge vibe. What are we even doing here if not getting ready to show you how to get the Billie vibe all for yourself. So, grab your Ocean Eyes and get rid of all the Bad Guys, it’s time to get blurry like Billie.
That Green

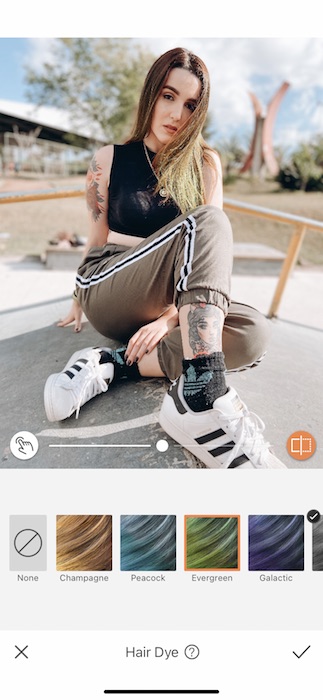
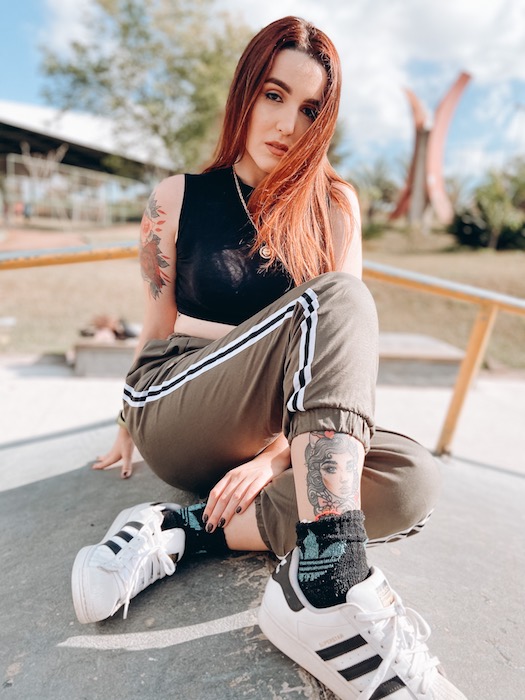
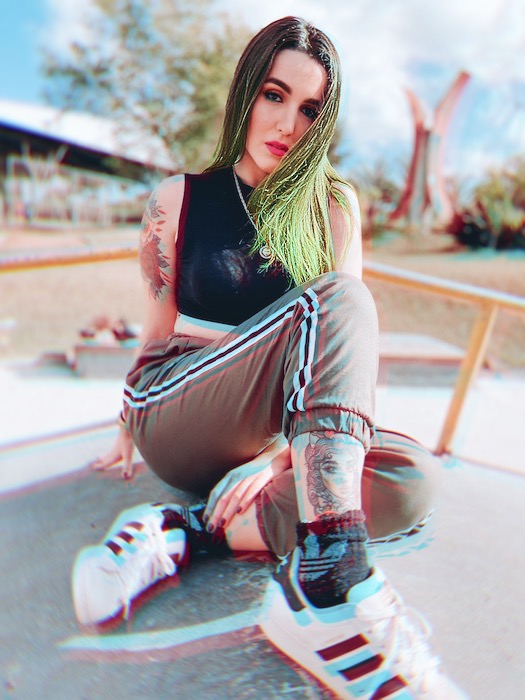
Let’s start off with Billie’s signature:the infamous green hair.
- Go to your Retouch Tab and find the Hair Dye Tool.
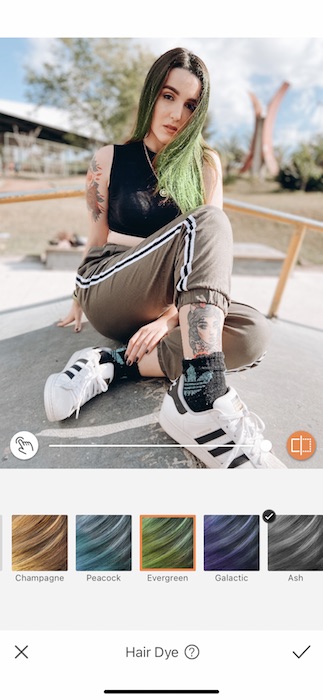
- Once you load up the tool you’ll see that the Tool will automatically apply the Dye to your hair.
- You can switch between swatches and use the center toggle to adjust the Tool strength.
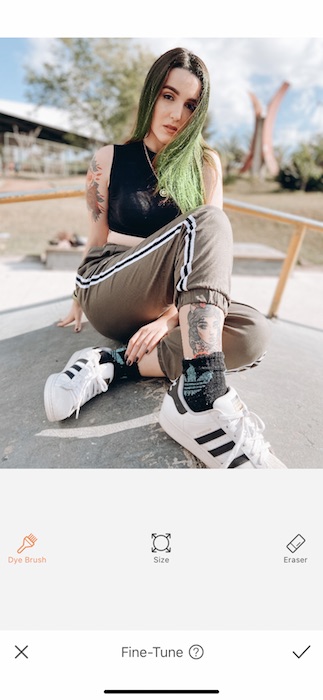
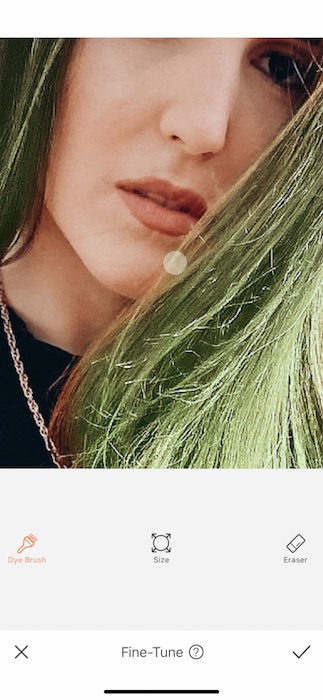
- Sometimes the Hair Dye Tool may miss a spot or two.
- Tap the Icon on the far left to open the Fine-Tune Feature.
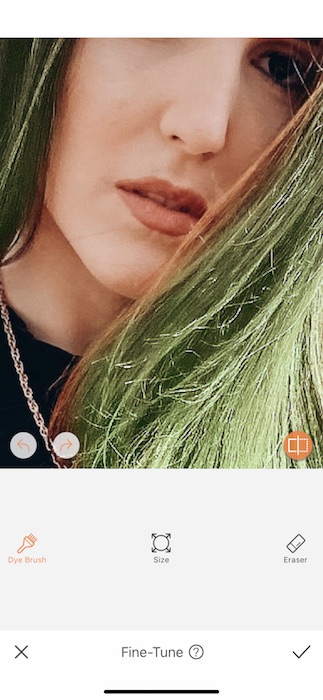
- You can zoom into your image to have a sharper hand on the adjustments.
- Select the Dye Brush Tool and adjust your brush size by tapping Size.
- Once you’re ready to go, you can start swiping across all the strands of hair the Tool might’ve missed.
- Tap the check mark to save your edits!
The Eilish Touch
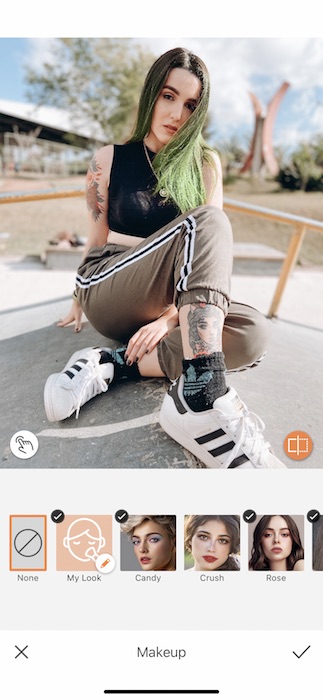


If we’re going with green Billie Eilish hair we might as well have some fun with our Makeup.
- Open your Makeup Tab.
- Find the Bloom Makeup Filter which features some neon eyeliner and a soft lip. Appropriate, we think.
- Use the center toggle to adjust the weight of the Makeup.
- Tap the check mark to save your edits.
Therefore You Are
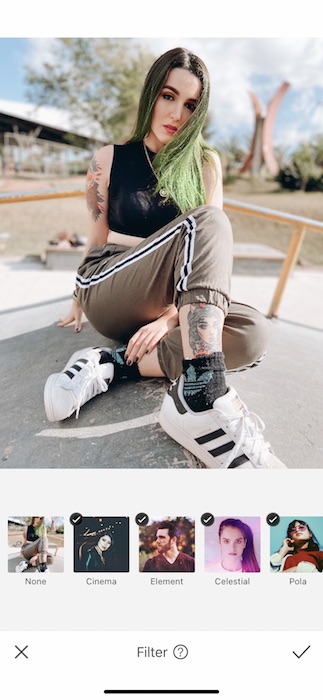
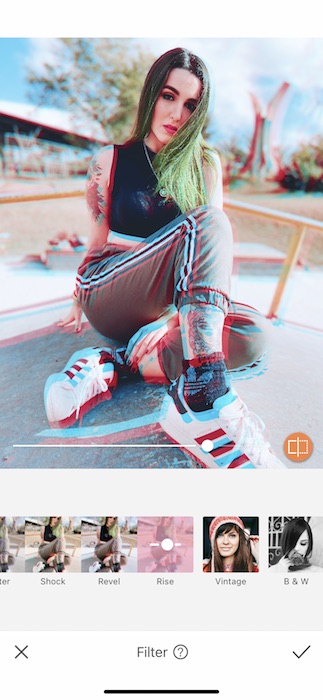
Now let’s get to the Billie blur part.
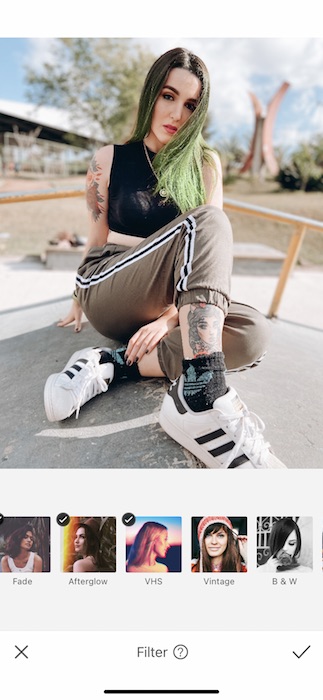
- Go to your Filter Library.
- Find the VHS Filter Pack.
- Tap on Rise and watch your image go to technicolor realness.
- Adjust the center toggle to your preference.
- Tap the check mark to save your edits.
Last but not least, we’re committing to the blurry, Billie.
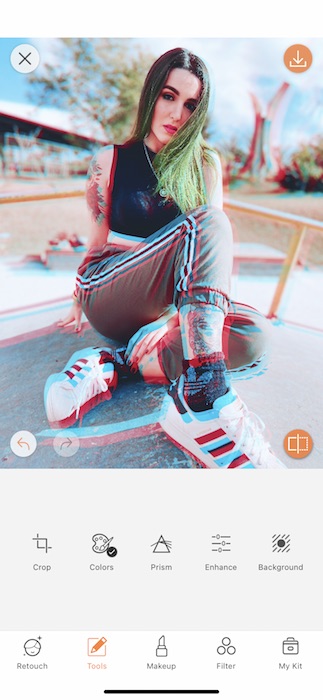
The Billie Blur
- Go to your Tools Tab and find the Prism Tool.
- Notice how it creates a spinning effect centered around a focal point that you can select.
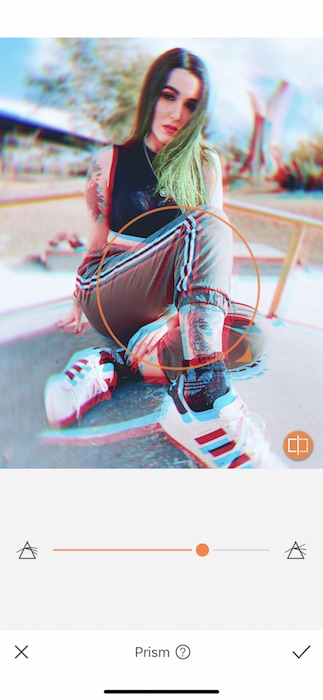
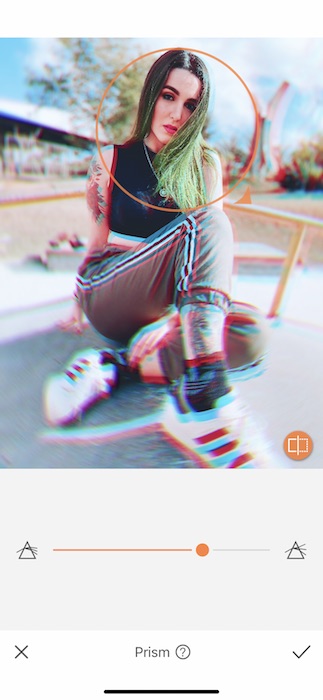
- Move the focal point by dragging the circle to your desired spot on the image.


- You can make even more adjustments by dragging the small orange arrow on your focal point.
- This opens up the focus and intensifies the motion.
- You can also use the center toggle to intensify the motion.
- Tap the check mark to save your Billie edits.
Is anyone else… feeling a little sick… All this Billie blur has us seeing double. We might need to take a seat but you have some Billie Eilish editing to do. Don’t forget to mention the collab by tagging AirBrush! Use our handle @AirBrushOfficial on Instagram and/or use the tag #AirBrushApp and you might just get featured on our IG stories. Now, get out there and blur away.
- AirBrush Premium Feature: Sculpt - 03/11/2023
- Make the most of the Sculpt tool this Holiday Season - 02/11/2023
- How it’s Started, How it’s Going. Get that Glow Up! - 30/03/2021


- AirBrush Premium Feature: Sculpt - 03/11/2023
- Make the most of the Sculpt tool this Holiday Season - 02/11/2023
- How it’s Started, How it’s Going. Get that Glow Up! - 30/03/2021