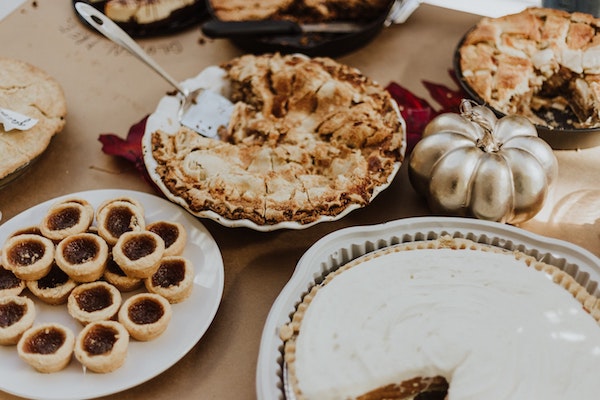
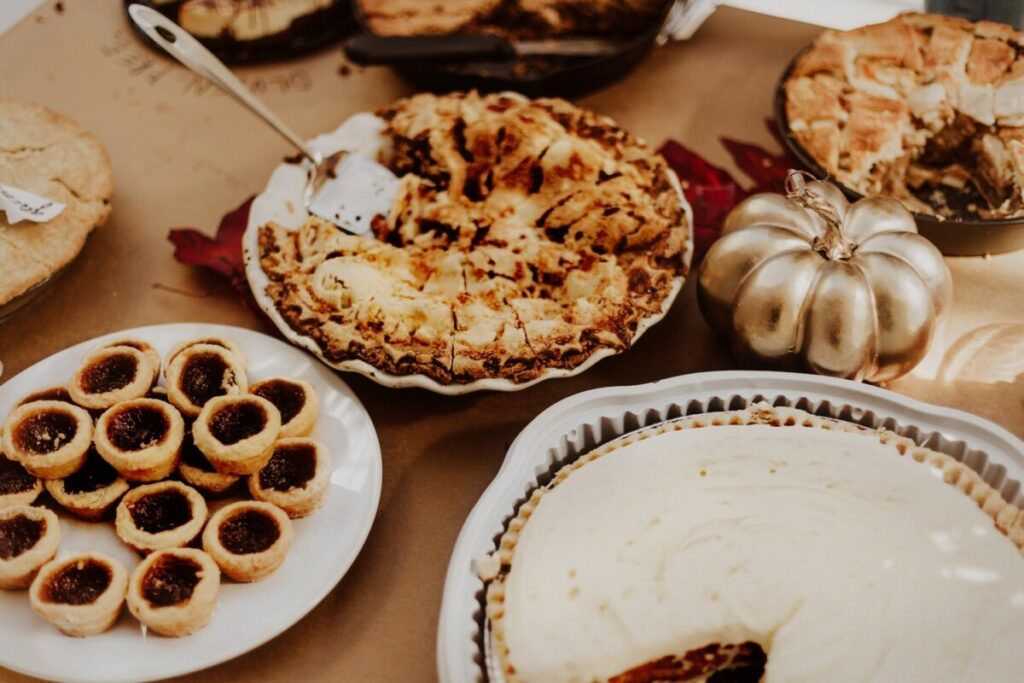
Fall food is arguably the best food. So many pies, roasted veggies, delicious bevies, and who doesn’t love a candied anything. Well today we’re here with two objectives: Number One to make sure you don’t miss out on any of our favorite fall foodie dishes and Number Two to make sure you know how to take the best pics of them. Pics that will keep you lickin’ your lips till the next time they come along. So, preheat the oven at 350, put on your stretchiest pants, and get ready to play Fall Foodie Bingo with Airbrush!
The Game
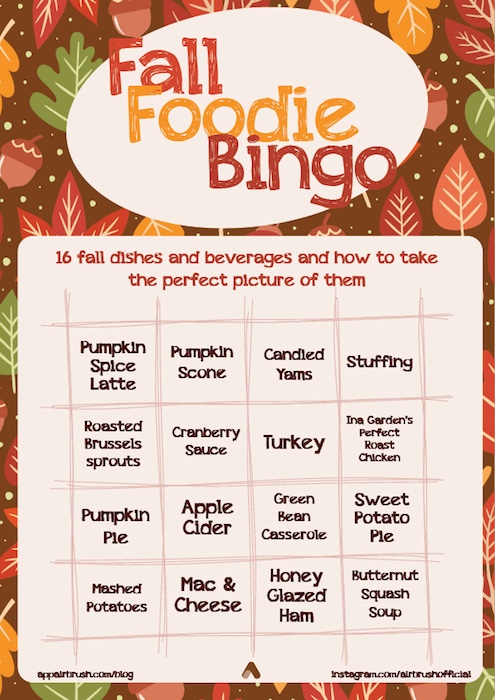
Play fall foodie bingo with your friends and fam and see who’s lived their best fall life this year! Rules are flexible, whatever’s clever and works for you. You can either play full card fill up just like you’ll be filled up after eating all these dishes *drum roll*. Or you can do four line up. The world is your oyster however oysters are not technically a fall foodie food so they’re not on the card. HAVE FUN!!!
The fall foodie photo hack
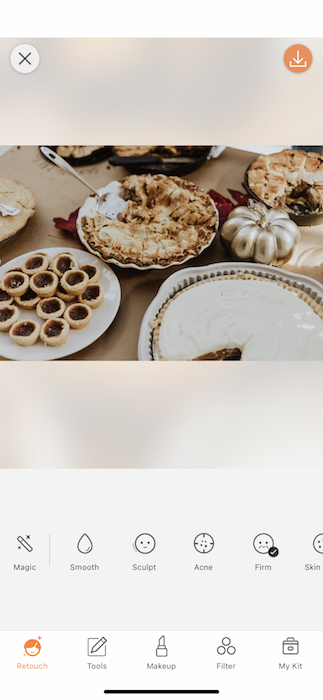
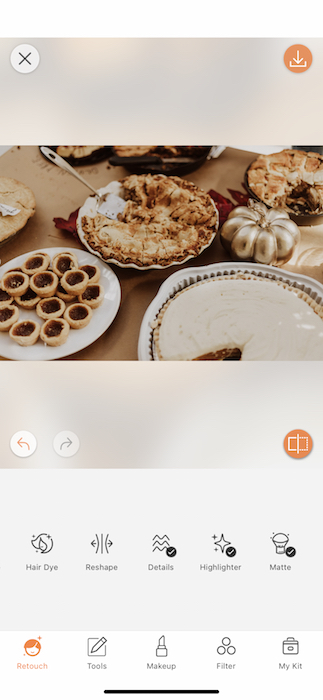
Now, fall foodie dishes take a lot of time and work. They deserve to be honored and preserved in history with the utmost respect. That’s why we’re going to roll out the photo editing red carpet for our food edits. Start by uploading your favorite dish and tapping the Retouch Tab. Now, historically this tab is home to all our favorite beauty touch ups. However, today we’ll be using an Airbrush hack to make this picture spectacular
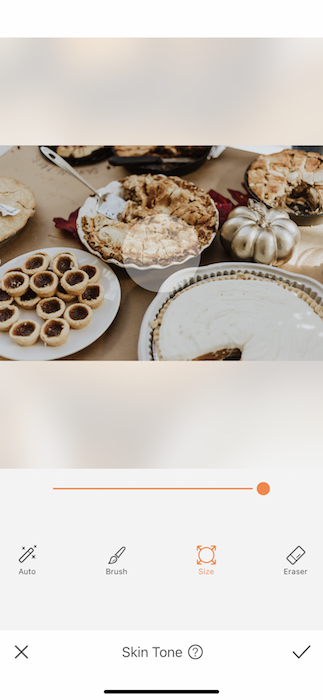
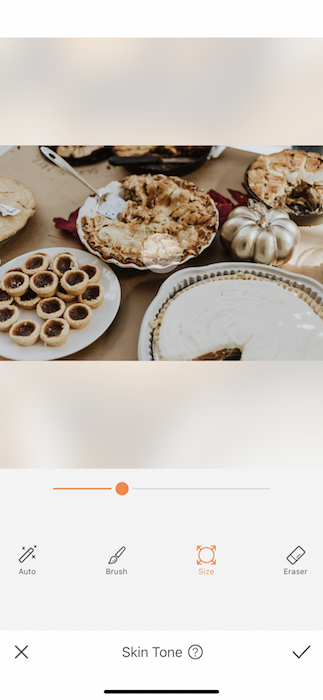
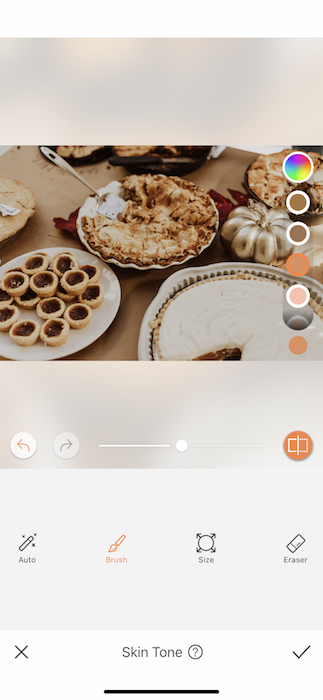
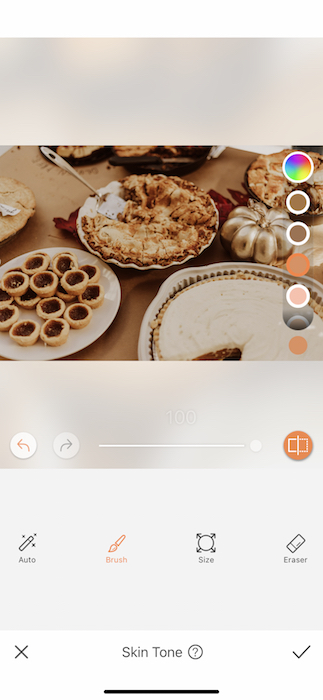
Skin Tone was created to adjust your skin tone from golden tan to creamy alabaster. Today we’ll be using that very tan feature to give our image a golden edit. Start by opening the Skin Tone Tool then adjusting the Brush Size to the largest possible. You’ll then swipe the Brush across the entire image. If you’ve already set the hue and strength you’ll instantly see a difference. If not you’ll you can switch between shades and adjust the strength after you’re done applying the Tool to the entire fall foodie image.
No bleach needed
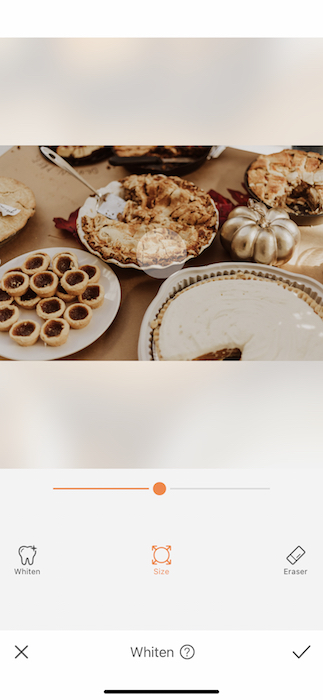

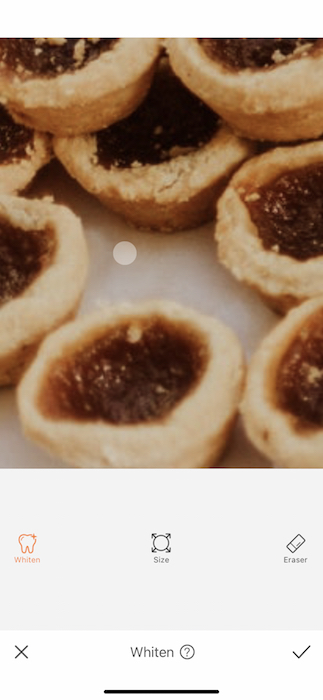
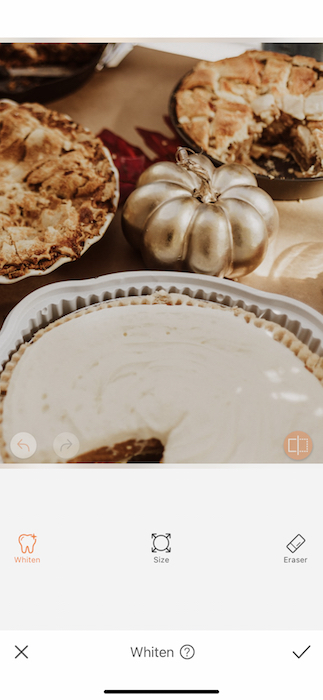
Next we’ll reach into our Retouch Tool box yet again to use the Whiten Tool. This tool brightens up any part of a picture but today we’ll be using it to make sure grandma’s antique china is looking it’s absolute best. Adjust the brush size to fit your needs then zoom into the photo to make sure you get the sharpest edit.
It’s all in the details
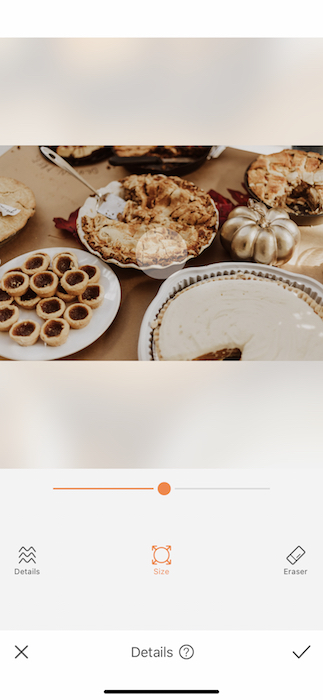

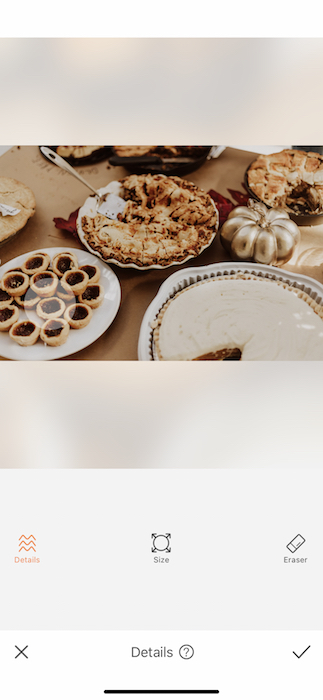
The Details Tool is definitely a fan favorite and even more a fall foodie favorite. Using this tools define the details of the selected area to make sure they’re crisp and clear for all that look at them. Have you ever tried to make a pie crust? It’s WORK. You want to make sure everybody see that crispy crust! You can use a broader brush for this tool since we want to cover some larger areas. After you’ve selected your area you can adjust the strength of the Details Tool by sliding the toggle on the right side.
Last but not least
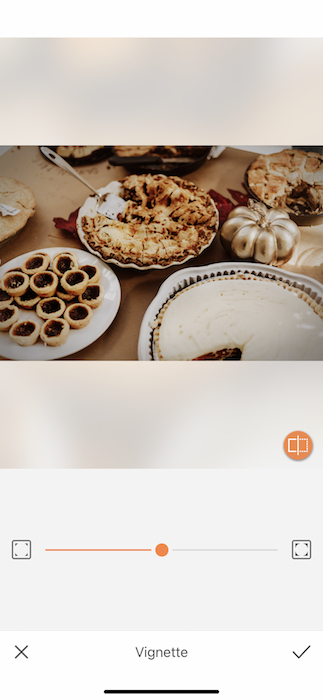

Food is romantic. That’s just science. Since we’ve already made some gorgeous edits let’s put the cherry on top with a lil Vignette. The Vignette Tool creates a shadow frame around your image, for a moody situation. This tool is useful when creating a vintage inspired look but today we want to it emphasize the vibe of our fall foodie pic. At a touch of the Vignette for a subtle but effective edit.
YUM YUM YUM! Now you’ve got all you need to make sure you live your fall foodie life to the fullest! Get in the kitchen then get ready to make a star out of those fall foodie dishes with Airbrush! Don’t forget to upload your fall foodie filter photos to Instagram with the #AirBrushApp hashtag to be featured on @AirBrushOfficial.
- AirBrush Premium Feature: Sculpt - 03/11/2023
- Make the most of the Sculpt tool this Holiday Season - 02/11/2023
- How it’s Started, How it’s Going. Get that Glow Up! - 30/03/2021


- AirBrush Premium Feature: Sculpt - 03/11/2023
- Make the most of the Sculpt tool this Holiday Season - 02/11/2023
- How it’s Started, How it’s Going. Get that Glow Up! - 30/03/2021