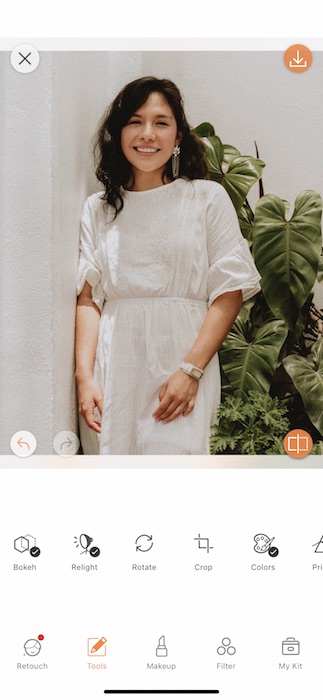
There is nothing worse in the world than capturing a gorgeous, once in a lifetime moment only to find that the lighting is ALL WRONG! Well, say goodbye to those days because your friends at AirBrush are here again to save the day. Introducing the Relight Tool. Newly renovated and always innovative, this incredible feature allows you to edit the lighting on your face to make sure the focus is right where it needs to be. So grab your latest selfie and let’s get to editing. It’s time to find your light.
Get in Frame
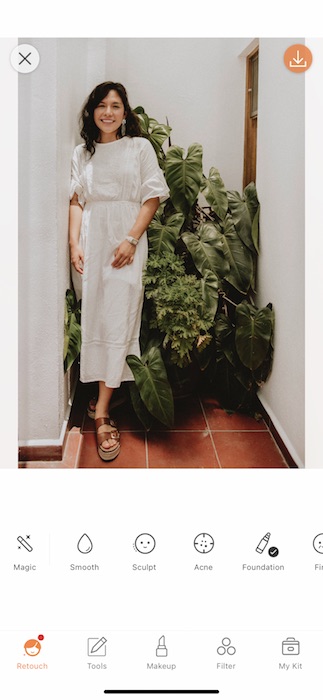
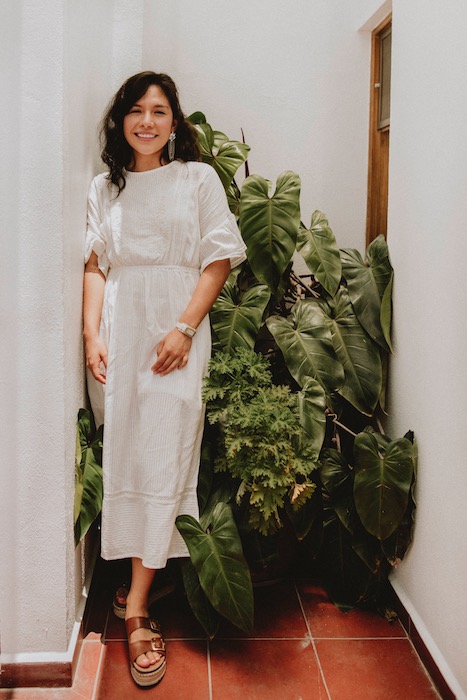
Before we get into nitty gritty of finding your light, let’s make sure we’re framed to perfection.
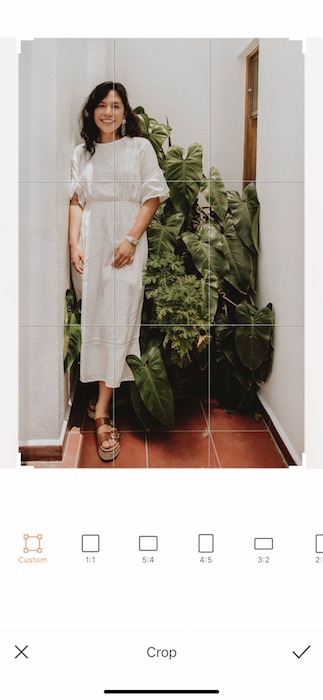
- Open your Crop Tool found in your Tools Tab.
- Select your ideal proportions or you can use the custom feature to drag and frame to your liking.
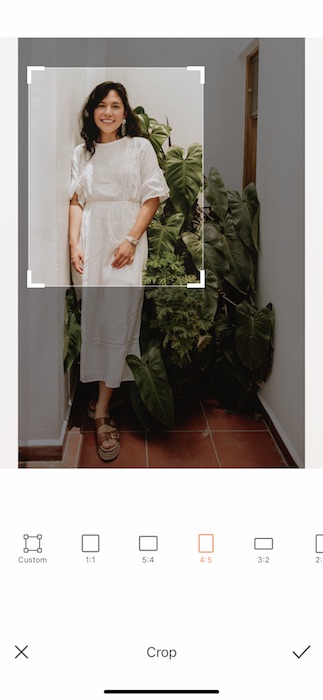
- Today we’ll be using the 4:5 Ratio to frame our gorgeous image.
- Tap the check mark to save your edit.
The Right Light
Now it’s time to have some fun…
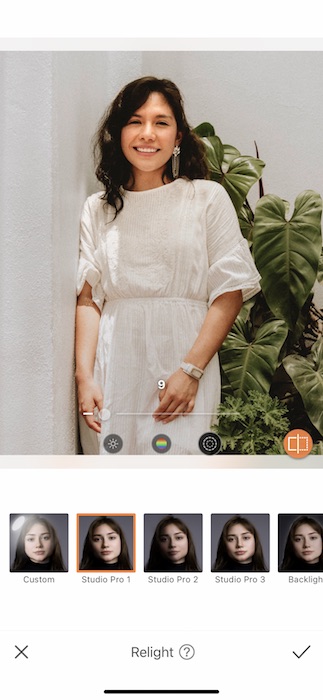
- Find the Relight Tool in your Tools Tab.
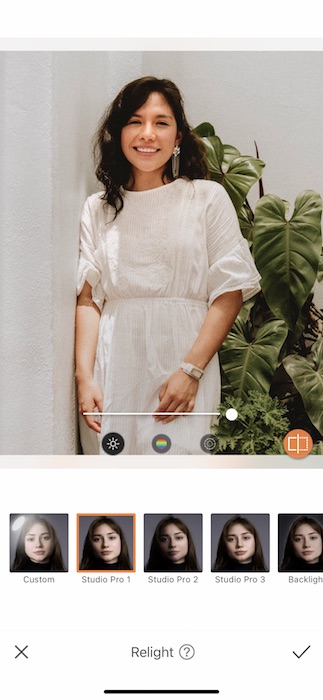
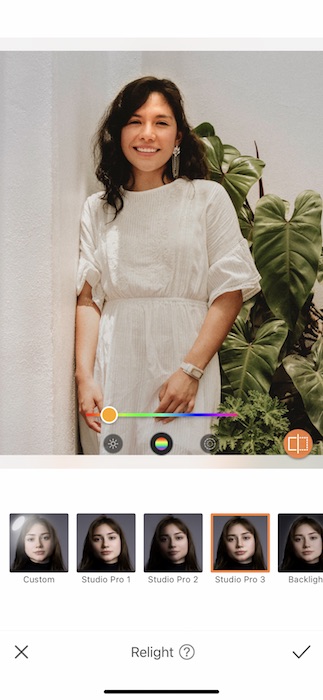
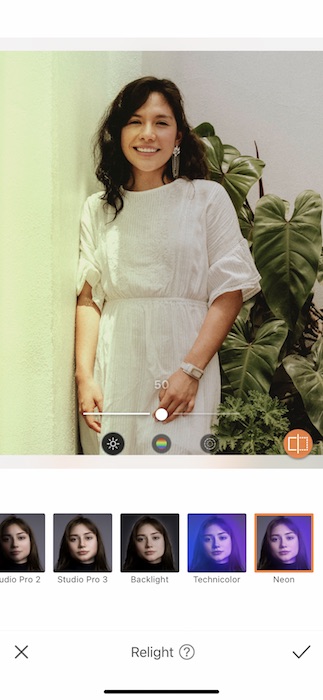
- The Relight Tool will automatically select and light your face.
- As you can see each feature allows you to adjust Brightness, Hue, & Smoothness.


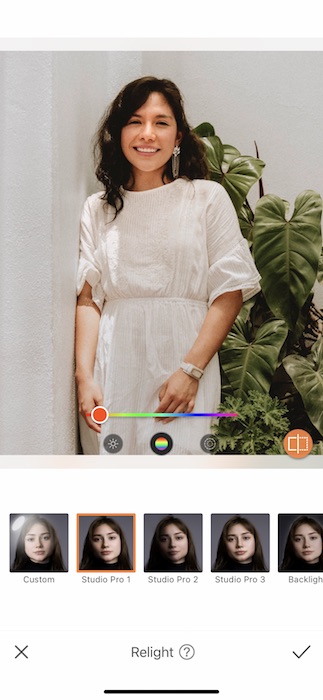
The color of your light can make all the difference.
- When using Studio Pro 1 try playing with the Hue to find the shade of lighting that matches your image or to have some experimental fun.
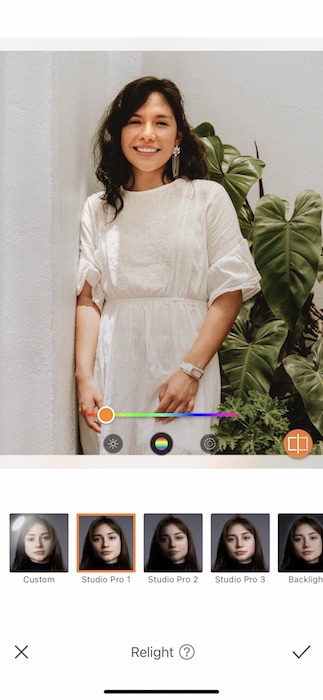
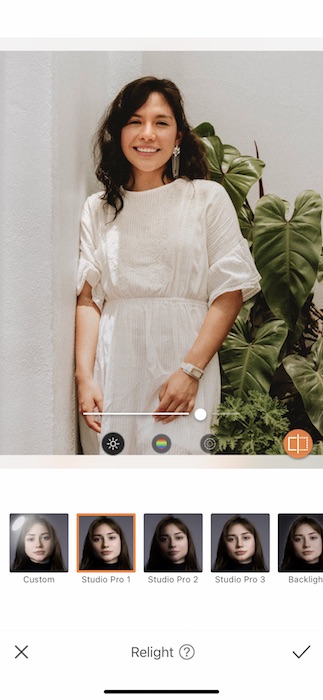
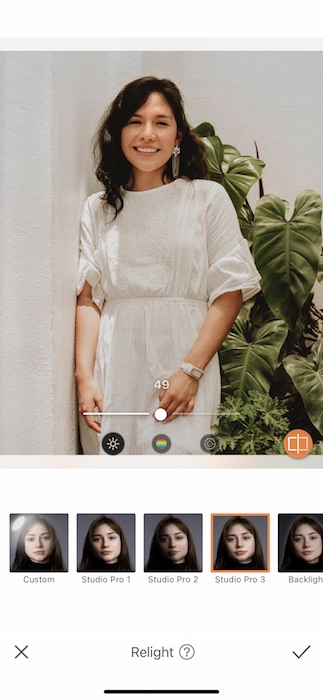
- Then tap the Smoothness icon to see if you need that light to hit harsh or soft.

- Notice the difference in each adjustment. Some are subtle and other dramatic.
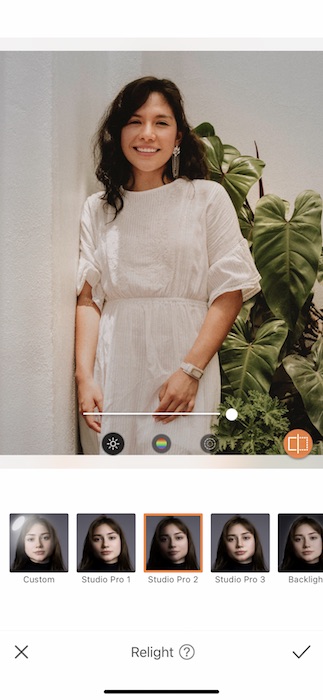
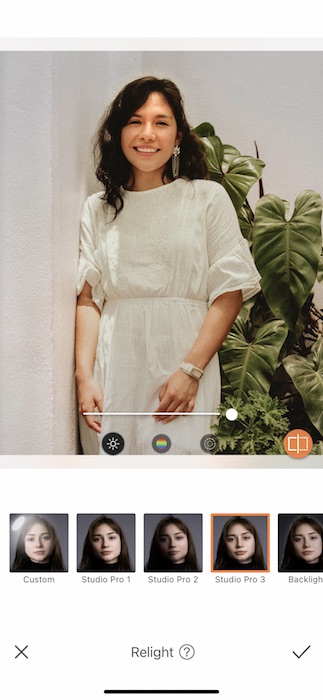
Once you’ve gotten to know the different capabilities start checking out the other features like Studio Pro 2 which casts a dramatic shadow or Studio Pro 3 which illuminated straight on.
Getting Funky

Make sure to play with each adjustment to really get to know this Tool. The more you play the faster you’ll master finding your light!
Who knows! You might just find a feature that will take your pic from every day to graphic design star!
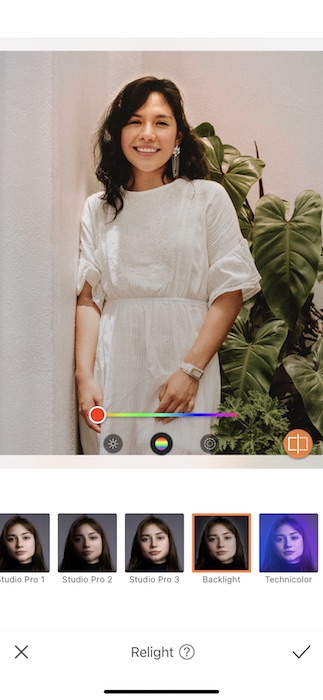
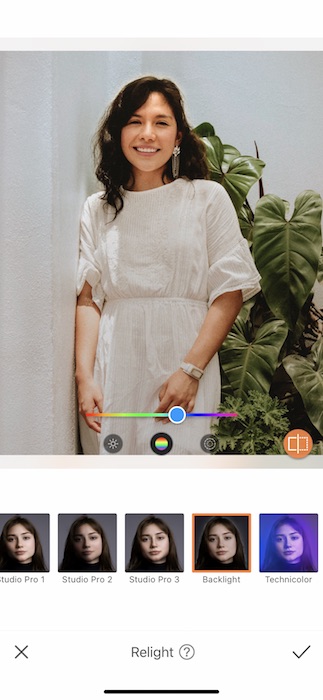
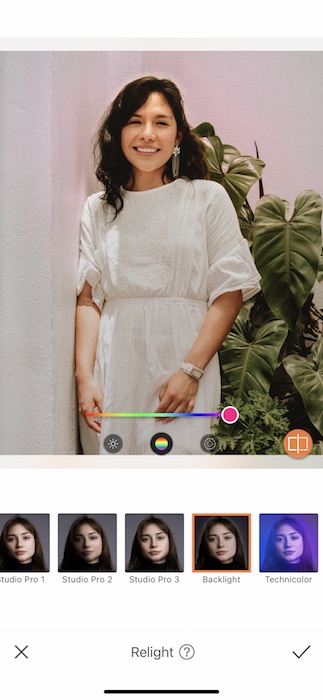
- Take the Backlight Feature for instance. Adding a color backlight is a pro technique! Now it’s all at your fingertips.
Make sure to play with the Hues to find an awesome color treatment for the Backlight.
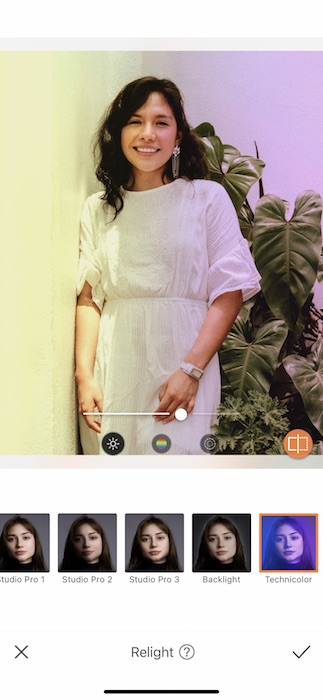
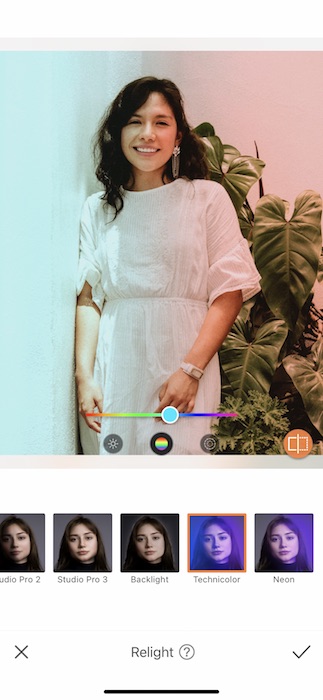
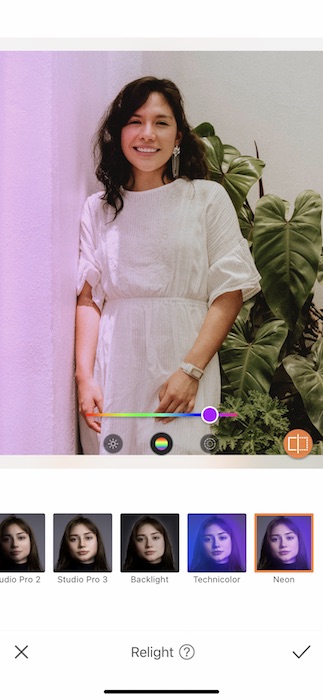
Once we get to the Neon Feature we go from find our light to finding our freak flag.
- Using the Neon Feature allows you to grab the effect of a sea of neon lights all around you.
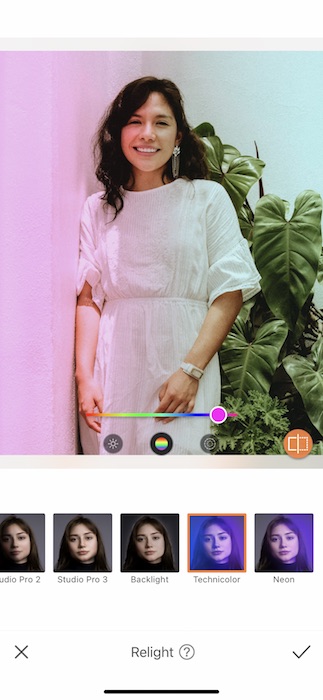
- Adjust the Hue and watch the color split transform your pic.
Once you’re familiarized yourself with all the different Relight Features you can choose the one that’s right for your image. Whether it’s a full on rehaul or just a slight adjustment, the Relight Tool is here to make it all super simple for you and your light.
#FilterTime

Using the Relight Tool might eliminate any need for a Filter.. But wouldnt’ it be more fun to use one anyways!
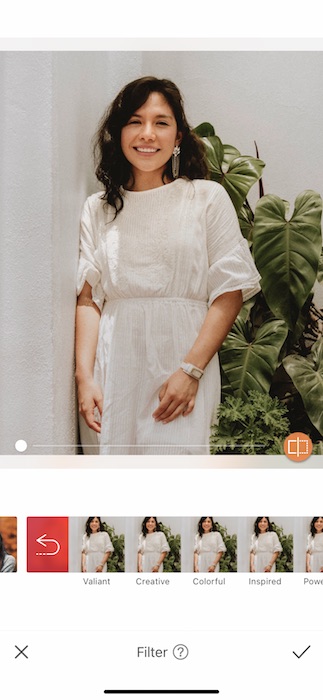
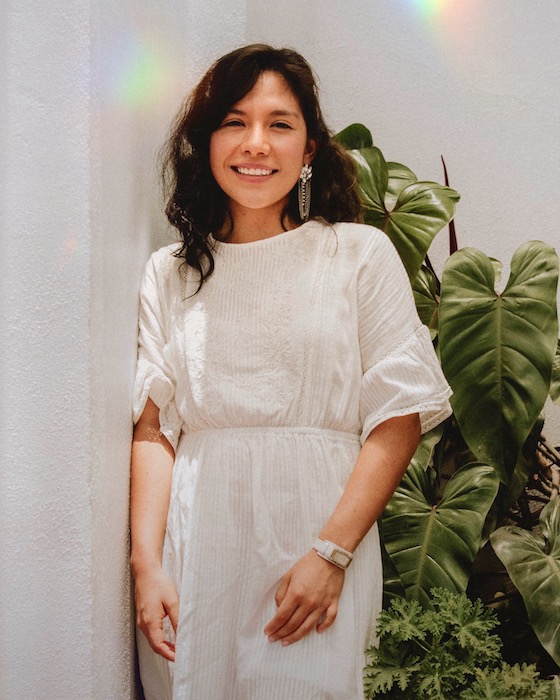
- Go to your Filter Library and find the Pride Filter Pack.
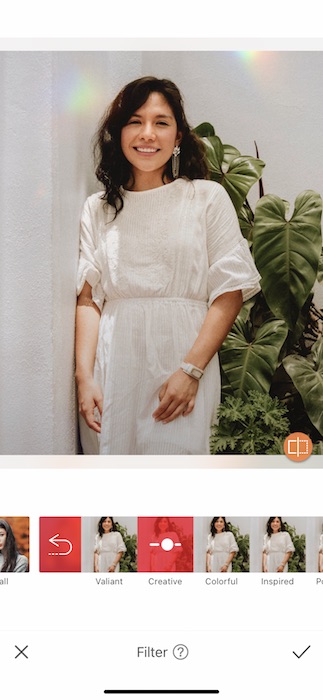
- Here you’ll find 5 gorgeous lens flares with a rainbow vibe that will give your newly relit pic a whole new lift.
- Tap the check markt to save your edit.
Now it’s your turn to find your light! Don’t be stingy with those edits! Make sure to follow your pals at AirBrush by finding us at @AirBrushOfficial on Instagram. If you use the tag #AirBrushApp we might just feature you on our stories… On to the next tutorial!