Listen, photo retouching is a thing. There are people who sit in dexter’s laboratories all over the world editing pictures to perfection. Well on this here today we’re going to throw on our lab coats and do some photo science of our own. That’s right, here on your mini computer we call a phone we have all the tools we need to be just like a professional photo retoucher and all it will take is two powerful AirBrush Tools: Stretch & Resize. Are you ready to get your tech on? Let’s go!
Resize

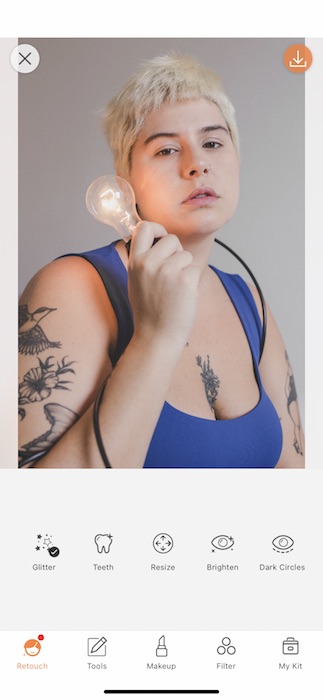
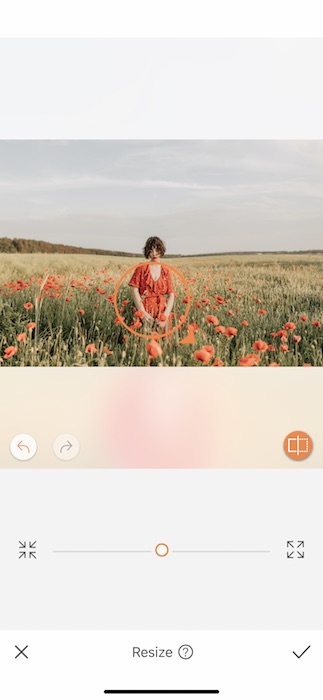
We’ve got a bright idea… (get it??). Sometimes we just wish our photo prop was just slightly bigger, or smaller. Who could ever know where to find a lightbulb that is exactly ⅓ of your face size? That’s when the Resize Tool comes in handy.
- Start by finding your Resize Tool in your Retouching Tab
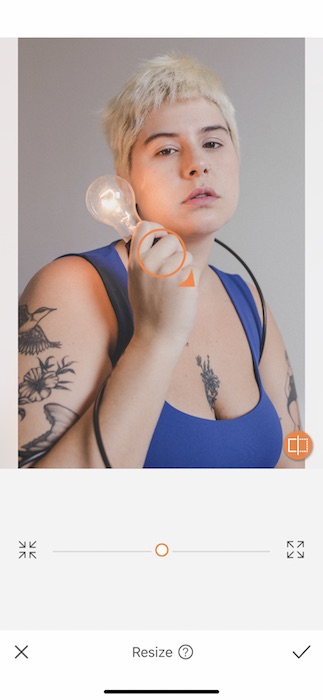
- You’ll notice when you open the Resize Tool that you have a toggle to adjust the size to either smaller or larger, and an orange ring that can be adjusted in size for selecting the subject of the Resizing.


- Drag the orange cursor to lay over the item you’d like to enlarge.
- Drag the small orange triangle to adjust the size of the cursor.


- Once you’ve selected the area properly, you can begin to use the center toggle to Resize.
- Left goes smaller, right goes larger.
- Once you’re satisfied with your Resize you can tap the check mark to save your edits.


Omg where did you get such a perfectly sized lightbulb??? That’s what everyone’s going to say to you when they see these pics. Easy, right? Now let’s move onto our next super-tool, Stretch.
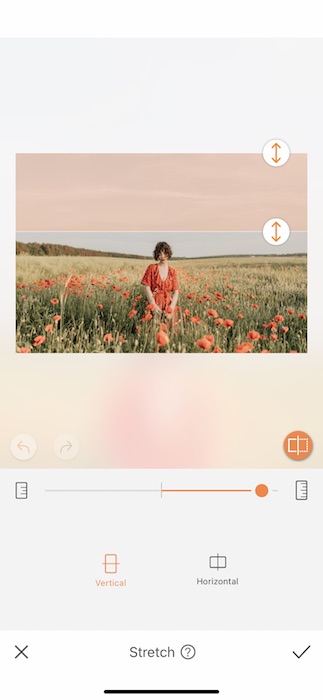
Stretch

Should we want to manipulate space and time? Probably not. However, when it’s this easy why not give it a go, you know?
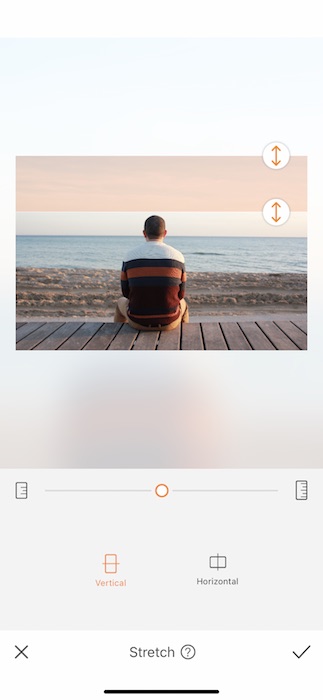
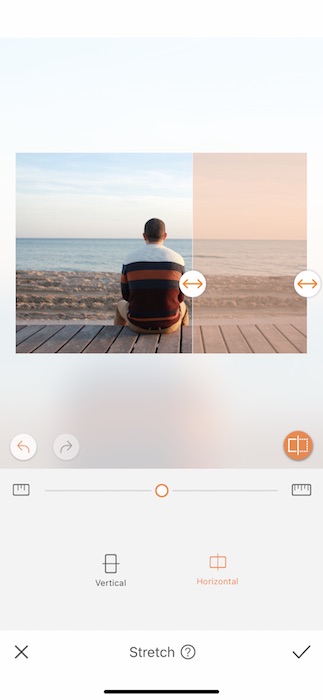
- Find the Stretch Tool in your Retouching Tab.
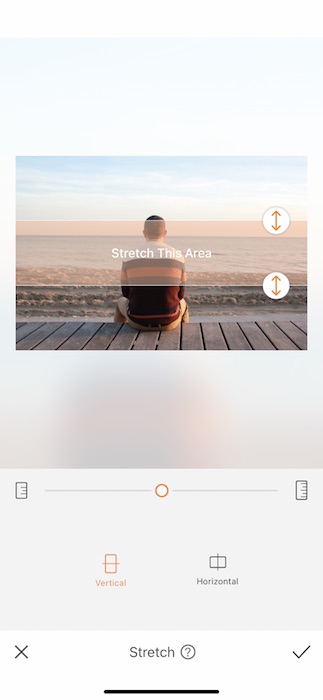
- You’ll be prompted with the option to either Stretch vertically or horizontally.
- Drag the arrows to cover the area you’d like to Stretch.
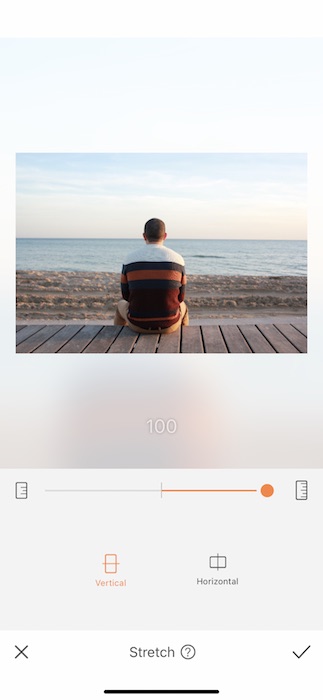
- Once you’ve selected your area you can use the center toggle to Stretch or shrink the area.
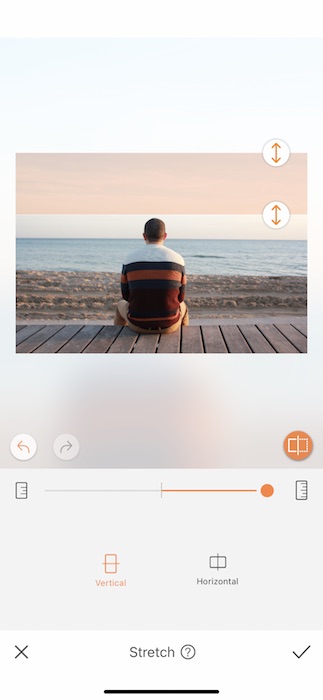
- You can keep adjusting as much as you’d like before saving the edit.
- If you make a move that you’re not loving after all you can use the arrows on the bottom left of the photo frame to go back and forth between moves.
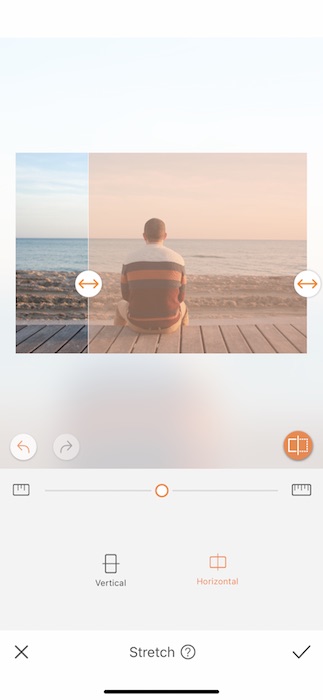
- You can easily maneuver between vertical and horizontal all in the same edit.
- Going back and forth between the two directions will help you find the perfect dimensions for your insta post.
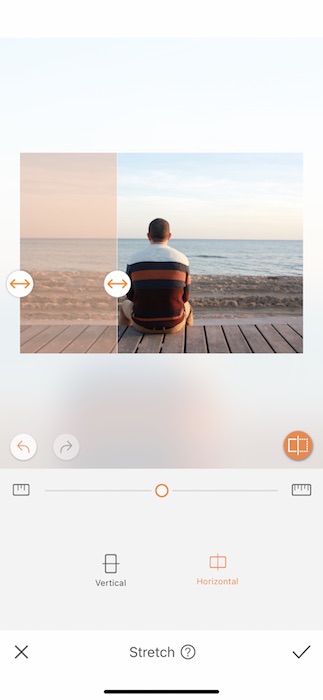

- Always make sure that the area you’re Stretching is pretty consistent in it’s details to avoid a poor edit.
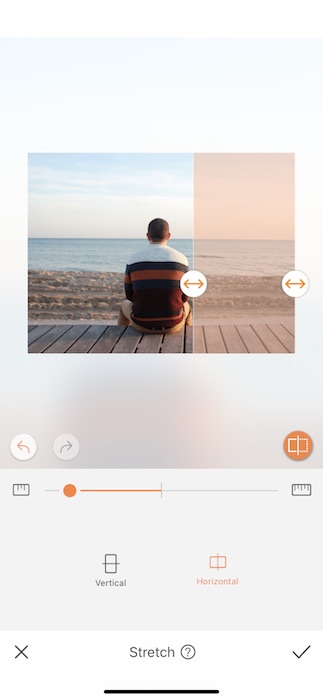
- Tap the check mark on the bottom right to save your edits!


Look at all that space! A person can breath finally with this much space!
Using it All


Now that we’ve done this all the easy way, let’s test out our new retouching tools with some obstacles.
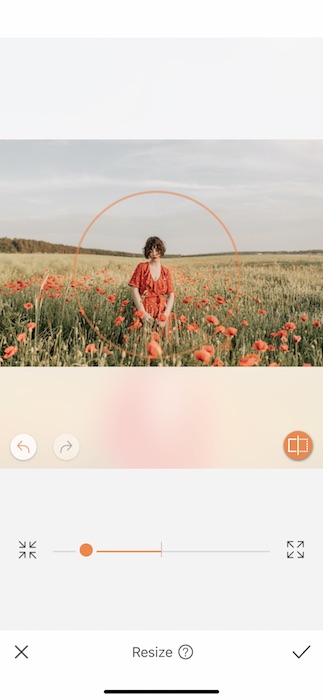
- Open your Resize Tool from your Retouch Tab.
- When selecting a full body you want to take in a wide selection.
- Drag the toggle to begin the Resize.
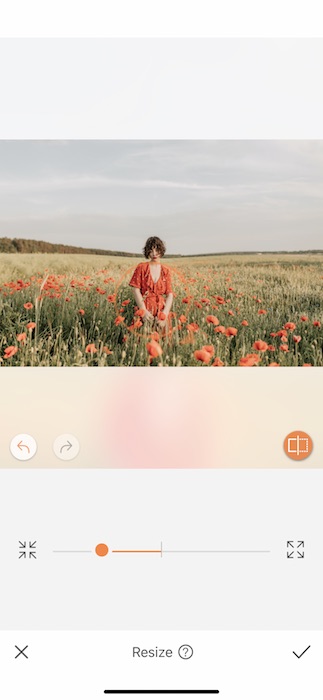
- A perfect example why is what happened with this Resize.
- To fix any disproportions you can simply select the area that’s off and resize that to get the proportions squared away.
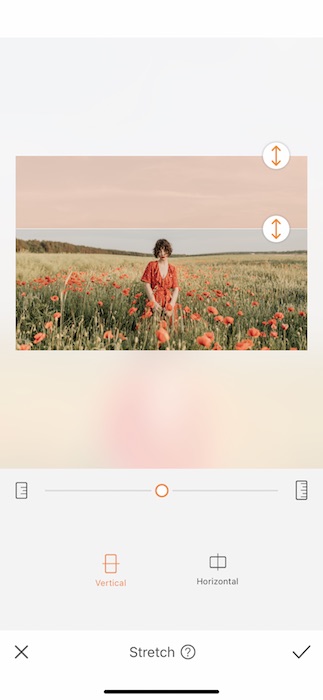
- Next, open up your Stretch Tool to open up that blue sky.
- Select the area and direction you need.
- Adjust the toggle to complete your edit.
- Tap the check mark to save your progress.

- Let’s finish this off the right way!
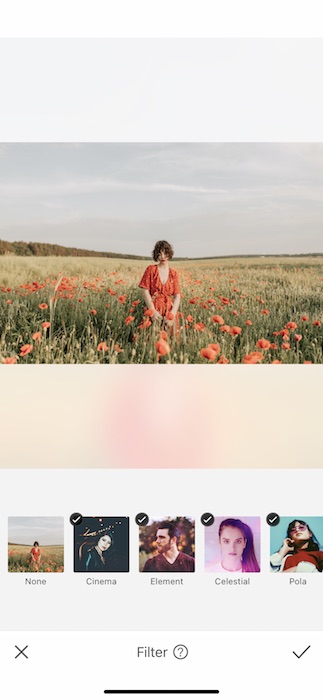
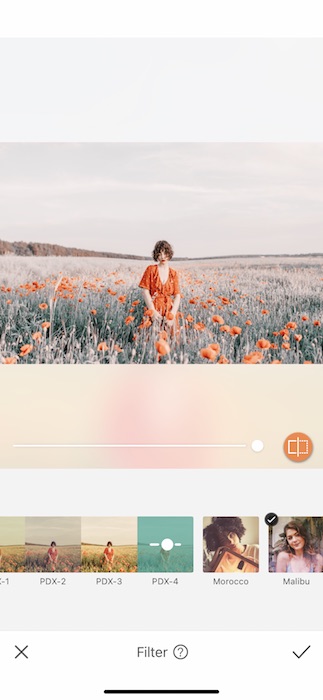
- Go to your Filter Library and find yourself a perfect Filter.
- For us it’s PDX-4 with all the weight it’s got.


Are you familiar with PROFESSIONAL CALIBER PHOTO EDITING FROM THE COMFORT OF YOUR PHONE? We are so excited to welcome you to the elite community of photo editors and can’t wait to see what you create. No, literally we can’t wait to see so please post soon and make sure to use the tag #AirBrushApp. We’d love to feature your work on the AirBrush official Instagram page, @AirBrushOfficial. Now go on out there and create!

- AirBrush Premium Feature: Sculpt - 03/11/2023
- Make the most of the Sculpt tool this Holiday Season - 02/11/2023
- How it’s Started, How it’s Going. Get that Glow Up! - 30/03/2021


- AirBrush Premium Feature: Sculpt - 03/11/2023
- Make the most of the Sculpt tool this Holiday Season - 02/11/2023
- How it’s Started, How it’s Going. Get that Glow Up! - 30/03/2021