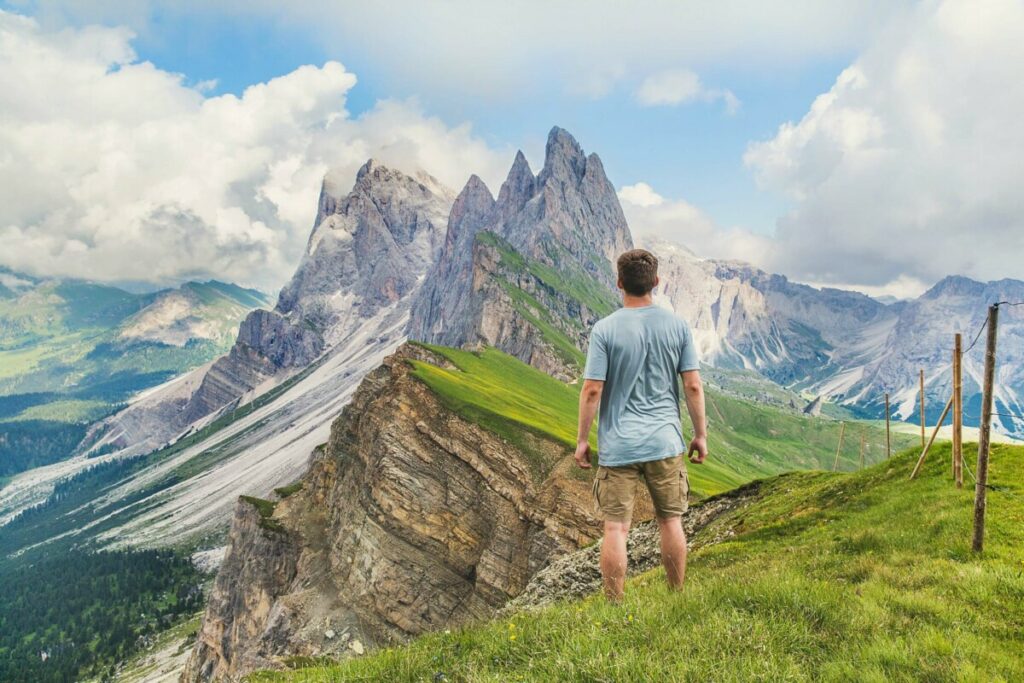
Are you a lover of the great outdoors? If yes, we bet a significant amount of your time is spent engaging in activities where you’re surrounded by nature and soaking up some pretty spectacular views. Activities like…you guessed it, hiking! While we don’t subscribe to the “pic or it didn’t happen” school of thought, there’s something about seeing ourselves dwarfed by dramatic natural backdrops that we just can’t resist. And once that’s been captured, AirBrush has a suite of tools to take your beautiful hiking photo to higher heights!
Enhance Your Environment
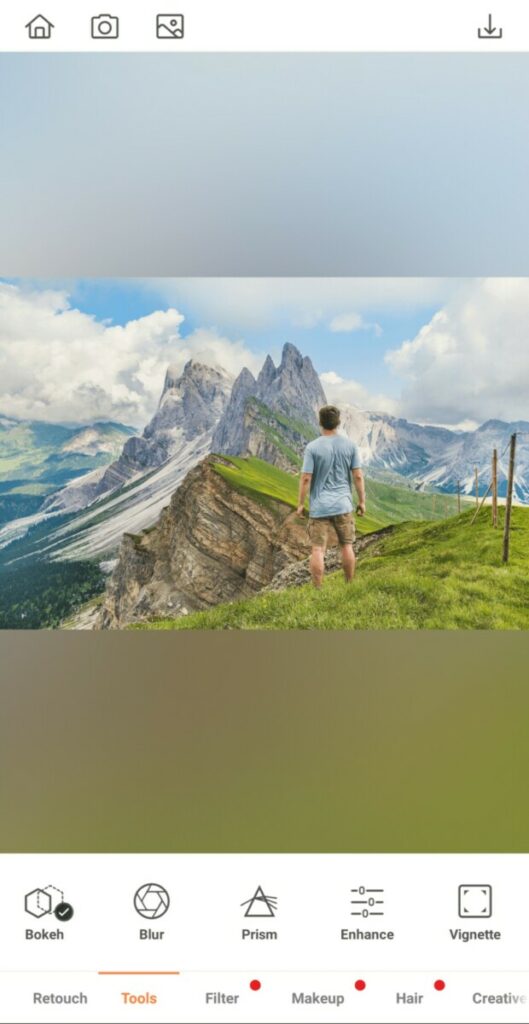
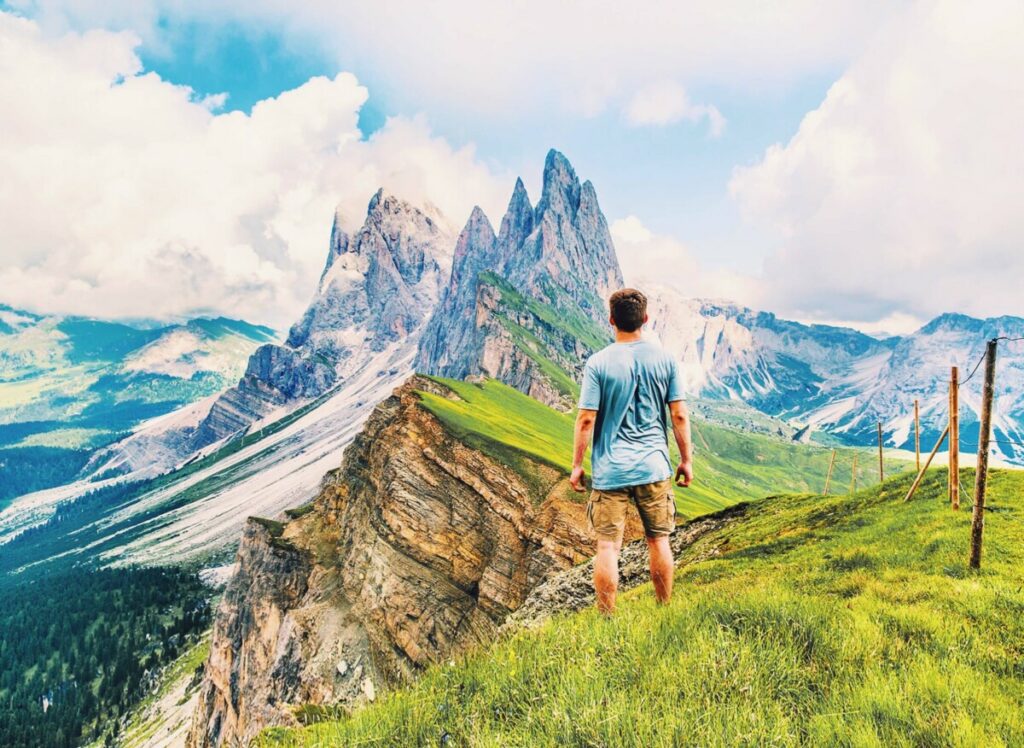
There’s nothing more beautiful than nature in its natural state, but that doesn’t mean we can’t give her a little help with a few minor enhancements. Why not make the landscape around you pop even more with just a few taps of your finger?
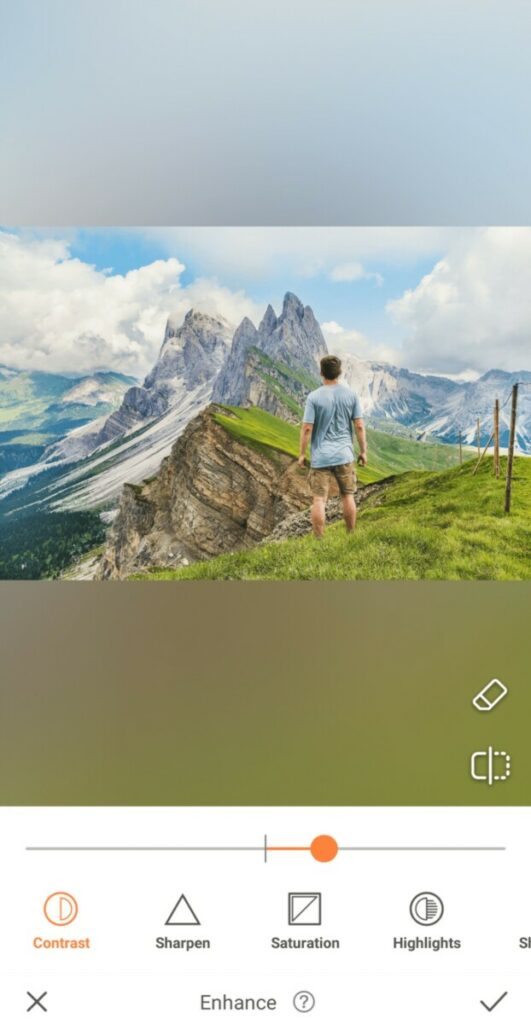
- Select Enhance Tools
- Go to Contrast and slide the cursor to increase the intensity of the image
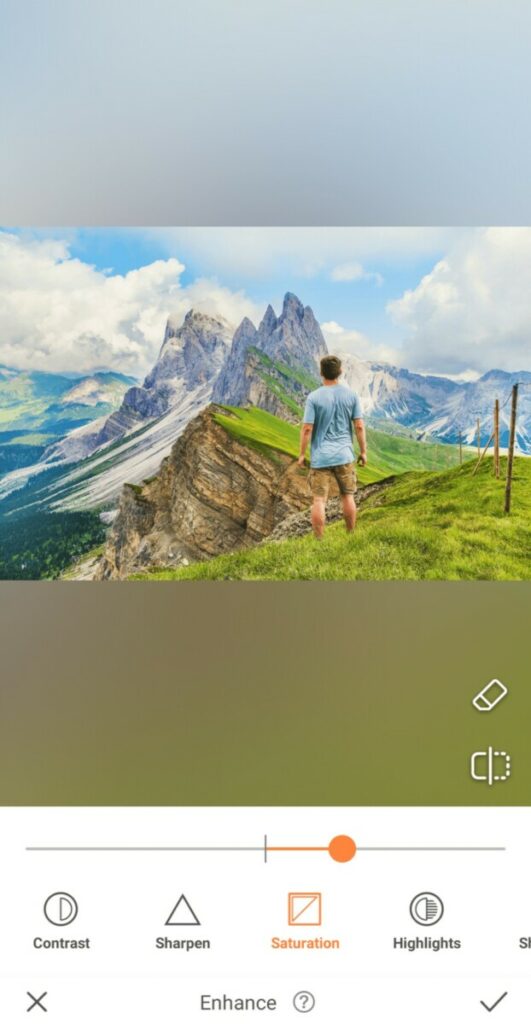
- Next, select Saturation and slide the cursor to the right to make the landscape’s hues even more captivating
- Tap on the checkmark to save your edit
Pay Attention to Detail

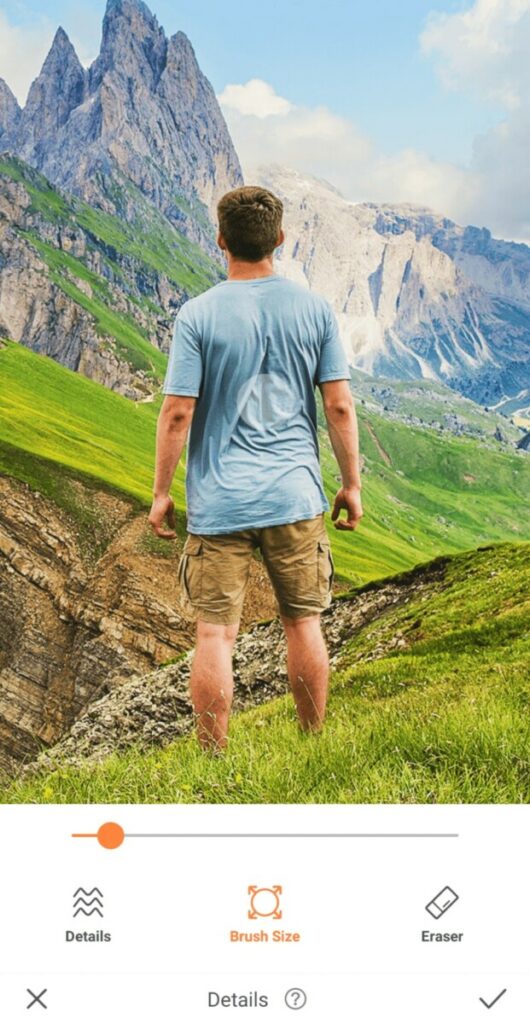
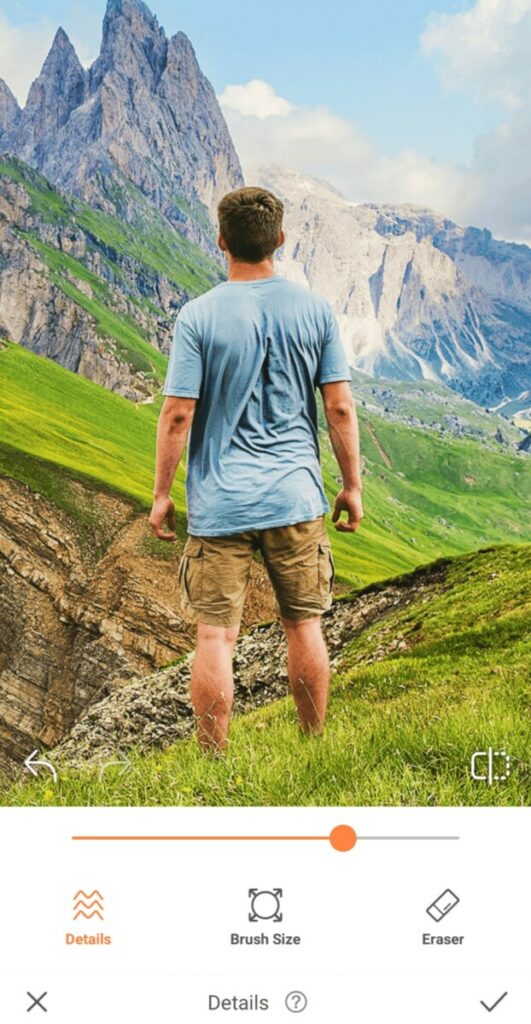
It’s easy to get lost amidst towering rolling hills and views that stretch on for miles. Especially when you’re occupying just a small piece of real estate in the frame, it’s important that you stand out – while still allowing Mother Nature to take center stage. But, have no fear, that’s why the Details Tool is here!
- Select the Details Tool in the Retouch tab
- This Tool allows you to sharpen and emphasize any surface or item you swipe across.
- For precision, zoom in and move the brush over your clothes to let them stand out.
- Tap the checkmark to save your edit
Bigger is Better
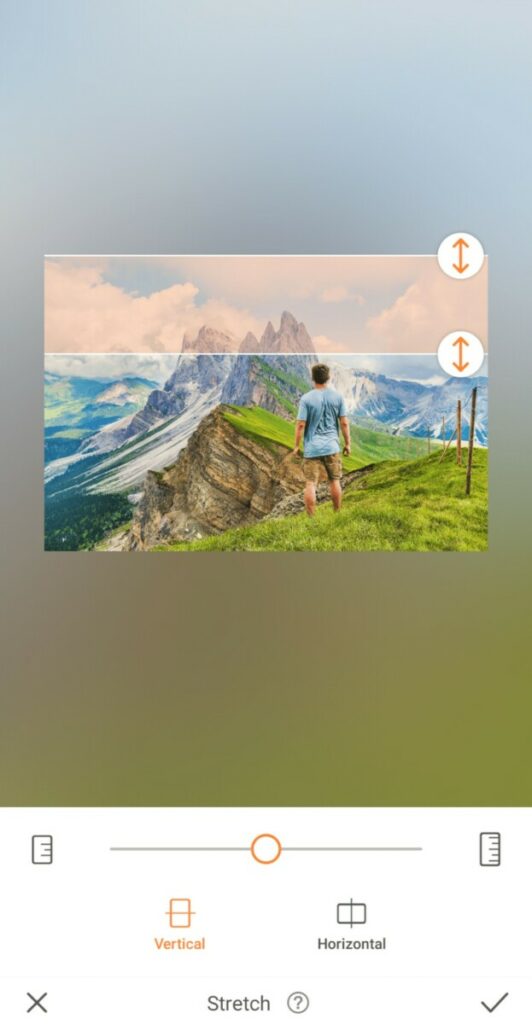

When it comes to capturing landscapes, we live by the rule, “The more the merrier.” The more of those rolling green hills and bright blue skies we can see, the better! That’s where the Stretch tool comes in!
- Find the Stretch Tool in your Retouch tab.
- You’ll have the option to Stretch either vertically or horizontally
- To make the most of this stunning landscape we’ll be doing both
- Drag the arrows to cover the area you’d like to Stretch
- Once you’ve selected your area you can move the center toggle to the right to Stretch the area.
- Tap the checkmark to save the edit.
Put a Filter on It
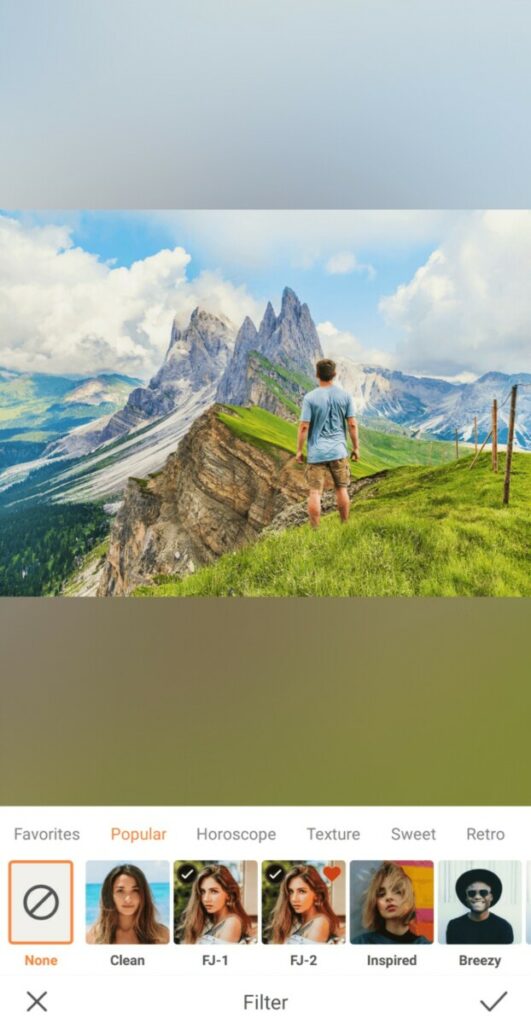
When it comes to outdoor edits, we like our Filters the way we like our scenery: Vivid. Of course, there’s no need for you to follow our lead because there are dozens of AirBrush filters that will be the perfect final touch to your hiking photo edit.
- Go to your Filter Library
- Select a category based on the scene you’d like to set (Texture, Sweet, Retro, Atmosphere, Color, or Foodie)
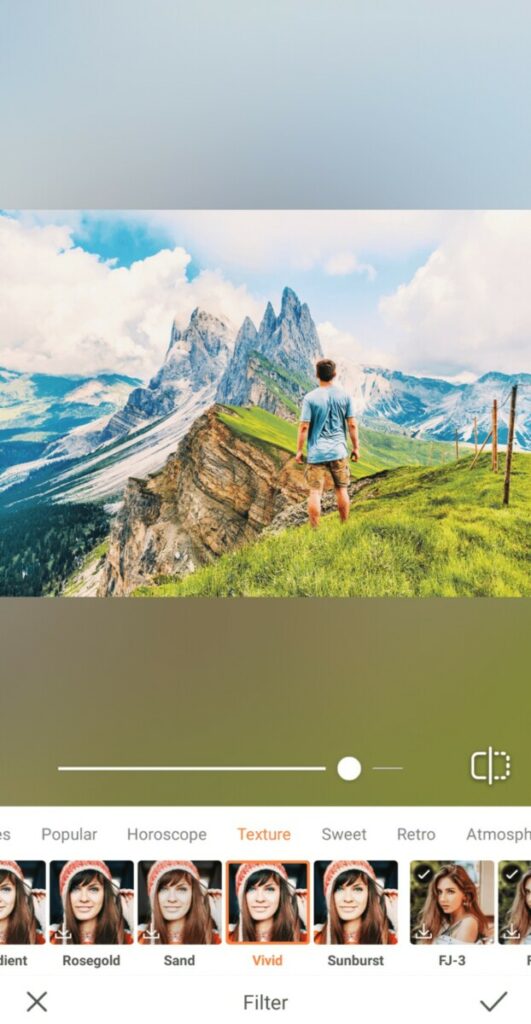
- Select the filter that works best with your photo
- Use the center toggle to adjust the strength of the Filter
- Tap on the checkmark to save your edit
After exerting all of that energy on an exhilarating hike, it’s nice to know that AirBrush will make the process of editing your epic images a breeze. Relive your adventures by sharing gorgeous photos of your hiking excursions using the hashtag #AirBrushApp. Be sure to follow us on Instagram at @AirBrushOfficial for more tips and tricks to take your photos to the next level!