Video is king! In case you hadn’t noticed, most apps are herding us towards integrating and utilizing more videos on our timelines. Being your go-to photo editor, here at AirBrush we want to introduce our video editing app AirBrush Video. We can’t wait to show you everything this app can do but let’s start small and work our way up! First up is creating a simple video Reel using a photo dump – let’s get started!
First Things First
A photo dump is an uncurated display of the photos in your photo gallery for a selected period. So for a day, a week, a vacation, a conference etc. You don’t want to spend too much time in the selection process. So just make sure you’re not selecting photos that should remain private.
Filter and go!
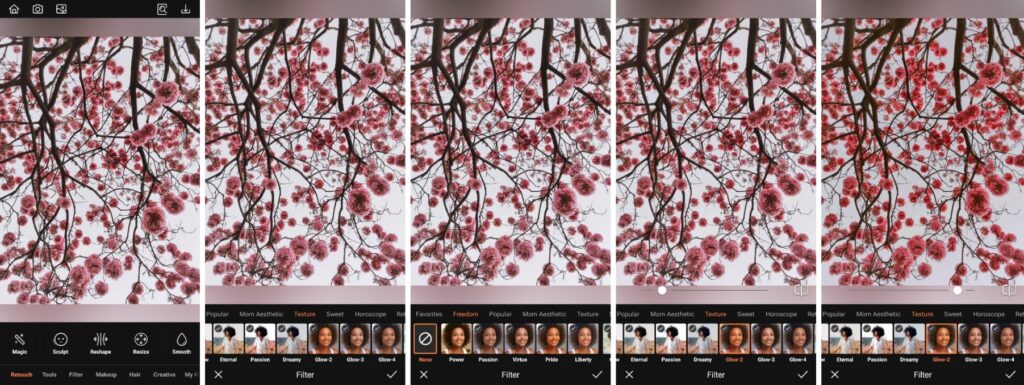
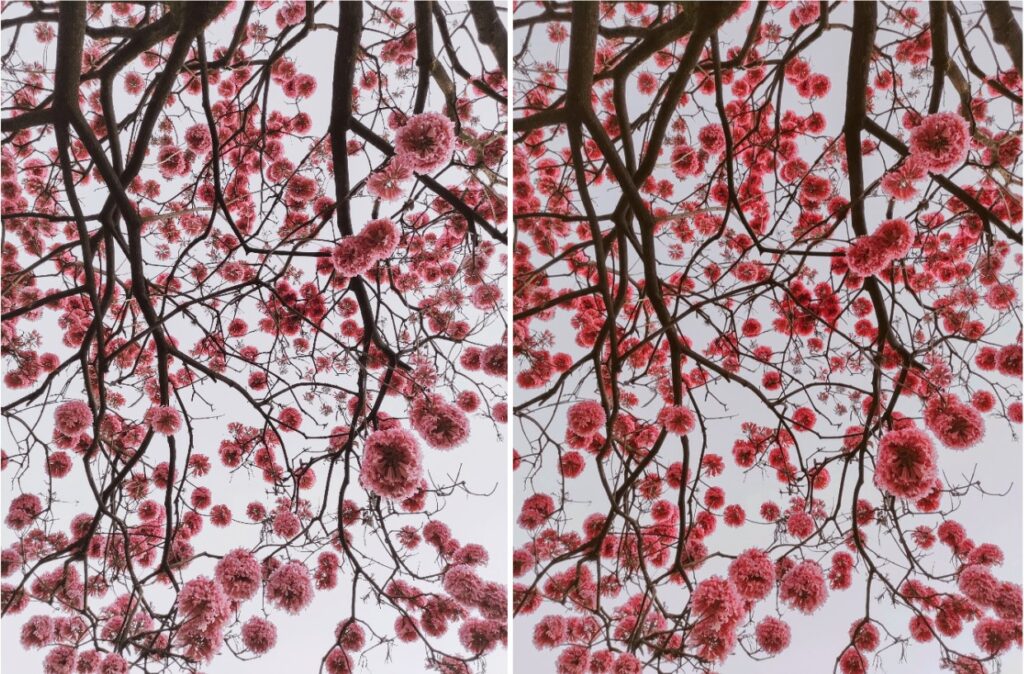
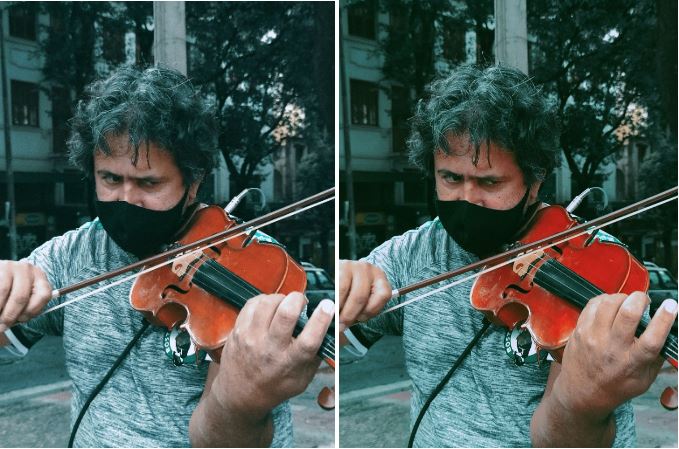
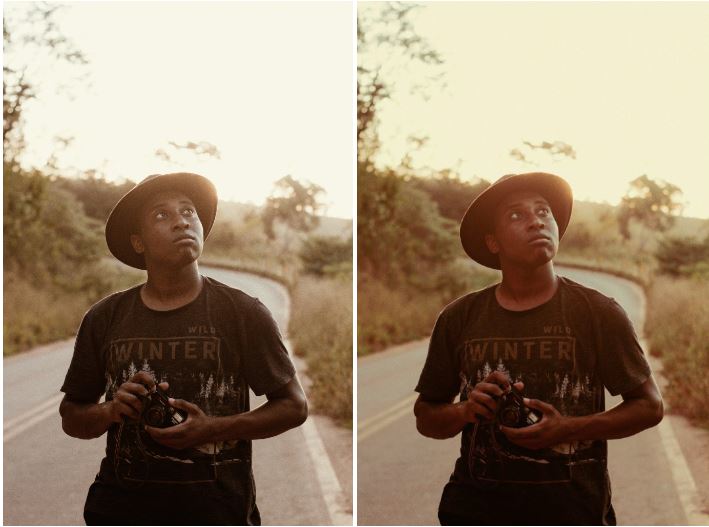
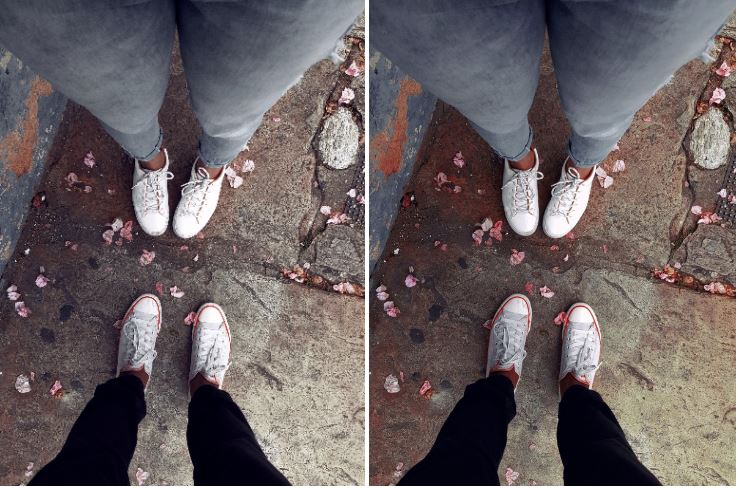
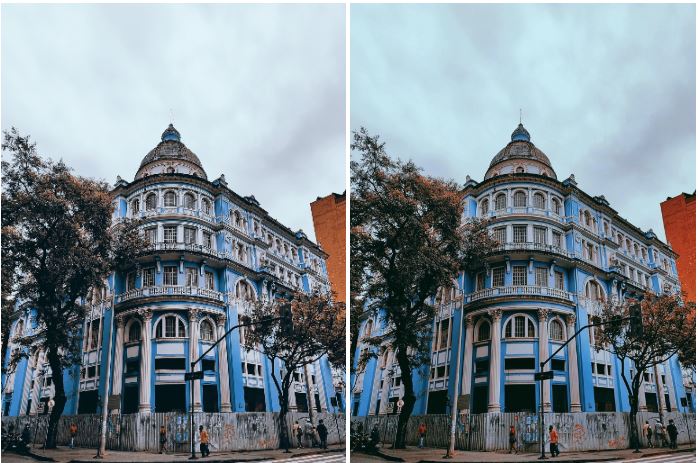
You’ll need to make sure the look of your photos is cohesive even if the subject might not be. Applying one of our 300+ is a quick and easy way to do this. For our photo dump, we selected five photos and applied the Glow-2 Filter for a uniform look that boosts saturation and warmth. We applied the same filter to all of our selected photos. Once your photos have been enhanced, it’s time to turn them into an Instagram reel.
- Go to the Filter tab on the main menu.
- Go to the tab on the main menu
- Choose the most suitable option to apply
- Toggle the intensity with the slide bar
- Tap the checkmark to save your edit
Reel ‘em out!
Now that you have your selection of edited photos, you can start creating your Instagram reel. AirBrush Video allows you to set the photos to music, select interesting transitions and generally, better capture the interest of your audience. This is, in part, because you can add more variables that show off your personality versus a static photo. Let’s take it step by step:
- Once you open the app, select from the gallery which photos you’d like to use. In this case, we chose five.
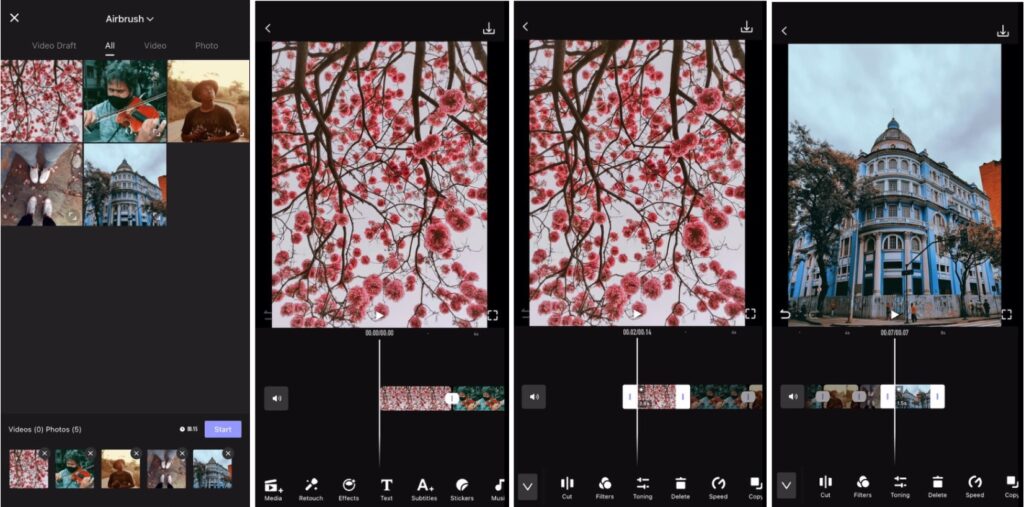
- When the selection is completed, you’ll be shown the video timeline, with each photo as its own frame. You can adjust the length of each frame by holding and dragging the divider between photos. We reduced ours to 1.5 seconds each.
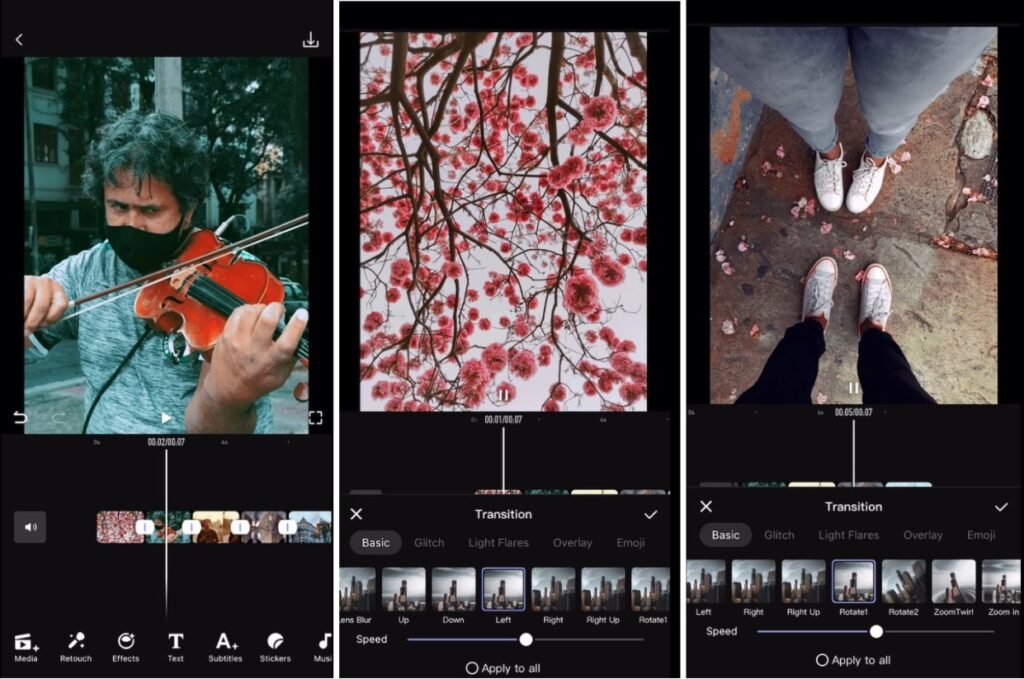
- Next, inject some visual interest with transitions! On the main menu, select the Effects tab and scroll through to select a transition. To apply a transition, just ensure the selection bar is running through the frame you want to apply the transition to. You can adjust the speed of the video by toggling the bar below the transition menu. There is also the option to apply the same transition to all the frames in your photo dump video.
- Be sure to view the video to see this draft of applied effects.

- Then you only have to confirm the resolution and frame rate of your video before saving the video. Be mindful that higher resolutions and frame rates take up more space on your device.
Once you’re satisfied with your edit, click the Save to Album button to save the video.
Now reel ‘em in!’
We know it seems like a lot and you even feel intimidated by videos. But we promise this process is a smooth and easy one to get your Instagram Reels page going. The best part is that you’re using the photos you already took to create a new piece of content and we love a two-for-one special. AirBrush, the easy photo editor, will turn your photo dump into a piece of usable content in no time. Tag your new video posts with #AirBrushApp so we can see what you come up with. Then, follow us @AirBrushOfficial for our latest tips, tricks and hacks!
- How to Keep Photobombers out of your Photos - 03/11/2023
- 7 AirBrush Editing Tools for Influencers to Easily Enhance Their Photos - 03/11/2023
- 7 Tools for Easy Photo Edits with AirBrush - 03/11/2023


- How to Keep Photobombers out of your Photos - 03/11/2023
- 7 AirBrush Editing Tools for Influencers to Easily Enhance Their Photos - 03/11/2023
- 7 Tools for Easy Photo Edits with AirBrush - 03/11/2023