In today’s tutorial, we are going to learn how to use the Background tool of the AirBrush app. While taking pictures, the background must be taken into consideration, as it can affect the whole mood of the photo. From too dull to too busy, choosing the right background can be difficult. That’s why this tool is made for you. In a few clicks, you can change it and create unique pictures!
The Background tool
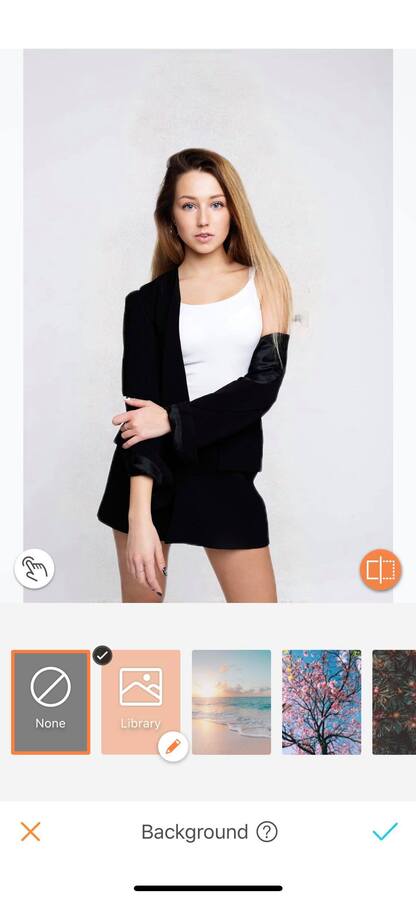
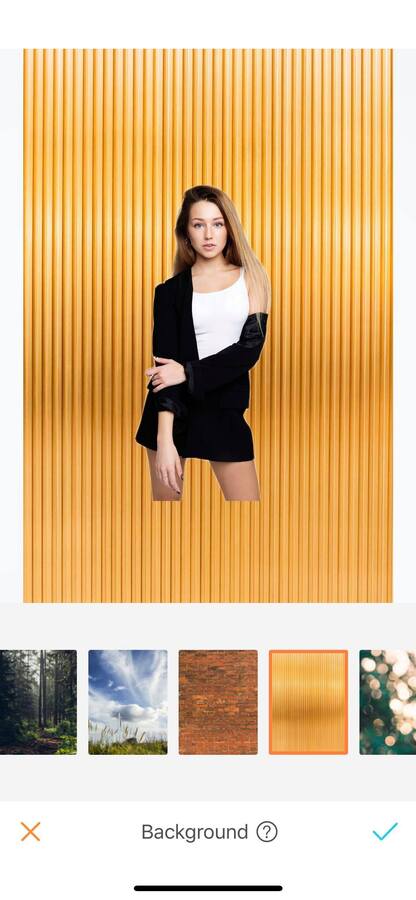
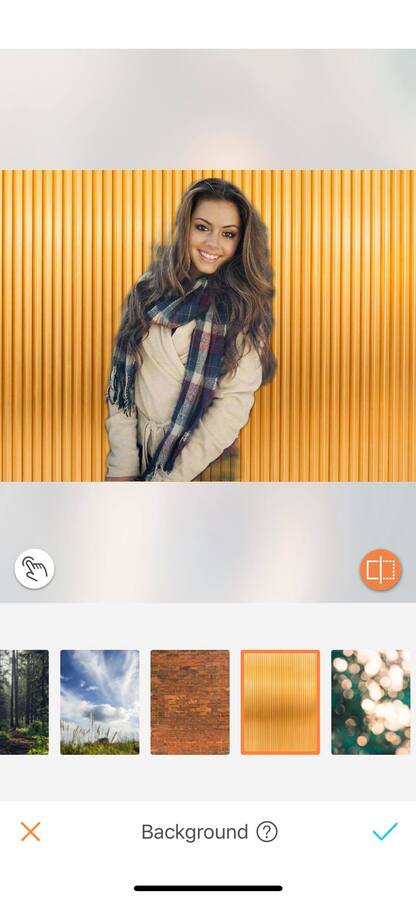
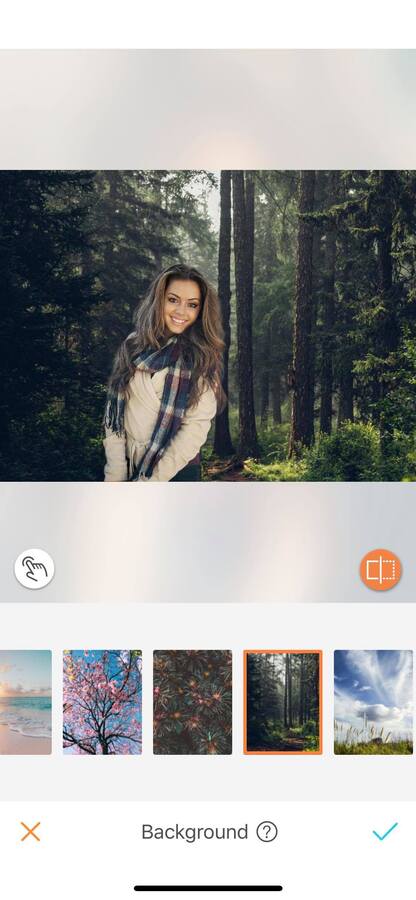
First, upload your picture into the AirBrush app and open the Background tool. This is located in the Tool menu.
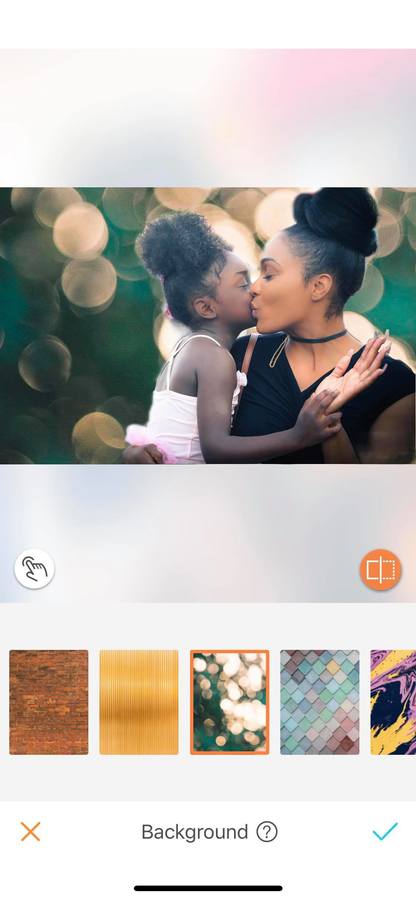
This feature gives you access to 17 different optionss. Some are related to nature like an amazing beach, a mysterious forest, and even some romantic cherry blossoms. Others have more industrial touch, such as a brick wall or a steel wall. There is also a range of unicolor backgrounds and more ‘artsy’ ones. There is one for every taste!
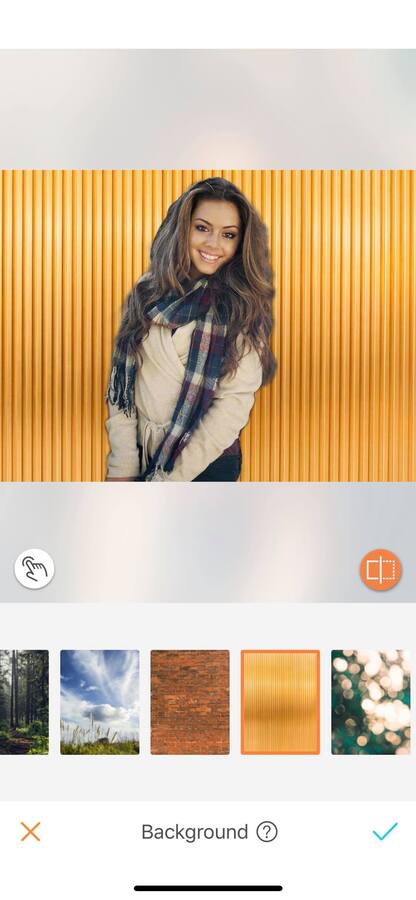
Once you have decided which background you are going to use for your edit; simply select it. It will be applied automatically to your picture. Easy isn’t it?
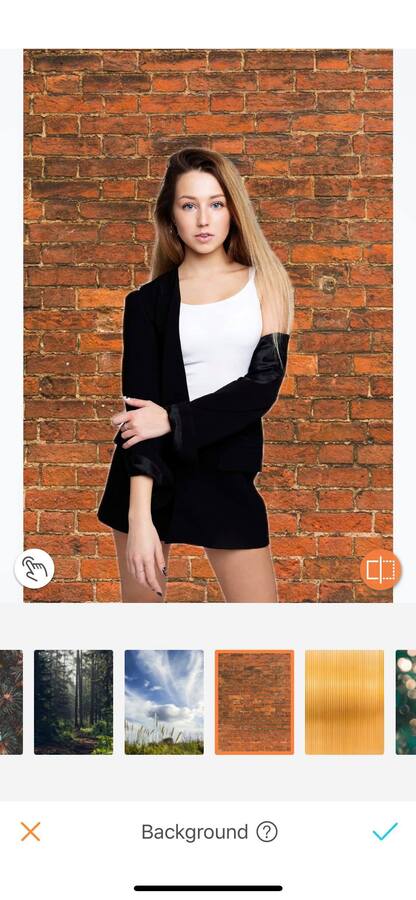
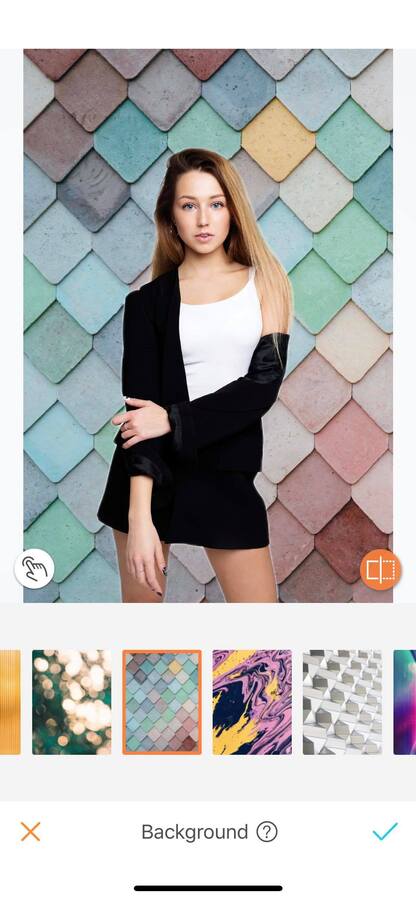
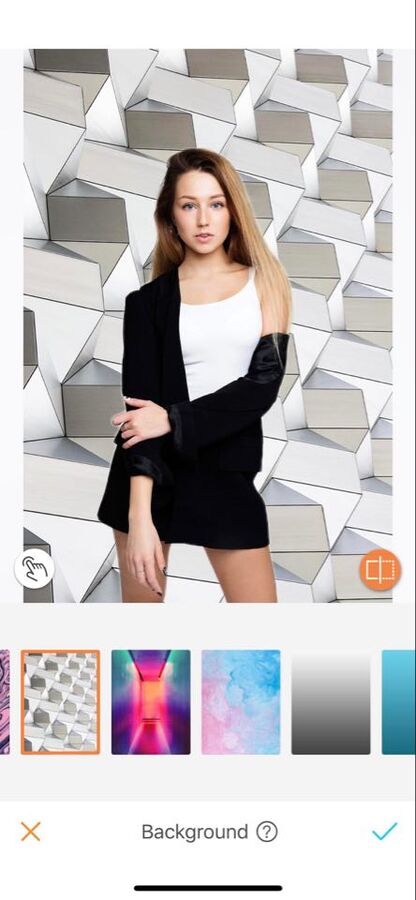
Pro tip: If you aren’t satisfied with the initial background you have chosen, simply jump from option to option. It will be applied automatically.
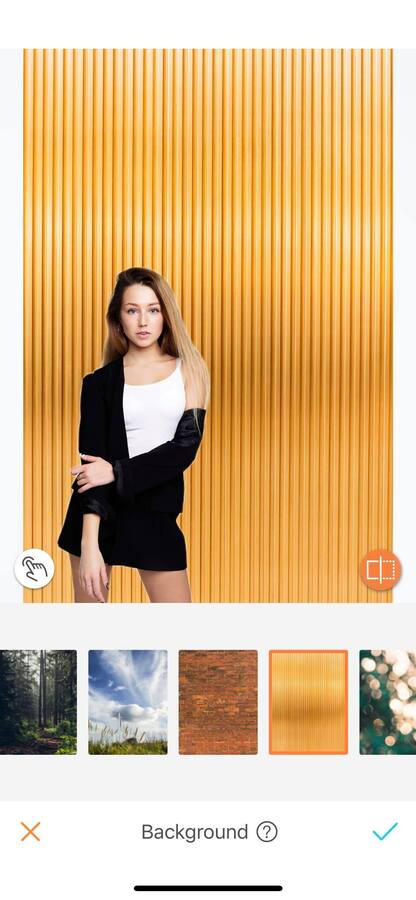
Size and position
Once you have your new background you can now move the ‘object’ in your photo. The ‘object’ is part of the original picture; usually yourself. You can also increase or decrease the size of your original photo. This will allow us to create some depth. The smaller the ‘object’ in your photo is, the further away it looks to be from the camera, and vice versa with enlarging the ‘object’.
To do this, simply drag and press the object with your fingers.

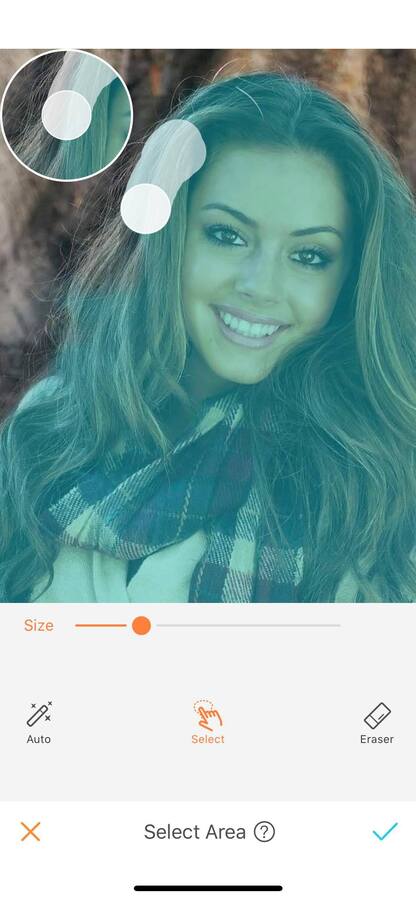
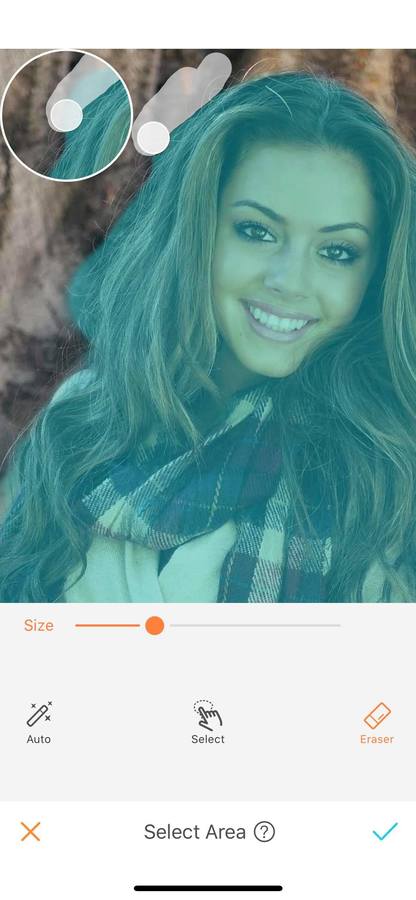
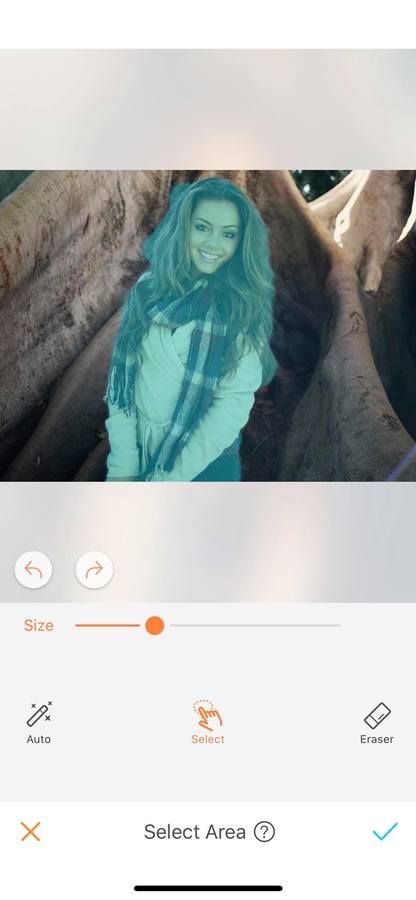
Select Area
While the Background effect will apply automatically, it is not 100 % accurate all the time. Especially if you are wearing the same colors as the background. For these situations, you can use the Select Area tool. This gives you the option to manually select the area to cut out in the new background.
First, go in the Select Area menu, located on the left side of your screen, and is represented by a ‘pointing finger’. Once you are in the Select Area tool, four options appear: Size, Auto, Select, and Eraser.
You can now start editing with the Select Area tool. The first step in your edit is to adjust the Brush Size. This goes from 0 to 100 and is adjustable throughout the whole edit. Then simply run your finger on your screen to select the area. For more accuracy, zoom in as much as needed.
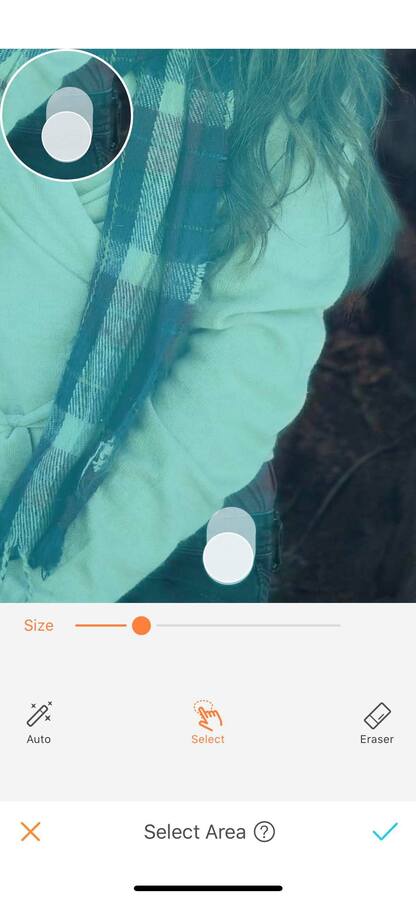
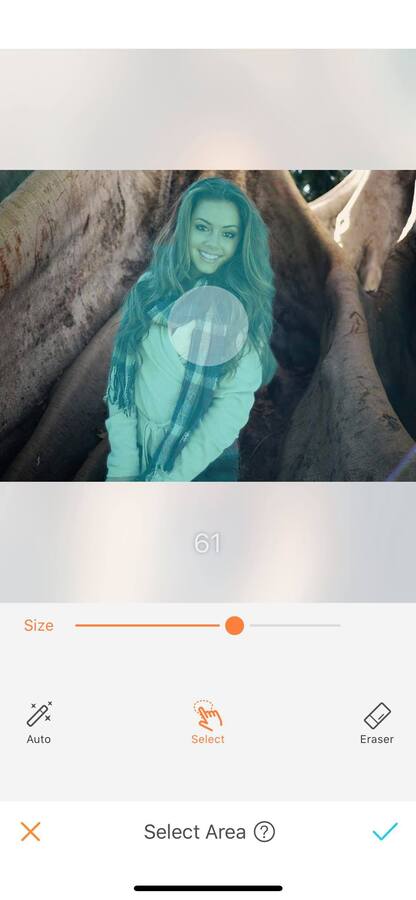
If you have made a mistake, or if the auto mode has selected some of the background, you can erase the surplus with the Eraser tool. To do this, select the Eraser option and run your finger to remove the selection.
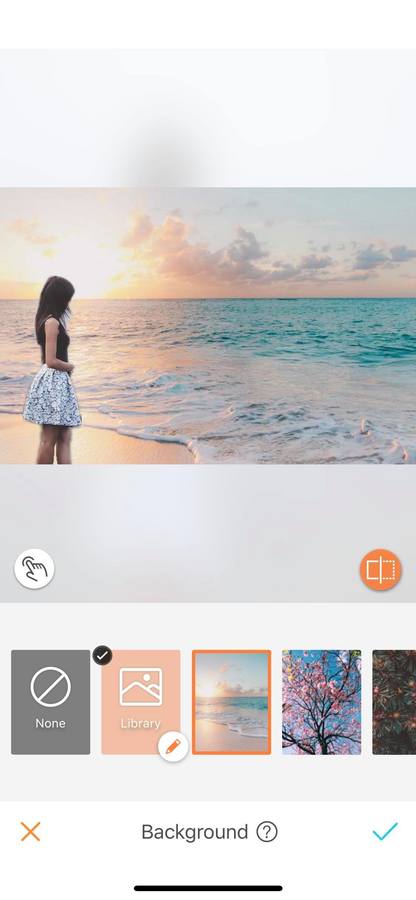
Take a walk on the beach
The magic of the Background tool is that in a few seconds you can be transported to a different scene, like this beach for example!
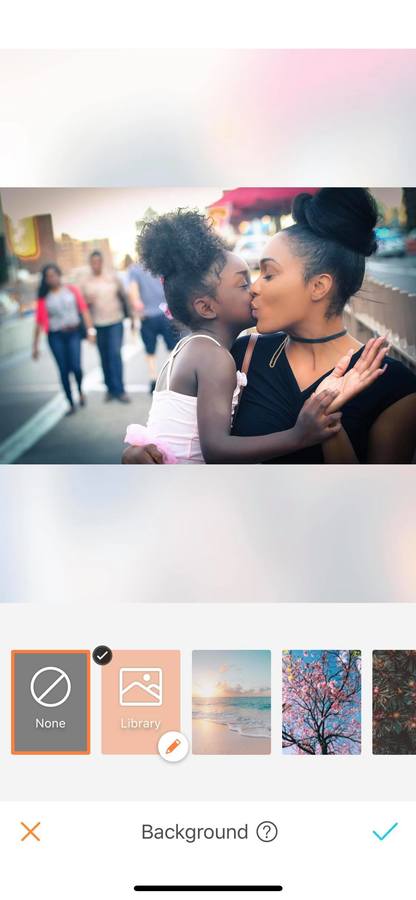
Make the moment even more magical!
Some pictures are beautiful, not because of their composition, model pose, or style. But because the people in it share so many emotions with the viewer. With this amazing tool, you can take these pictures to another level with a new background.
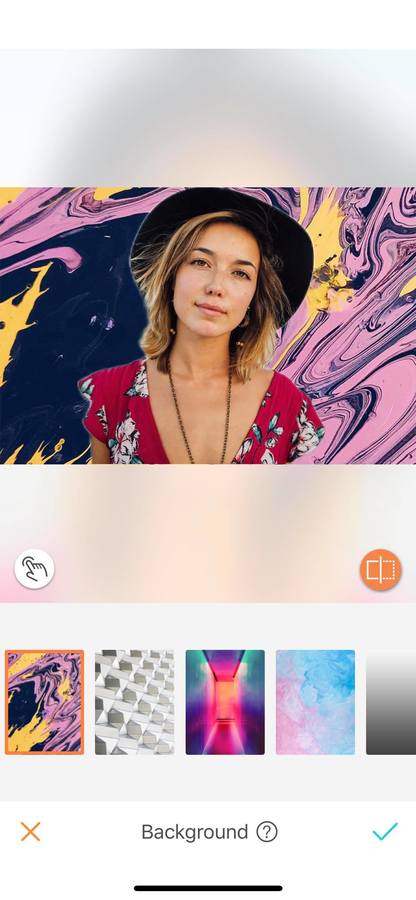
Play with art
If you are more like an artist soul, transform your portrait into a masterpiece with this tool. You can find some amazing backgrounds that will give your picture a completely unique vibe, only accessible to the AirBrush users!


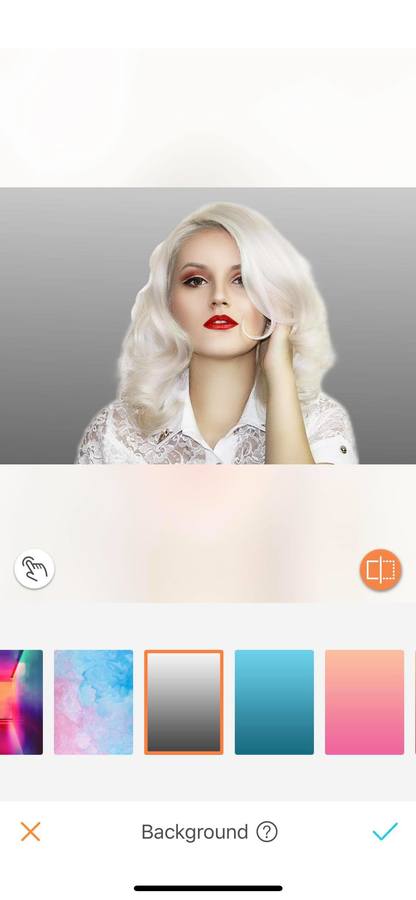
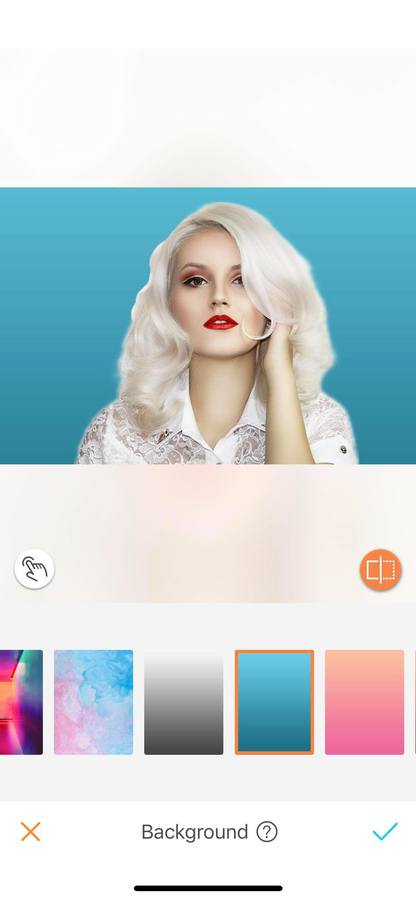
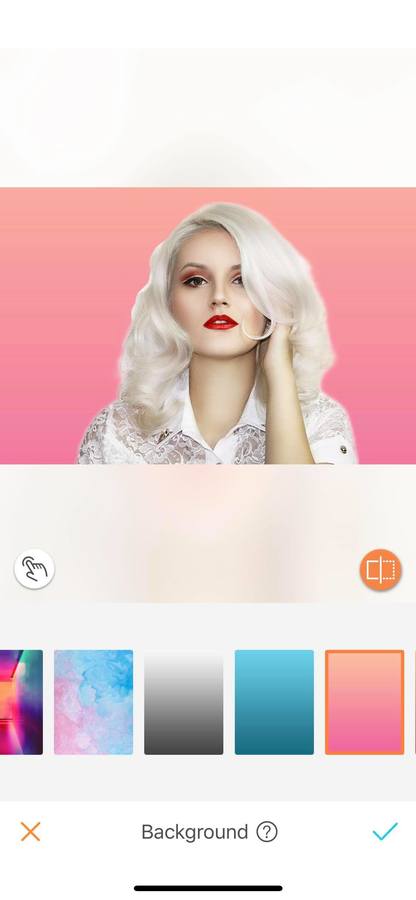
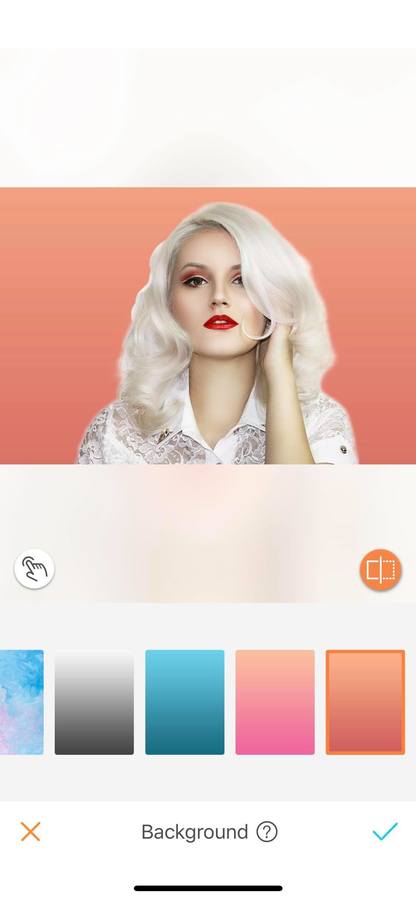
Basic coloring
Simple mono-color background can be a very powerful tool. For social media, such as Instagram or Twitter, it is important to have an ‘easy to read’ profile picture. It is proven that a portrait with a punchy background attracts the eyes and the followers. Bring your socials up to the next level with the Background feature.
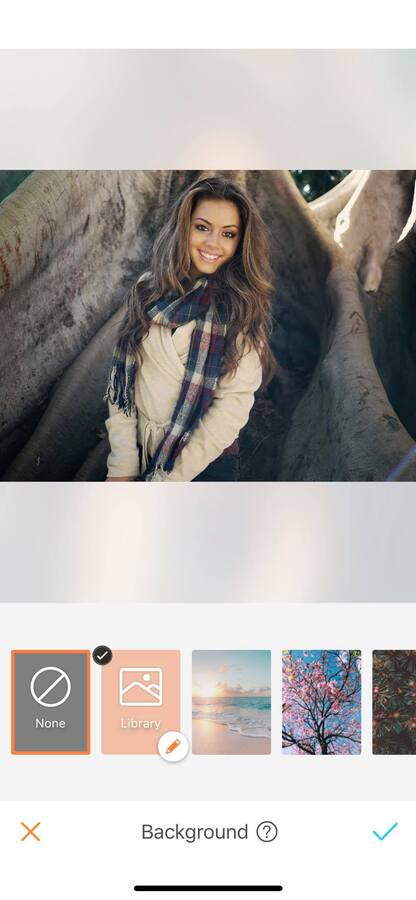
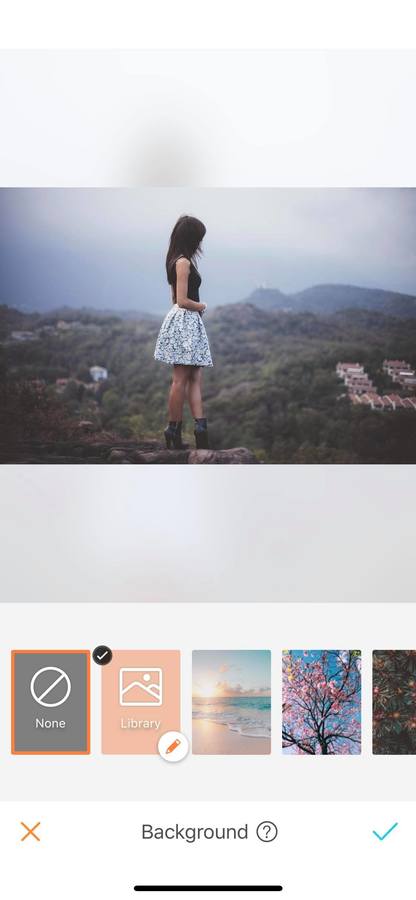
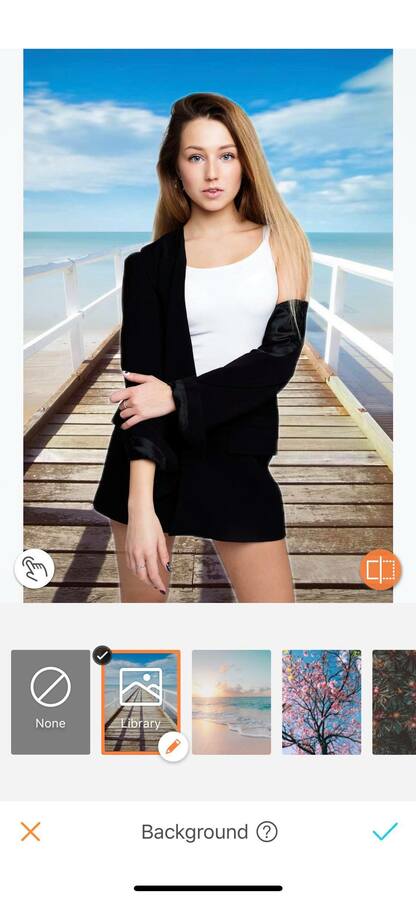
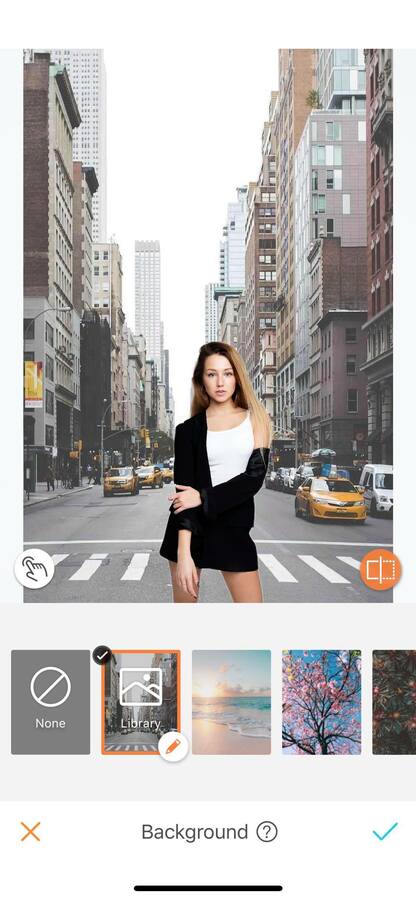
Personalize your background
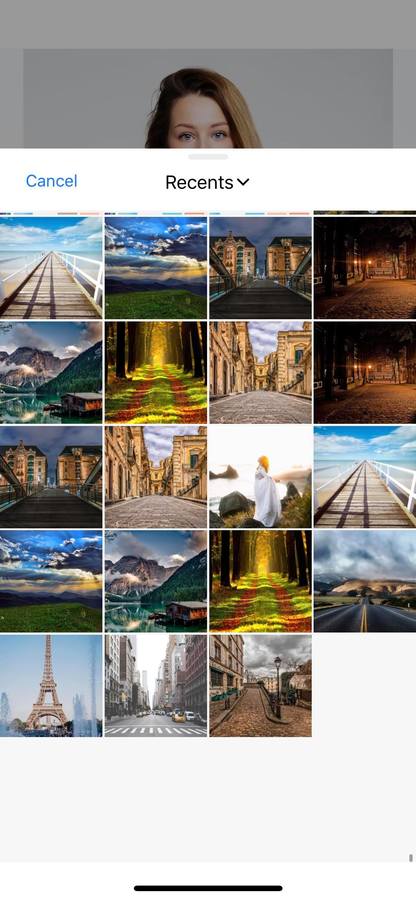
The Background tool offers you endless possibilities with the Library mode. This one allows you to choose any background from your own camera roll. This mode gives you all you need to express your creativity to the fullest!
To use it, simply choose the Library mode and select your desired background from your camera roll. However, you can only select one image at the time. If you’d like to use another background, simply repeat the process!
The only limit to the Background tool is your imagination! With this tool explore the world through your backgrounds! Now it’s your turn to find your perfect background. With the Airbrush app unleash your creativity and create unique pictures! Show us the results and join the AirBrush community on Instagram at @AirBrushOfficial, and follow us for more content, video tutorials, and a chance to be featured on the page with the hashtag #AirBrushApp.
- How to use: Sculpt - 03/11/2023
- How to use: Reshape - 02/11/2023
- How to use: Beauty Magic - 11/08/2023


- How to use: Sculpt - 03/11/2023
- How to use: Reshape - 02/11/2023
- How to use: Beauty Magic - 11/08/2023