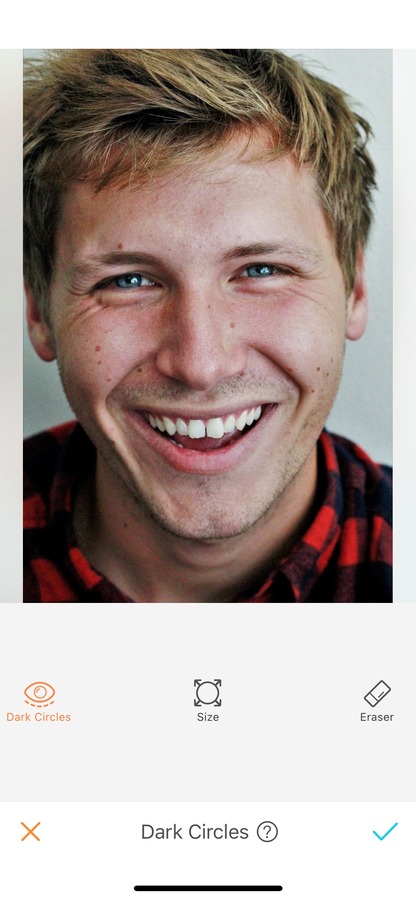
In today’s tutorial we’re going to learn how to use the Dark Circles tool in the AirBrush app. This tool brings light to your pictures and softens your dark circles.
Portrait photos are amazing but sometimes a shadow on your face or lack of sleep can create dark circles. Not to worry, the AirBrush app will get rid of them in no time!
How to use this tool?
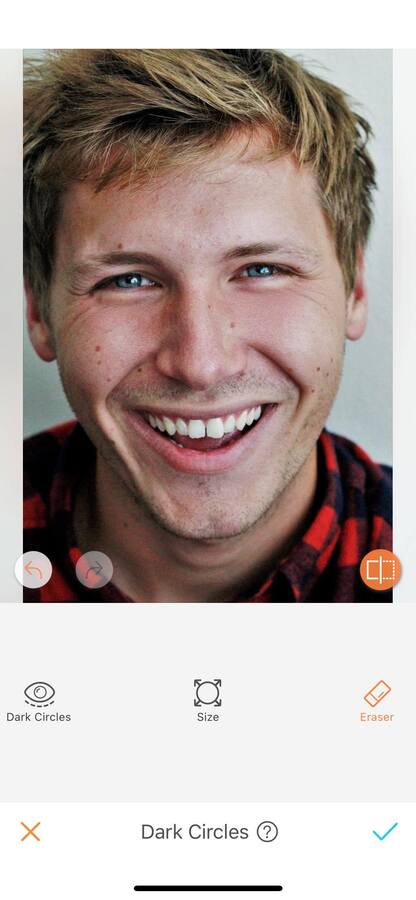
Open the retouch menu and slide to the Dark Circles option, represented by an eye with a line underneath. Once you have the tool open, three options will appear on your screen: Dark Circles, Size, and Eraser.
Size
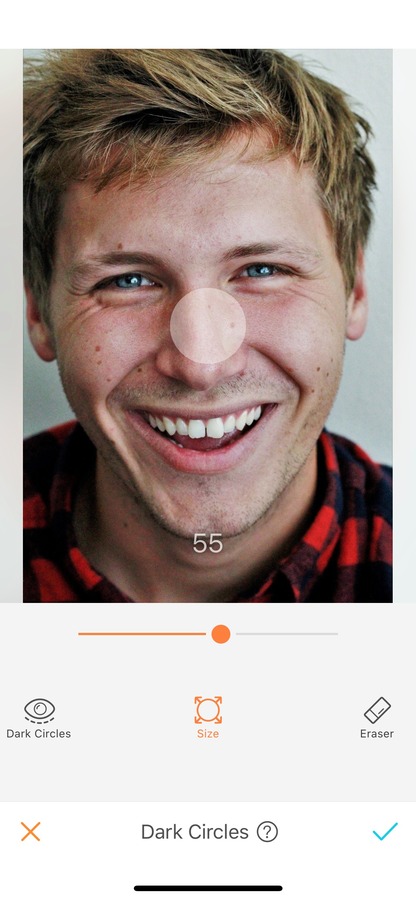
Adjusting the Brush Size is the first step on your editing journey. To do this, simply select the Size icon and drag the dot. You can now adjust your brush size from 0 to 100.
Dark Circles
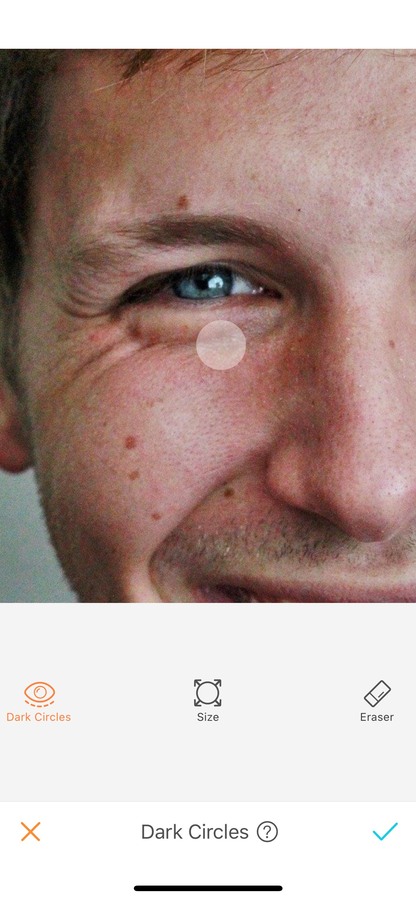
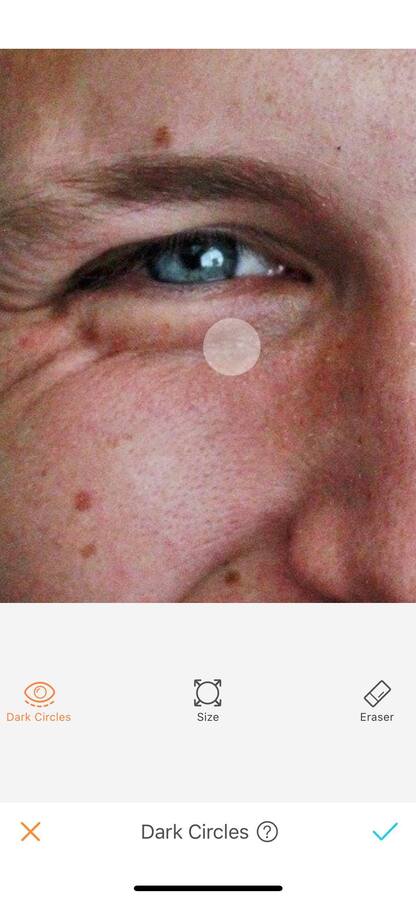
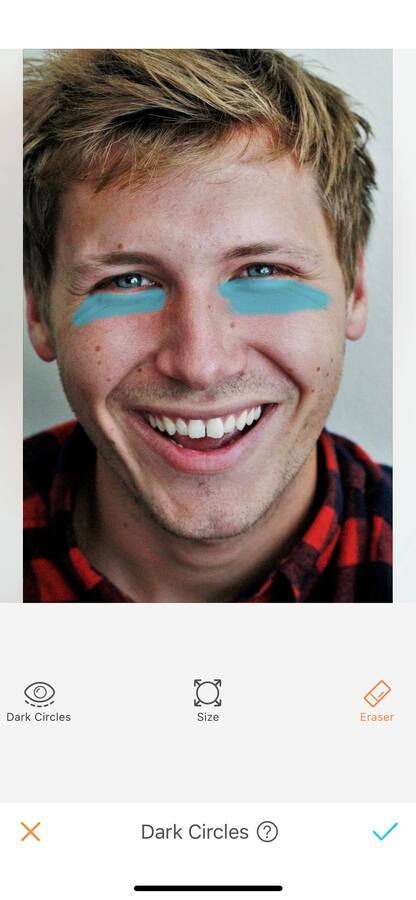
To apply the effect, select the icon and run your finger on the areas you want the effect to be applied. For more accuracy, zoom in as much as needed.
Eraser
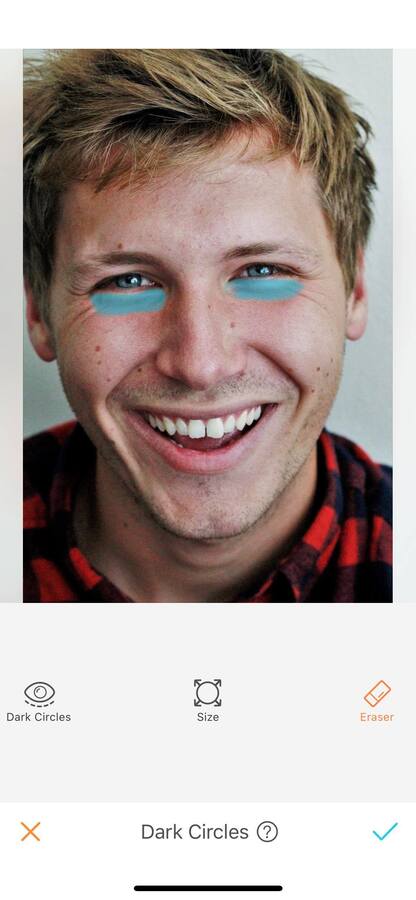
This feature also comes with the Eraser option. This allows you to remove parts of the effect without having to do the edit all over again. By selecting the Eraser button, the affected areas will turn blue to help you be more precise in your edit.
Do you use AirBrush every day? Join the AirBrush community on Instagram at @AirBrushOfficial, and follow us for more content, video tutorials, and a chance to be featured on the page with the hashtag #AirBrushApp.
- How to use: Sculpt - 03/11/2023
- How to use: Reshape - 02/11/2023
- How to use: Beauty Magic - 11/08/2023


- How to use: Sculpt - 03/11/2023
- How to use: Reshape - 02/11/2023
- How to use: Beauty Magic - 11/08/2023