In today’s tutorial, we are going to learn how to use Filters in the AirBrush app.
Filters are presets that modify a photo’s contrast, brightness, saturation, and more. They also alter the colors, shades, and textures, meaning you can upgrade your pics with a simple tap of your finger! How cool (and convenient) is that?
In fact, AirBrush, the easy photo editor, has over 200 for you to experiment with, ranging from colder to warmer tones. Are you ready to have some fun? Let’s show you how easy it is to upgrade your photos with Filters!
Find Your Filters
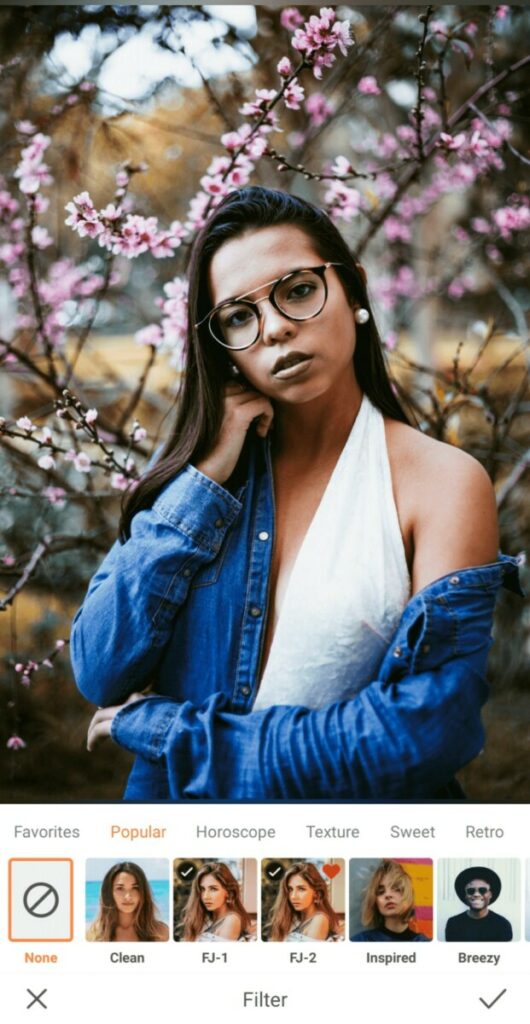
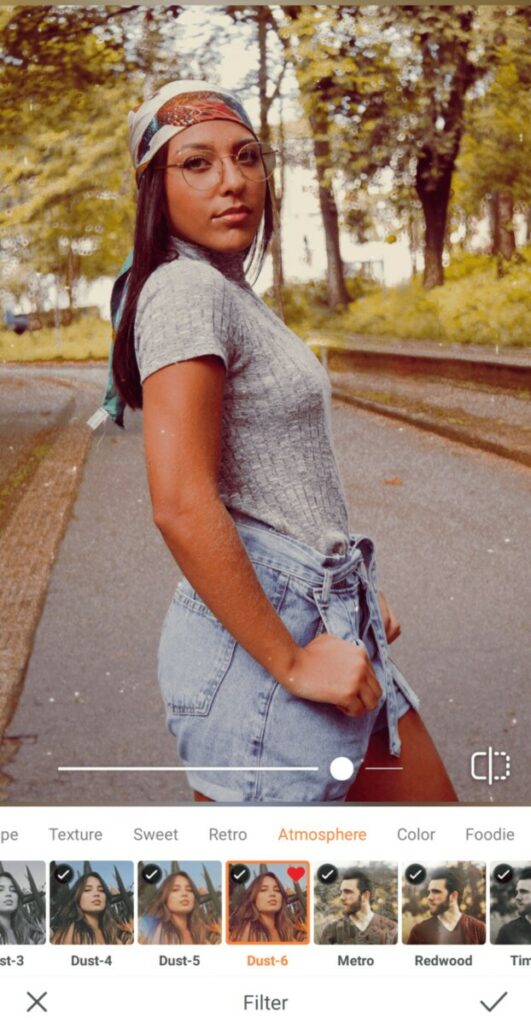
Once you have uploaded your photo, open the Filters feature. You’ll discover a wide selection, grouped based on their aesthetic.
There are 8 exciting categories in total: Popular, Horoscope, Texture, Sweet, Retro, Atmosphere, Colors, and Foodie. Select a category based on the mood you’re trying to create with your edit and scroll through the options available.
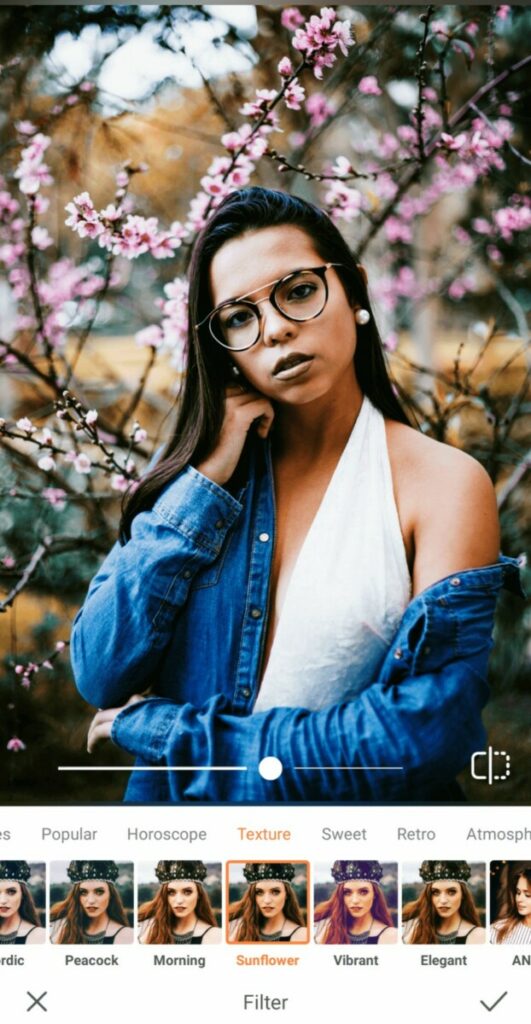
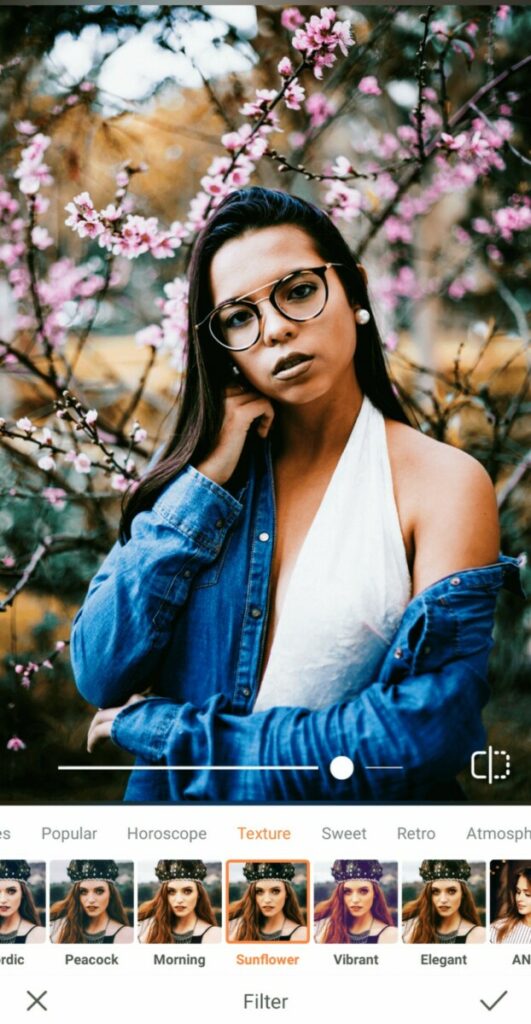
- Once you have selected the one you like, you can move the toggle to increase or decrease its intensity from 0 to 100.
- Remember though, sometimes “less is more”. You don’t want to increase the intensity so much that you lose the original essence of the image
Save Your Faves
There are so many AirBrush filters for you to experiment with, but we know there’ll be a handful that you love more than the rest. If you’ve found a few that you really like and will be using frequently in the future, feel free to save them in Favorites.

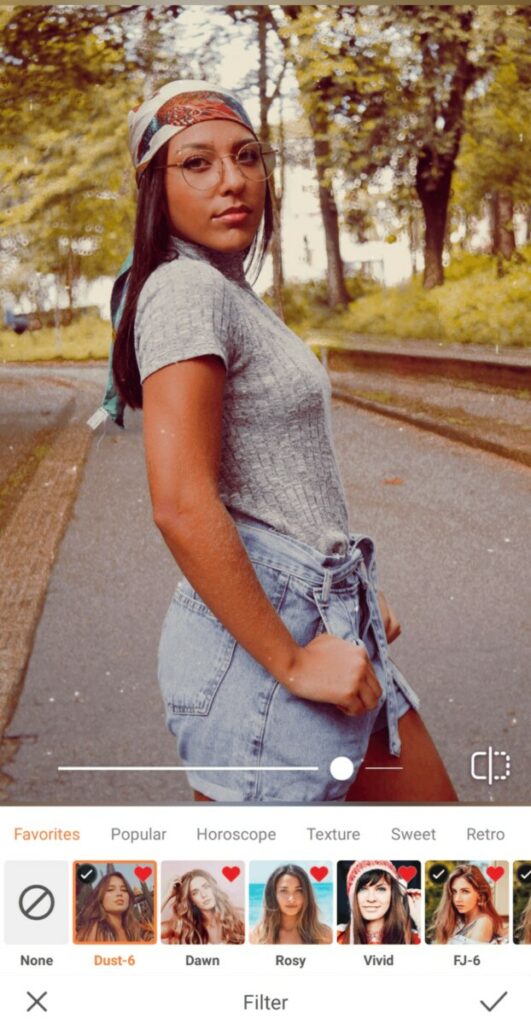
Here’s how you can make them easily accessible:
- Press down on the filter you would like to add to Favorites
- A red heart will appear in the top right corner of the image
- Next time you go to Favorites in the top menu, you’ll see all your fave filters together in one spot!


With the Filter feature, unleash your artistic touch and find the perfect style to match all your pictures! Show us the results on Instagram using #AirBrushApp and follow @AirBrushOfficial to join the AirBrush community!
- How to use: Airbrush’s Blur Effect - 30/04/2024
- How to use: Sculpt - 03/11/2023
- How to use: Reshape - 02/11/2023


- How to use: Airbrush’s Blur Effect - 30/04/2024
- How to use: Sculpt - 03/11/2023
- How to use: Reshape - 02/11/2023