In today’s tutorial we are going to learn how to use the Matte feature in the AirBrush app. This tool is ideal to even and smoothen the skin.
Skin textures are different for every person; some have oily skin, some have dry skin, and others have a mix of both. The matte effect will remove the oiliest or most illuminated parts of your skin. In this feature, you can adjust the brush size, the intensity, and remove the effect with the eraser tool.
How to use Matte
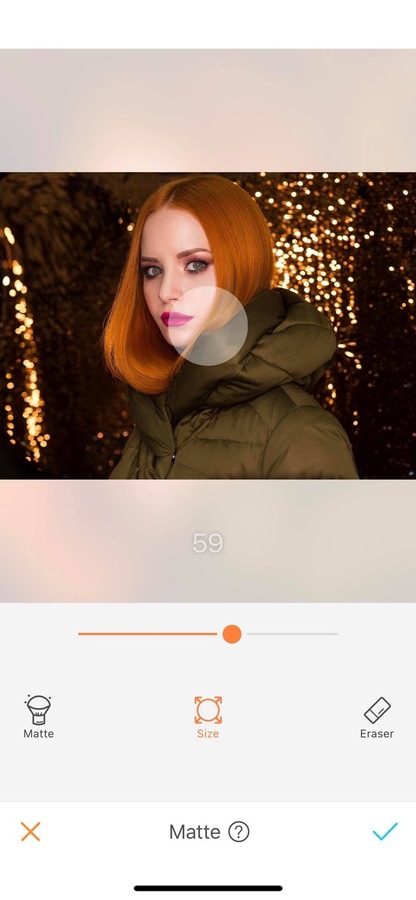
Brush size
As soon as you’ve uploaded your picture into the AirBrush app and opened the matte feature, the first step in your edit is to adjust the brush size. You can adjust the brush size from 0 to 100 by dragging the dot to the right or left.
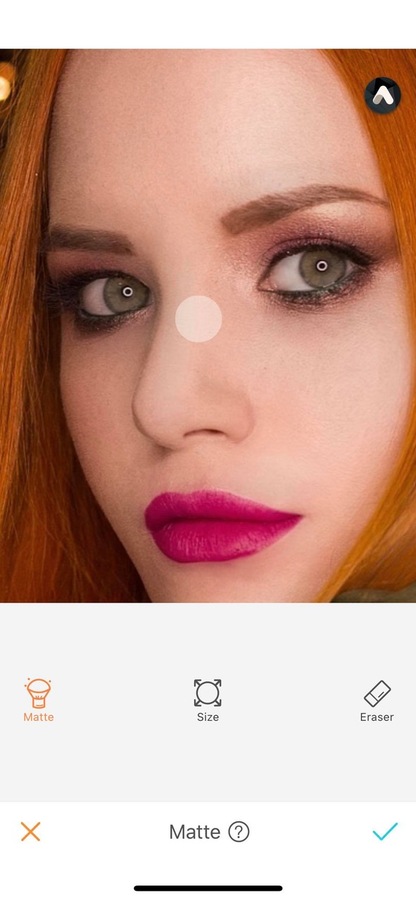
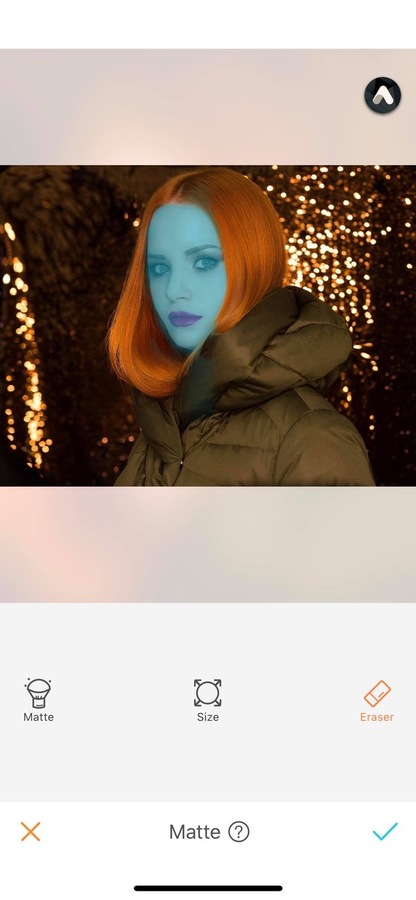
Matte
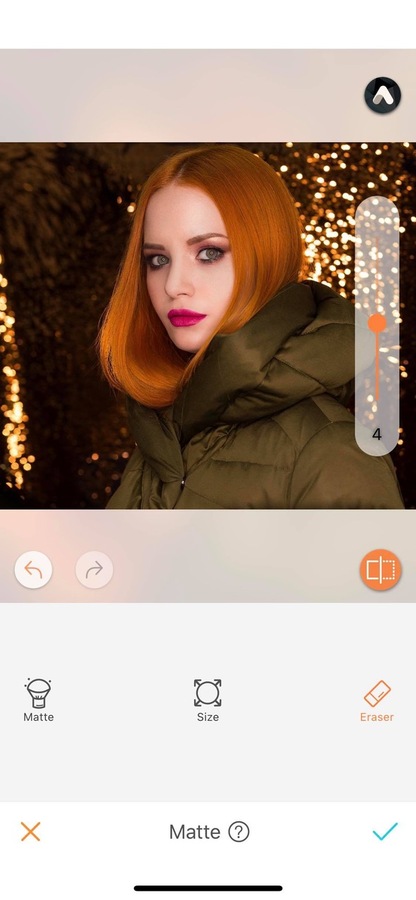
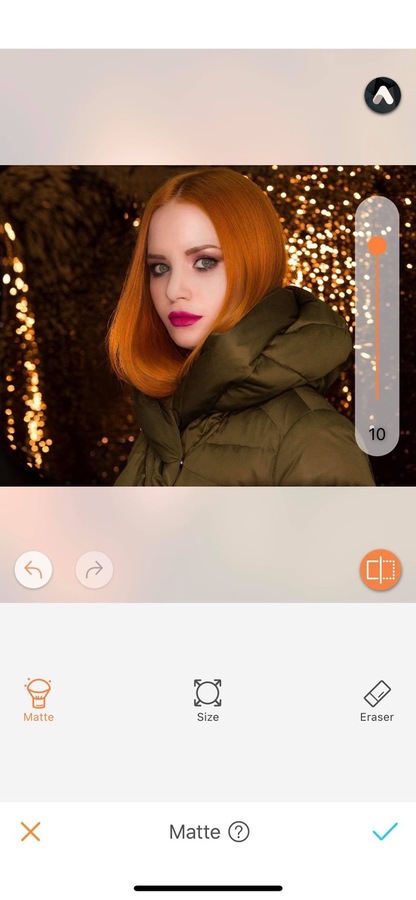
Once you’ve finished selecting the brush size, select the matte option. Then, Zoom in as much as needed and run your finger on the picture. The effect will apply automatically. Once you’ve done it, you can change its intensity from 0 to 10. To do this, drag the dot on the right-hand side of your screen.
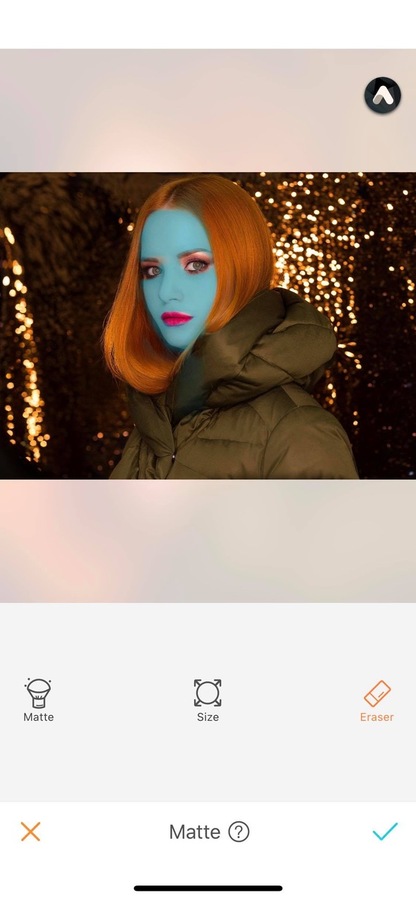
Eraser
With the eraser option, there’s no need to start over if you’ve made a mistake. This option allows you to remove the Matte effect on your picture. Select the eraser icon and run your finger along the area where you want the effect to be removed.
Seduced by the Matte effect? Try it on your pictures, take a selfie and head to the AirBrush app! Show us the results on Instagram with the hashtag #AirBrushApp .
With the AirBrush app in your pocket, all your pictures are a success!
- How to use: Sculpt - 03/11/2023
- How to use: Reshape - 02/11/2023
- How to use: Beauty Magic - 11/08/2023


- How to use: Sculpt - 03/11/2023
- How to use: Reshape - 02/11/2023
- How to use: Beauty Magic - 11/08/2023