Today’s tutorial is all about the Prism effect of the AirBrush app. This is the ideal tool to create a 3D effect in your pictures. With our tips, the Prism effect can also craft amazing vintage style pictures!
Prism
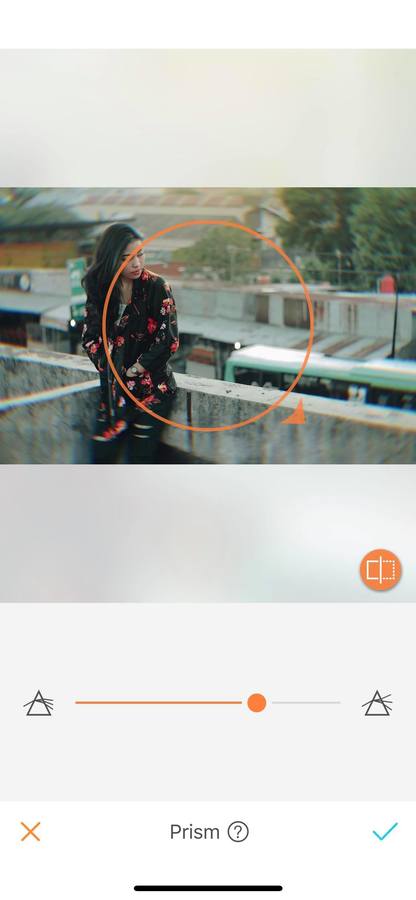
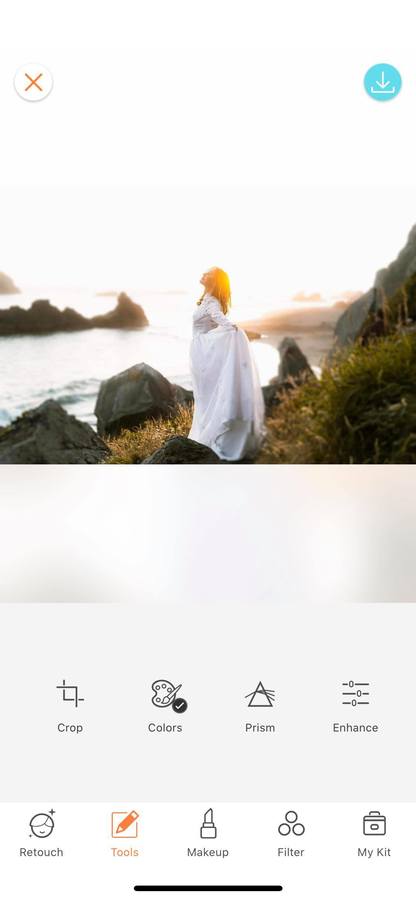
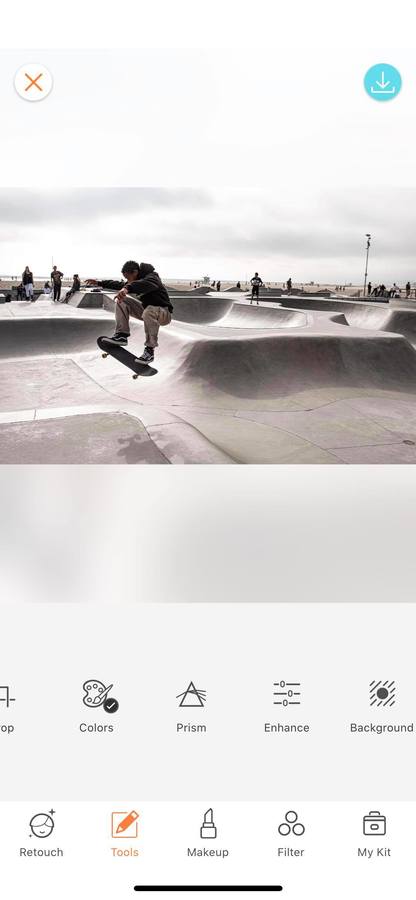
Once you’ve uploaded your picture into the AirBrush app, open the Prism effect. This is located in the Tool menu and is represented by a triangle.
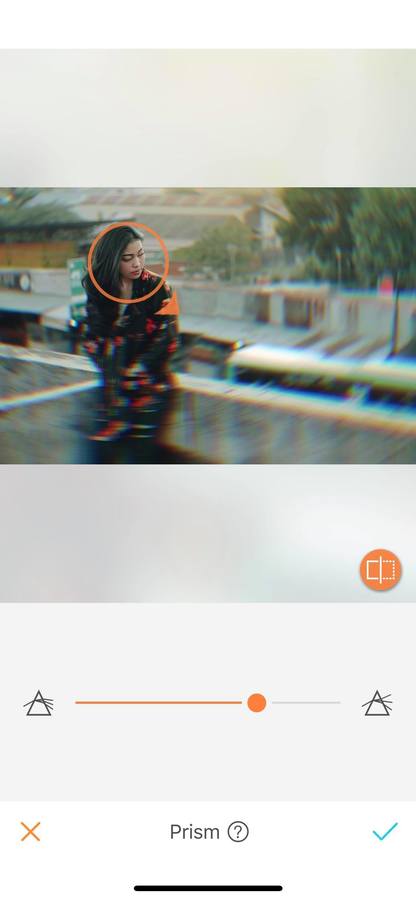
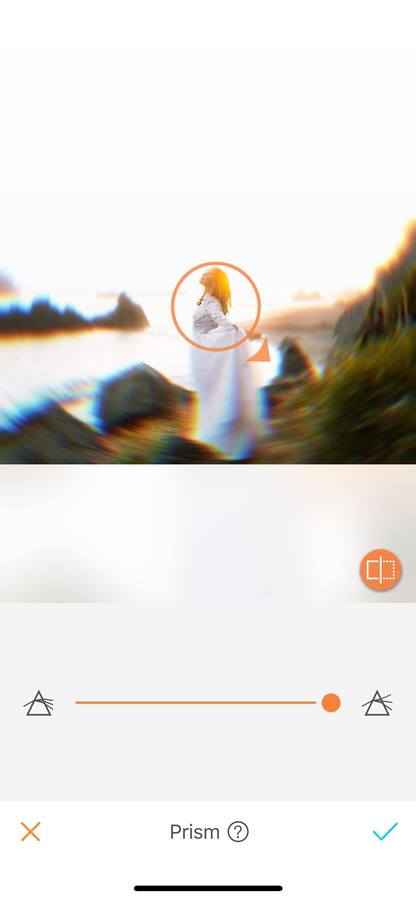
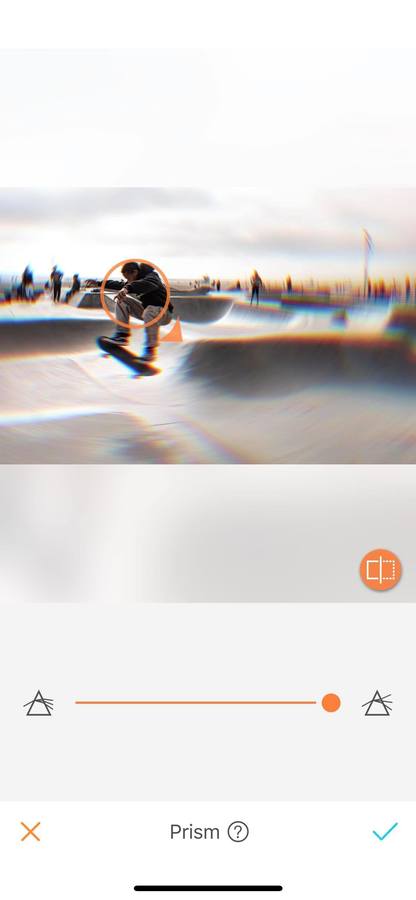
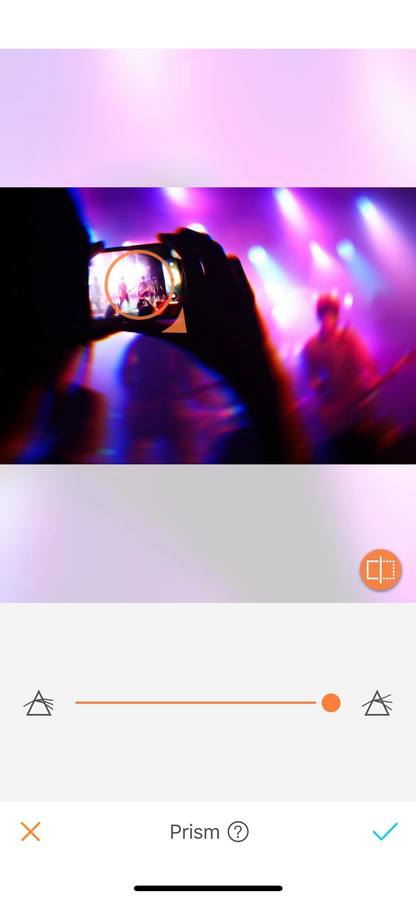
The Prism effect comes with two main options. An Orange Circle; which sets the focal point of the effect and an Intensity button.
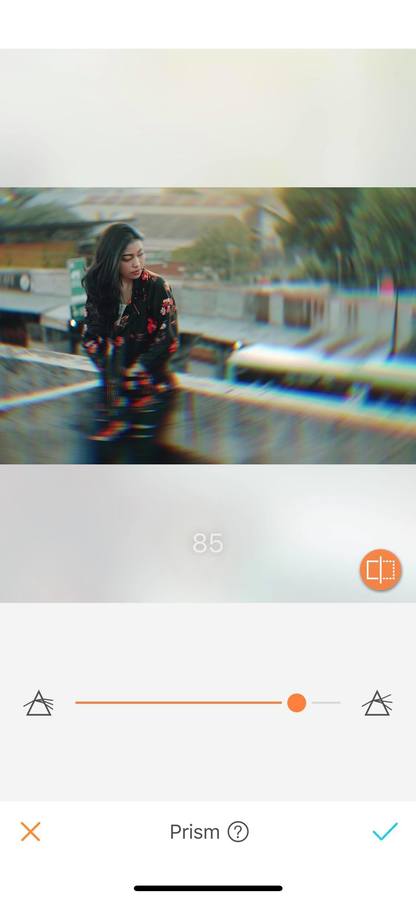
First, decide the area you want for your focal point and drag the Orange Circle. The circle size can be increased or decreased by dragging the orange arrow. Once you’re happy with the spot you picked, you can increase or decrease the intensity of the effect. To do this simply drag the dot either right or left.


Create a vintage touch
With the Prism effect, give a vintage touch to your pictures. Simply apply the effect and adjust the intensity.
Pro tip: Don’t delete your over-exposed pictures, use Prism to give them a vintage look!
Upgrade your ‘live’ pictures
By using the Prism effect, bring back the focus of your pictures and give them extra style!
You haven’t tried this feature yet? Don’t wait anymore, take a selfie, and head to the AirBrush app! Send us the results on Instagram at @AirBrushOfficial and use the hashtag #AirBrushApp for a chance to get featured!
- How to use: Sculpt - 03/11/2023
- How to use: Reshape - 02/11/2023
- How to use: Beauty Magic - 11/08/2023


- How to use: Sculpt - 03/11/2023
- How to use: Reshape - 02/11/2023
- How to use: Beauty Magic - 11/08/2023