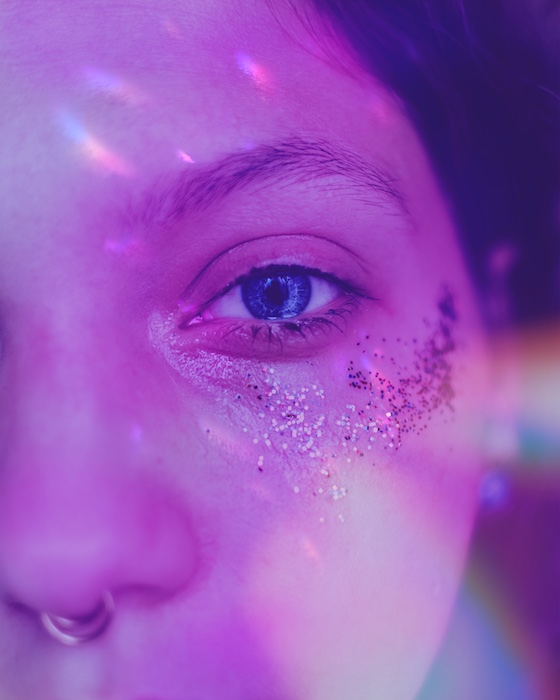
Vibes, man. Viiiiiiiibes. What’s more important than vibes these days? Nothing at all. What’s more vibey than some sick neon lights. Neon is the vibe and the vibe is neon and today guess what, we’re making our very own neon edit. Using a major AirBrush hack and a couple other tools we’re going to take your regular shmegular selfie and bring that disco in your mind to real life. So, take a snap, load it up, and get ready to vibe it up.
Skin Deep
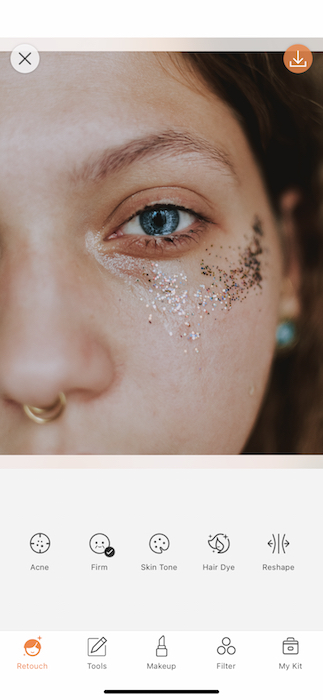
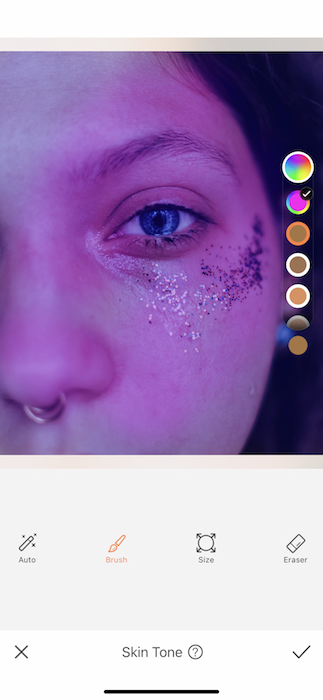
Today’s secret weapon is a hack that will change. Your. Life. Make your way over to your Retouch Tab. There, amongst all your amazing retouching tool options you’ll find the Skin Tone Tool. The intended function of the Skin Tone Tool is to adjust your skin shade for a golden tan or maybe remove rosiness.
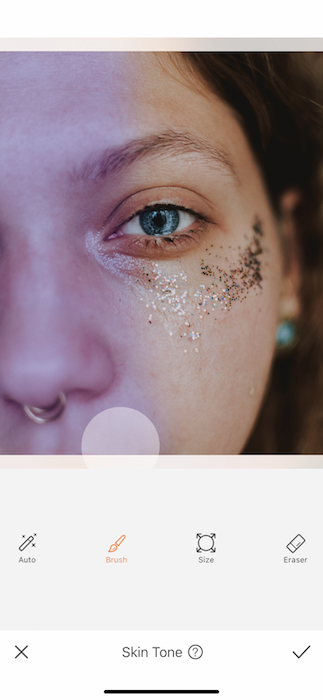
The unintended function is to be a paint brush for your image. Here’s how:
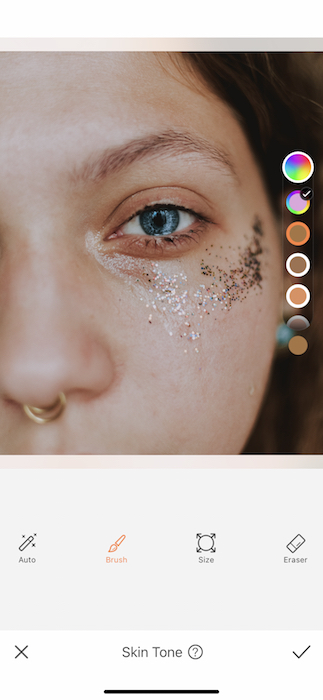
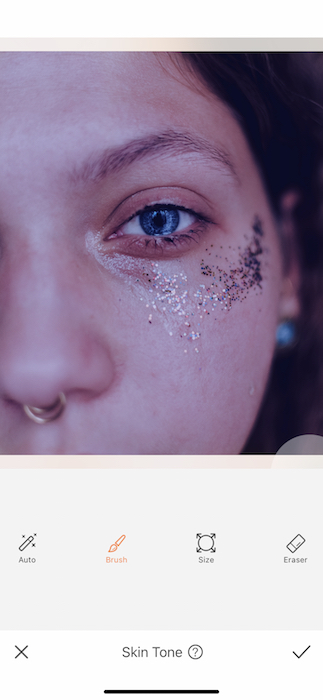
- Open your Skin Tone Tool and tap on the top swatch on the right hand side.
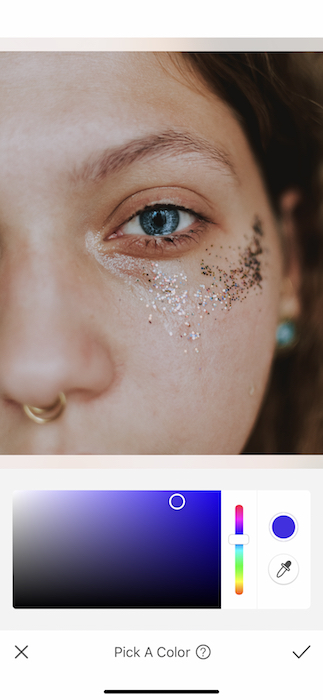
- There you’ll see a color panel open where you can drag the cursor to find the perfect shade of neon blue.
- Tap the check mark to set the color.
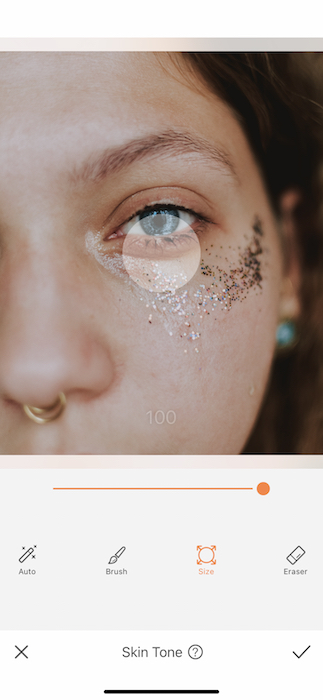
- Because you’ll be painting the entire image you’ll want to adjust the brush to its fullest width.
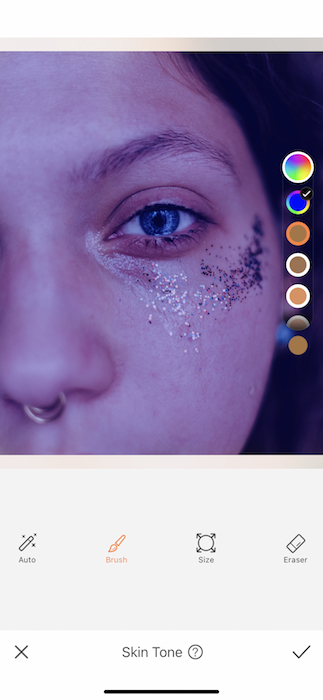
- Begin to paint the entire image.
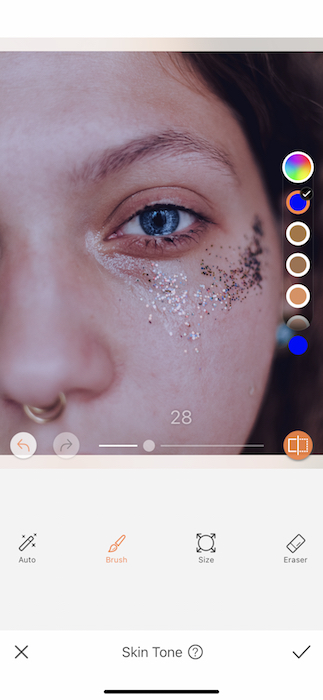

- Once you’re done swiping across the image you’ll be able to adjust the strength of the tool by using the center toggle.
- When you’re satisfied with your first neon vibe you can tap the check mark on the bottom right to save your edits.

Oh did you think we were done with that? WRONG!
- After you have saved your first round with the Skin Tone Tool you can open it right back up for round 2.
- Go to the custom color icon and select a neon pink this time around.
- Once you’ve found your shade, start painting with it like it’s a watercolor painting.
- If you are unsatisfied with part of your stroking you can use the Eraser Feature to take it right out.
- Tap that check mark when you’re done with your neon moment.
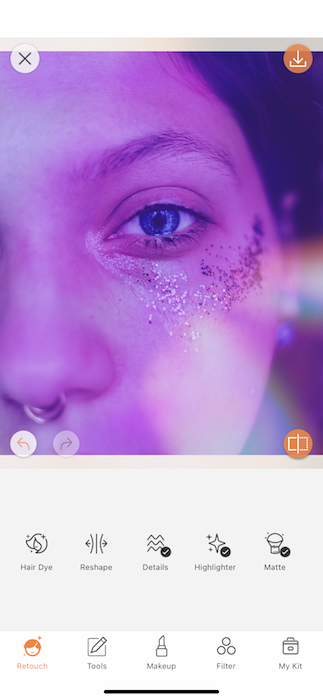
It’s in the Details
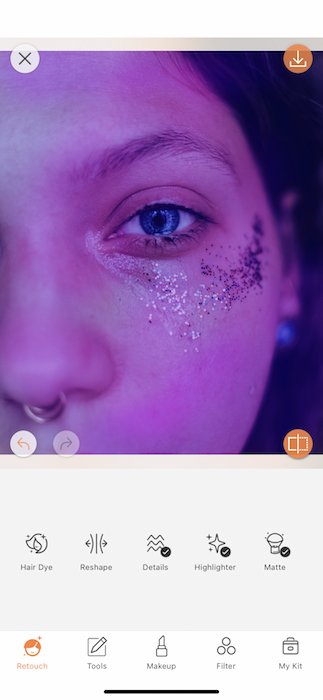

Amidst all this beautiful color you’ll need to make sure the Details stay sharp.
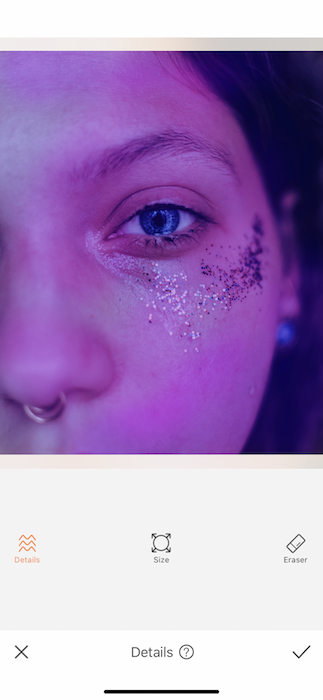
- Go to the Details Tools also found in your Retouch Tab.
- Adjust the size of the Details Brush to fit your needs.
- You’ll want to use the details tool on the focal point of the image, an eye, a face, whatever is the main character in your picture story.
- Tap the check mark and keep it movin’.
Painting the Roses Neon
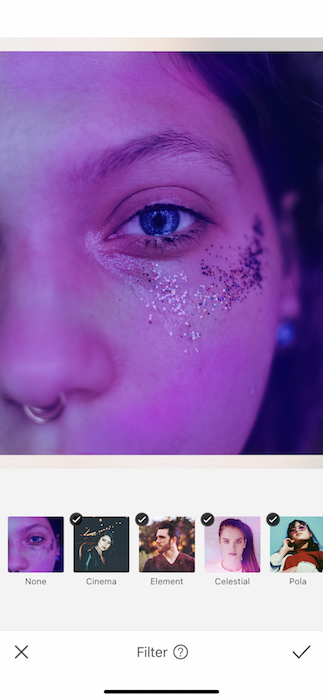
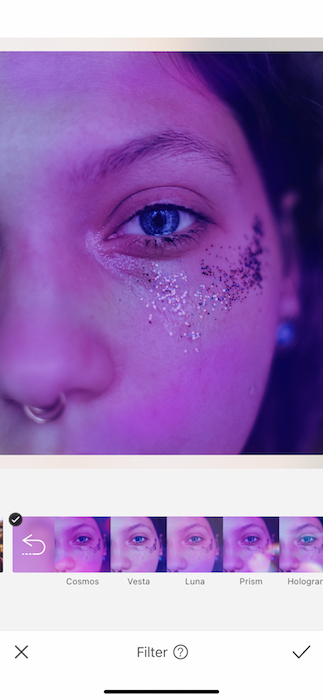
No true neon edit is complete without the perfect Filter.
- Go to your Filter Tab and find the Celestial Filter Pack.
- Here live 5 heavenly filters with all the misty neon vibes you could ever want.
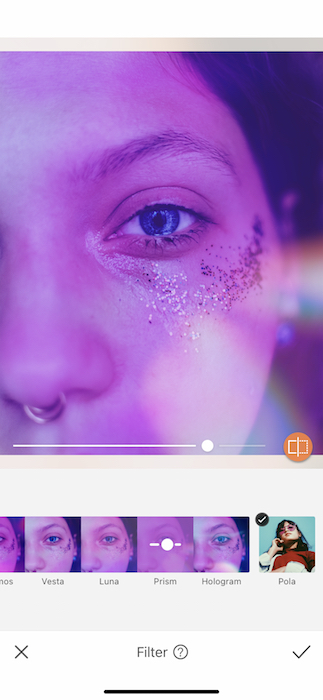
- For today’s edit we want to incorporate a fluttery reflection. Try the Prism Filter and watch those neon vibes go Premium.
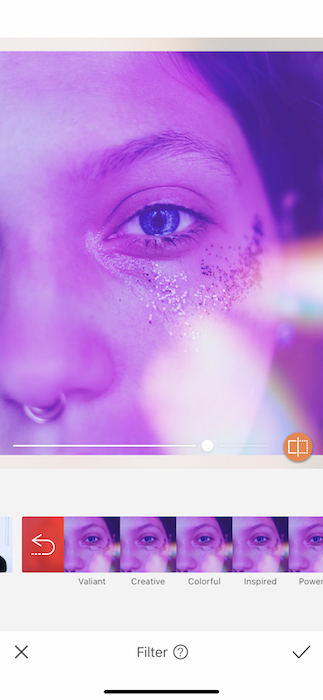
Two is always better than one…
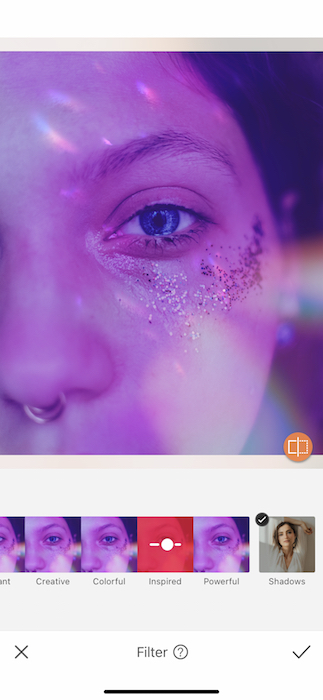
- Go right back into your Filter Tab (We still need our cherry on top.)
- For the perfect neon vibe we’ll need a little more disco. Find the Inspired Filter in the Pride Filter Pack.
- Tap the check mark to save these delicious neon edits.

Excuse me? Am I dreaming? Neon dreaming, that is. How could you not want to throw on some roller blades and get your boogie on? Don’t be stingy now that you’re a neon superstar. Tag your friends over at AirBrush by using the #AirBrushApp and you might just get to show off on our official @AirBrushOfficial IG page. Now get out on the dance floor, super star. You’ve got some vibes to check.
- AirBrush Premium Feature: Sculpt - 03/11/2023
- Make the most of the Sculpt tool this Holiday Season - 02/11/2023
- How it’s Started, How it’s Going. Get that Glow Up! - 30/03/2021


- AirBrush Premium Feature: Sculpt - 03/11/2023
- Make the most of the Sculpt tool this Holiday Season - 02/11/2023
- How it’s Started, How it’s Going. Get that Glow Up! - 30/03/2021