Science says Galentine’s Day was invented in July of 2010 by Ms. Leslie Knope. Leslie was a the Deputy Director of the Parks & Rec Dpt of Pawnee, Indiana who lived life with enthusiasm, ambition, and a whole lot’o’love for her ladies. Now, a decade later, the legacy of what it means to celebrate your lady loves still lives on. Every year on February 13th, we have an excuse to shower our gal pals with love in the name of sisterhood. This year we get to celebrate by awarding a special someone who celebrated their lady loves this week with 20% off their Premium subscription (see winner at the end). We’d also like to celebrate with you by creating the perfect digital Galentine’s card.
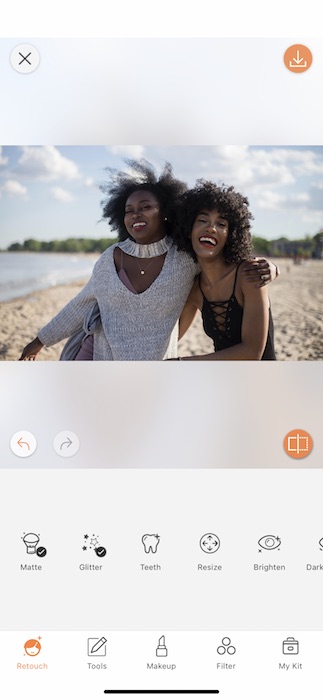
Makeover!
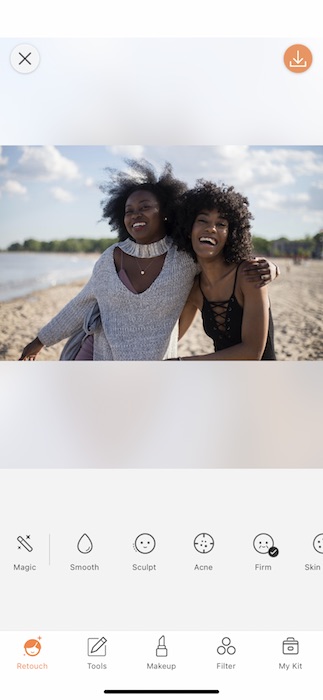
All stories should start with a makeover!
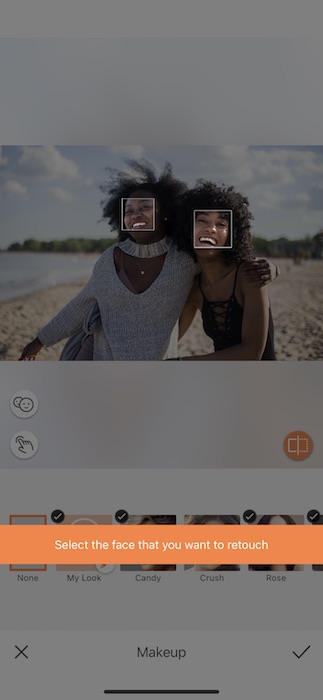
- Open your Makeup Tab and find our brand new Valentine’s Makeup Filters.
- You will be prompted to select a face from the picture.
- You can work on one face at a time, this will allow each of you to pick your own Makeup Filter.
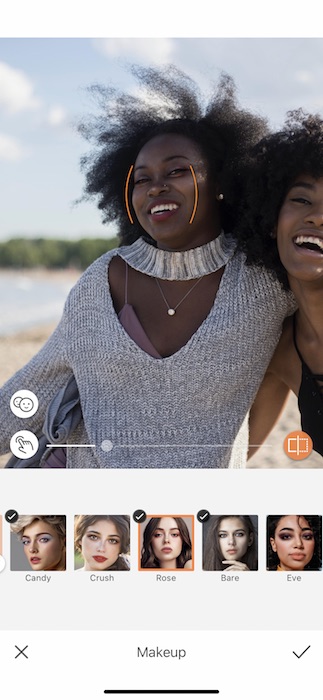

- Select your preferred Makeup Filter and watch it be applied automatically onto your face.
- You can use the center toggle to adjust the strength of the tool.
- Tap the check mark on the bottom right to save your progress.
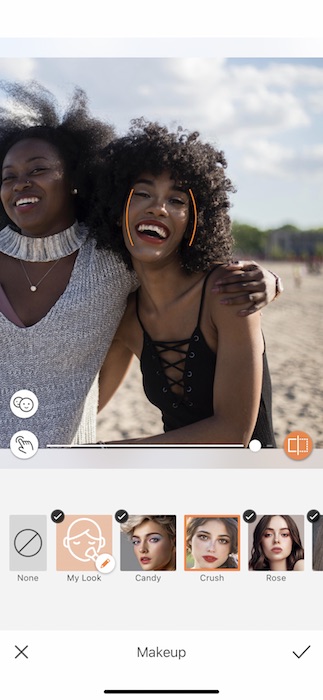
- Rinse & Repeat! This time pick a Makeup Filter that you know your bestie will love and adjust to fit her style.
- Tap that check mark to save those edits.
In Your Grill

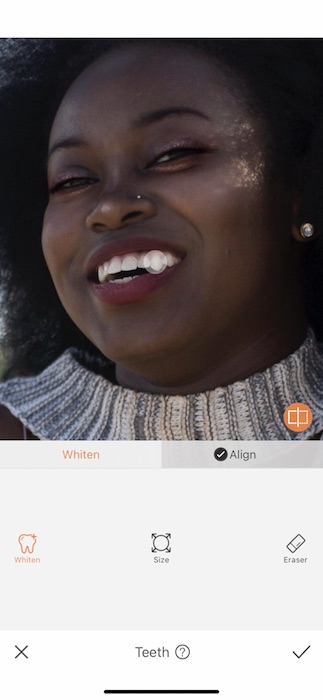
Friends don’t let friends have less-than-perfect Teeth in their galentines pictures!
- Find the Teeth Tool in your Retouch Tab.
- Tap the Whiten Feature.
- Adjust the brush size to fit your needs then swipe across the surface of those pearly whites.
- Tap the check mark to save progress.
Filters Filters Filters!
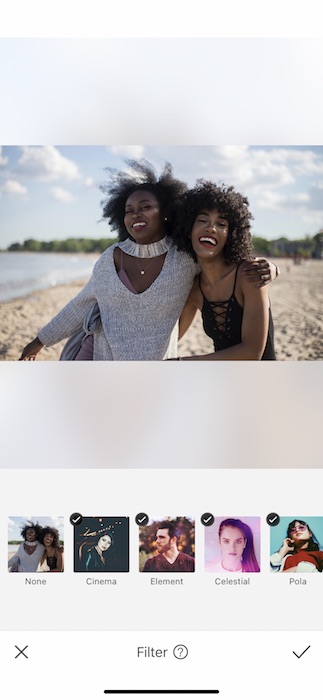
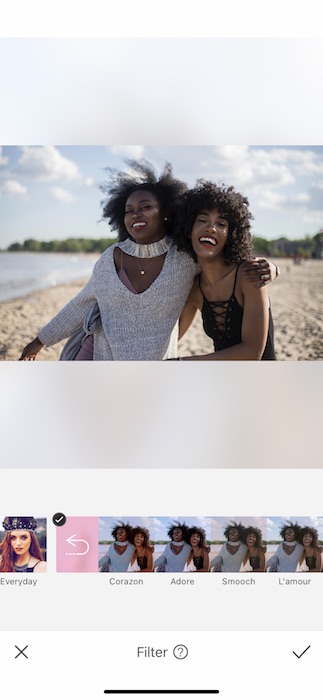
Now of course we wouldn’t be editing without enlisting a fabulous filter!
- Find the Love Filter Pack in your Filter Library.
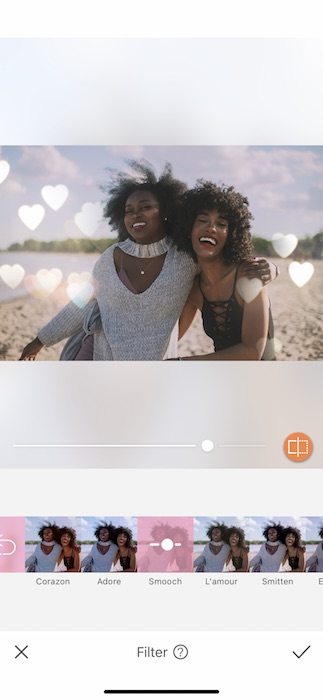
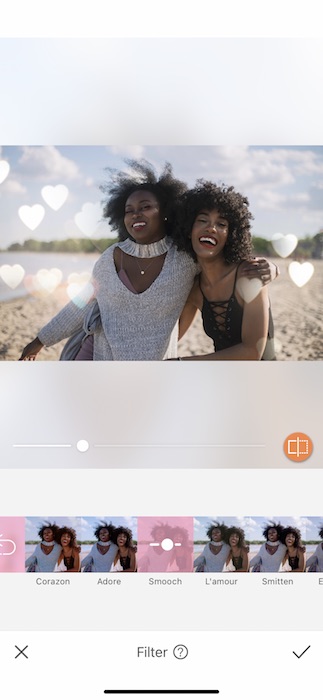

- Sort through 6 amazing Filters until you find the one that fits your galentine vibe and your frame.
- You can use the central toggle to adjust the strength of each filter.
- Tap the check mark to save your edits.

Look at that! Are we done? Nope.
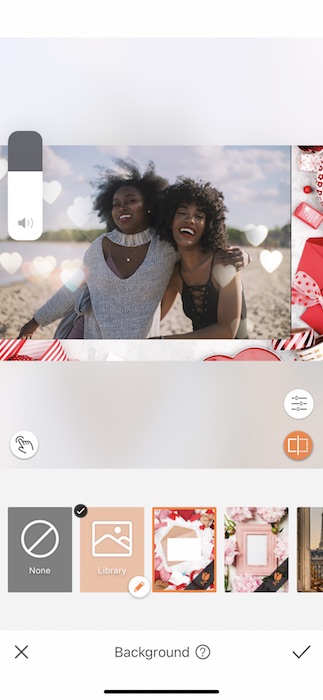
You’ve Got Mail
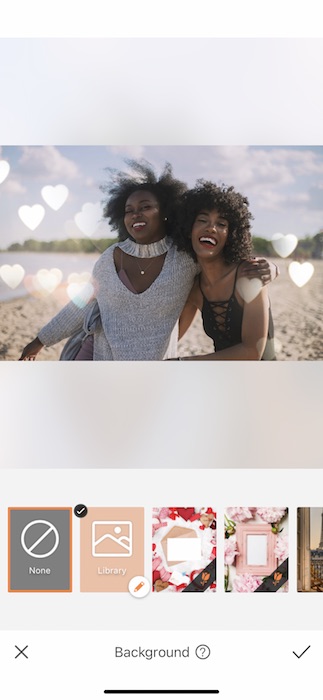
This is where it gets real fun!
- Find your Background Tool in your Tools Tab.
- There you’ll find two gorgeous Valentines frames for your digital Valentine’s card.
- Tap on the one you want to use and see it be automatically applied.


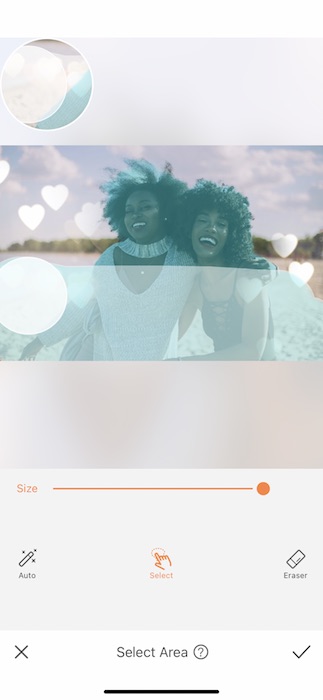
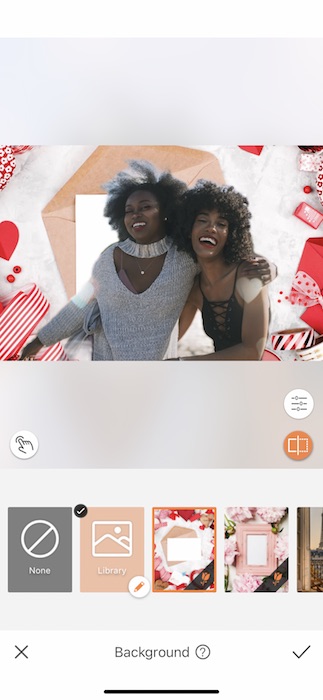
Obviously we have some adjustments to make to our galentines pic:
- Tap the white icon on the bottom left hand corner to open the Select Area Feature.
- Here, you’ll manually select the area you want to keep in your image.
- Because it’s a “frame” we’ll want to keep the entire image.
- Adjust the brush size to the largest.
- Begin swiping the brush across the entire image.

- Once the entire image is selected you can tap the check mark to save your edit.
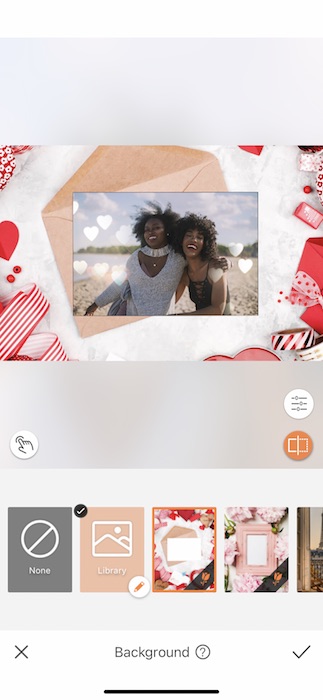
- Pinch and drag your image to fit inside the frame.
- Once it’s good you can tap the check mark to save your edit for the last time!


HAPPY GALENTINES DAY!!! Ugh all this love has us feeling the feels. Don’t waste a second in getting these out to all your lovies and don’t forget to tag your other Galentines at AirBrush! Use the tag #AirBrushApp for a chance to be featured on the official @AirBrushOffiical instagram page. Oh! We almost forgot….
The Winner
The winners of the #LuvChallenge is @MeeshisaBeast:

CONGRATULATIONS!!! And thank you for participating in the #luvchallenge

- AirBrush Premium Feature: Sculpt - 03/11/2023
- Make the most of the Sculpt tool this Holiday Season - 02/11/2023
- How it’s Started, How it’s Going. Get that Glow Up! - 30/03/2021


- AirBrush Premium Feature: Sculpt - 03/11/2023
- Make the most of the Sculpt tool this Holiday Season - 02/11/2023
- How it’s Started, How it’s Going. Get that Glow Up! - 30/03/2021