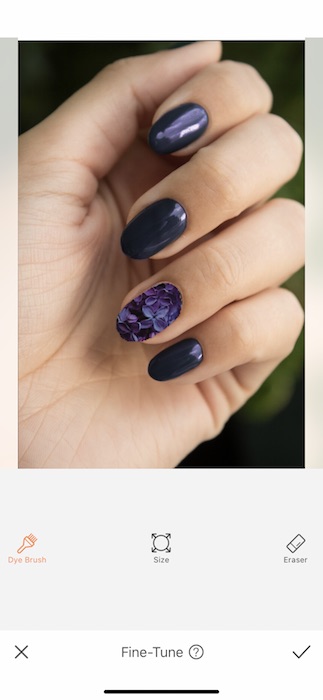
Easter is arguably the freshest of the holidays. The spring time breese, the scent of fresh flowers. When we think about fresh what also comes to mind? That’s right. A fresh set of Easter nails. Now getting to the salon this late in the game is down right impossible but what if we used your personal salon. You know, the one in your phone… Today we’ll be putting on our nail tech lab coat and busting out the digital cuticle oil because we’re creating a manicure fit for the peak of spring. Ready? Let’s go!
Paint Job
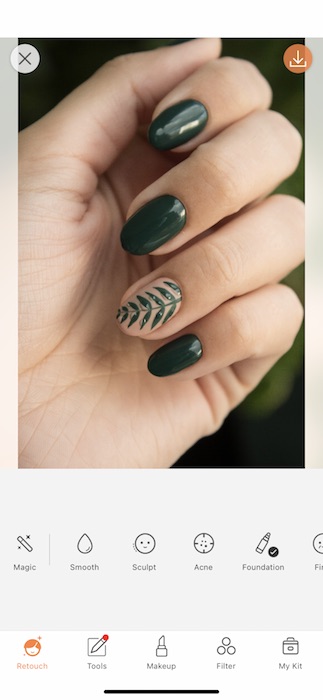

First and foremost how do we paint on our Easter nails using a simple photo editing app called AirBrush you ask? Let us show you.
- Go to your Retouch Tab and find your Glitter Tool.
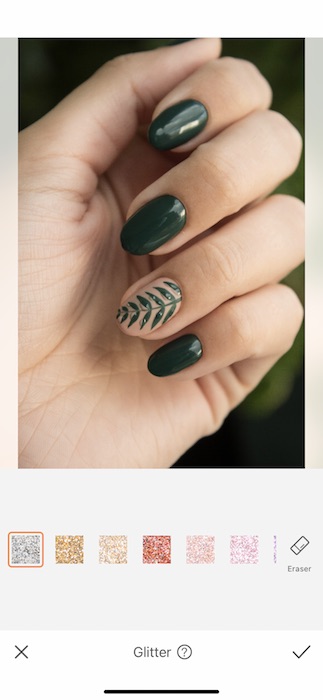
- Start by giving your nail a couple brushes to apply the Glitter.
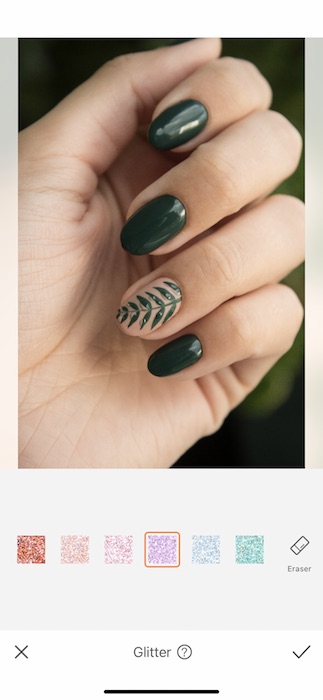
- Then you can switch between swatches until you find the perfect color for you and your Easter nails.
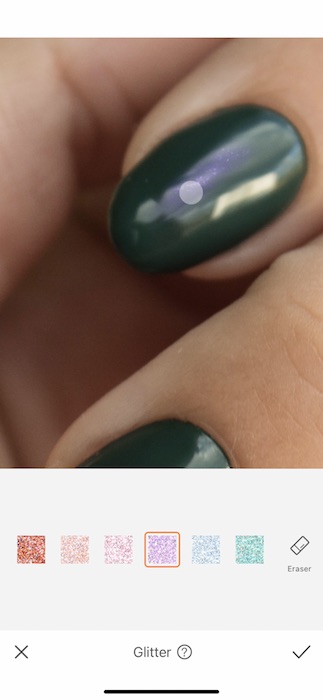
- Zoom in to get a precise job done.
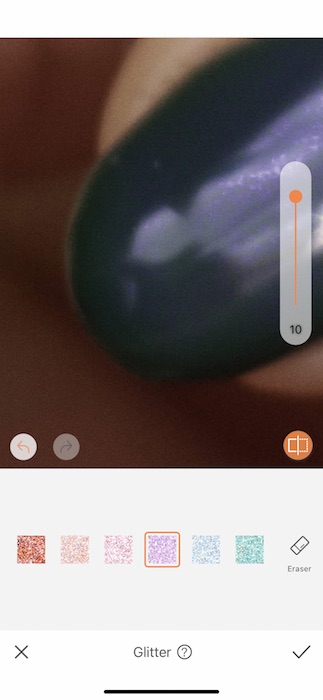

- Once you’re done with your first nail you can zoom out to make sure the job is actually done.
- Zoom back in to continue working on each Easter nail.
- You might need to give your easter nails an extra coat or two, just like in real life.
- Use the toggle on the right to adjust the strength of your Glitter Tool.
- Tap the check mark to save your edit.
Would You like a Design?
Intricate nails are all the rage right now but that stuff is hard. Until now…
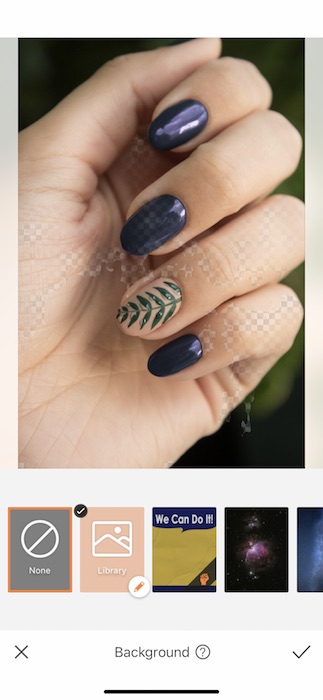
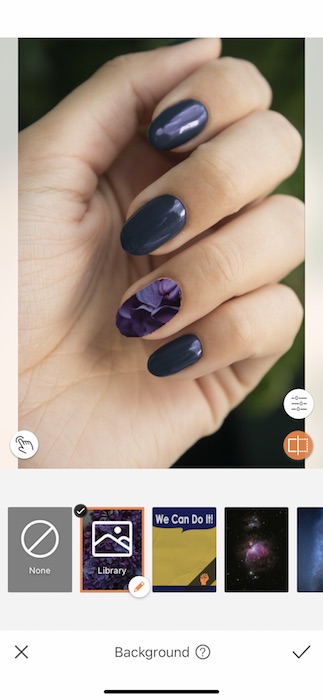
- Find your Background Tool in your Tools Tab.
- Typically you’d apply the Background Tool to change the setting of your image but today we’re gonna flip it and reverse it.
- Tap the Custom Background Feature.
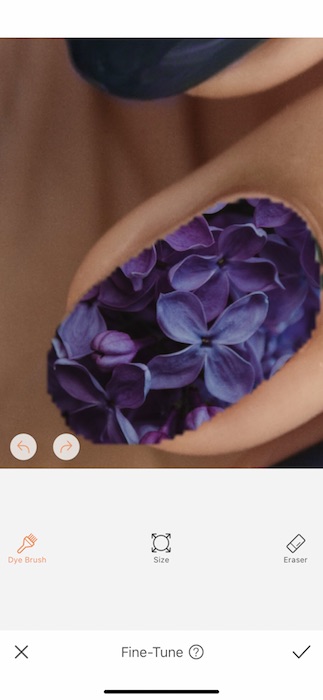
- Here you can upload any image from your phone library, find something spring-y that matches your Easter nails!
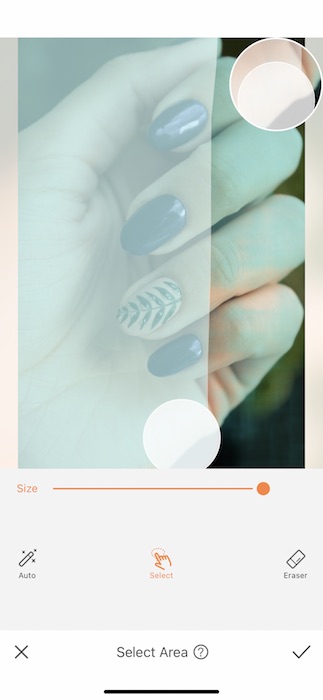
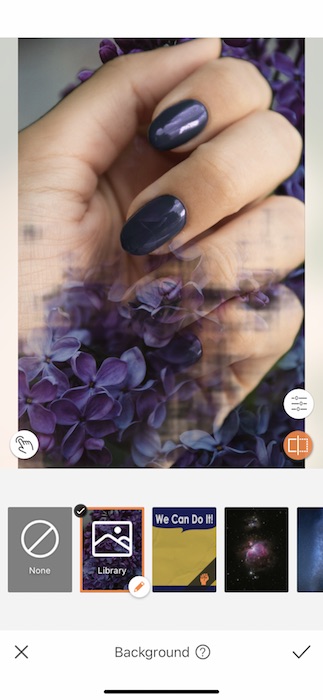
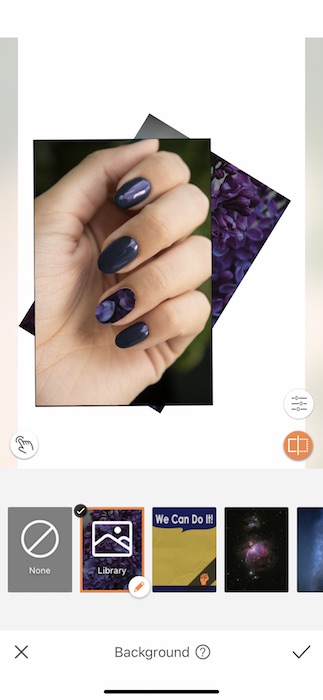
- Tap the bottom left corner icon to open the Select Area Feature.
- We’re going to be selecting the entire image to start.
- Tap the Size Icon to expand your brush size to the maximum.
- Begin selecting the entire image.

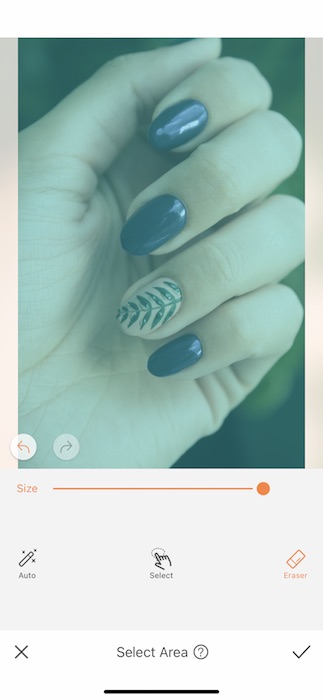
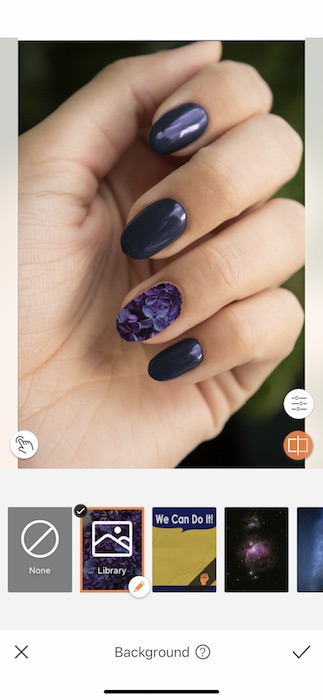
- Now that your image is selected it’s time to deselect.
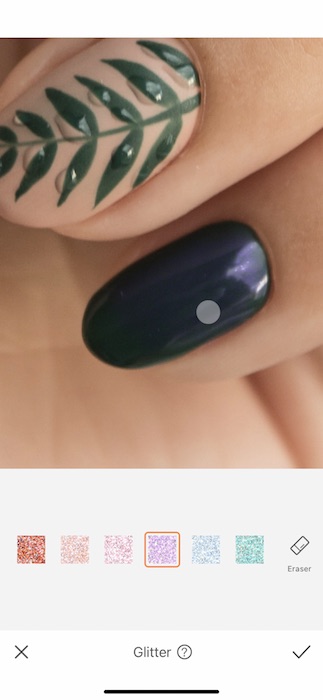
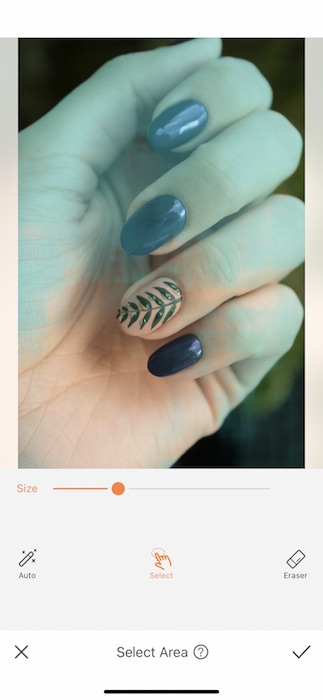
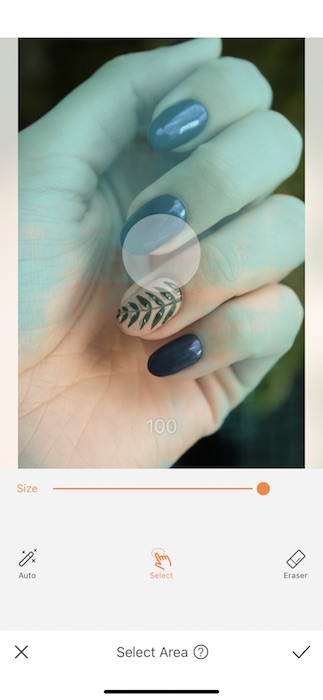
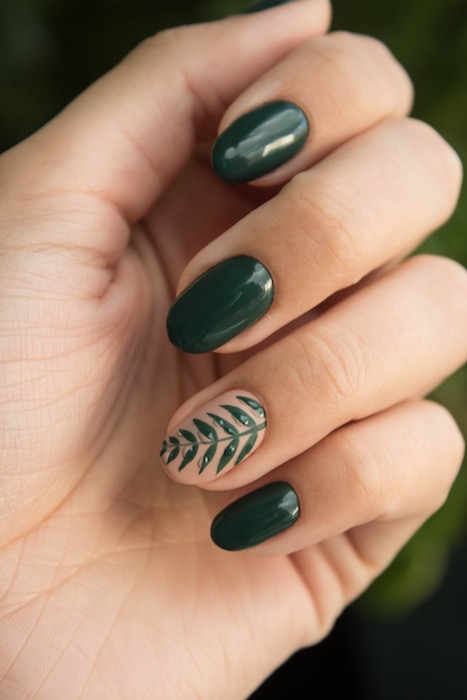
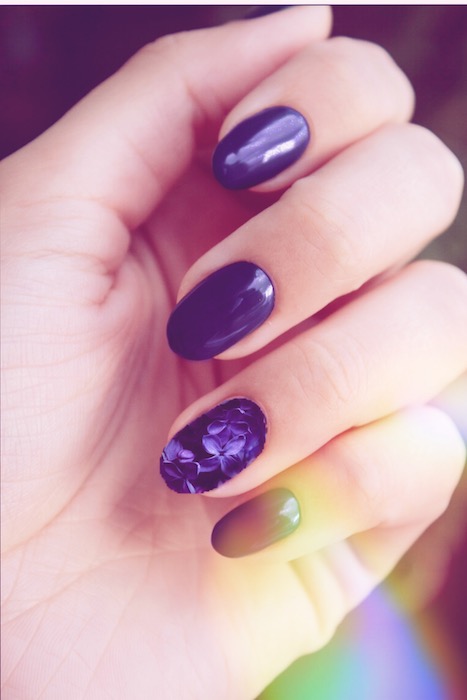
- Figure out which is going to your accent nail and zoom in.
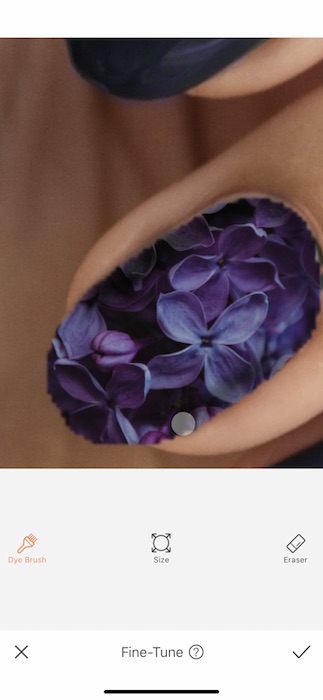
- Tap the Eraser Function and begin selecting the nail.
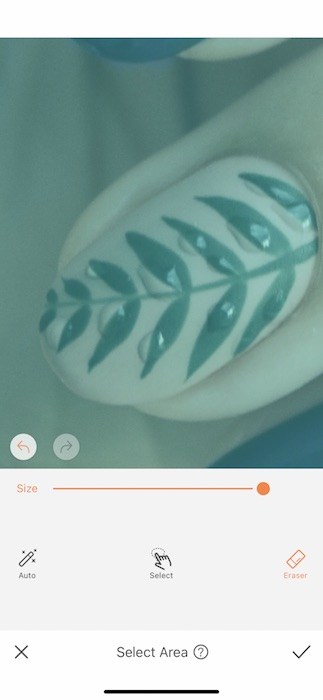
- We’ve now uploaded the Background onto our accent nail.
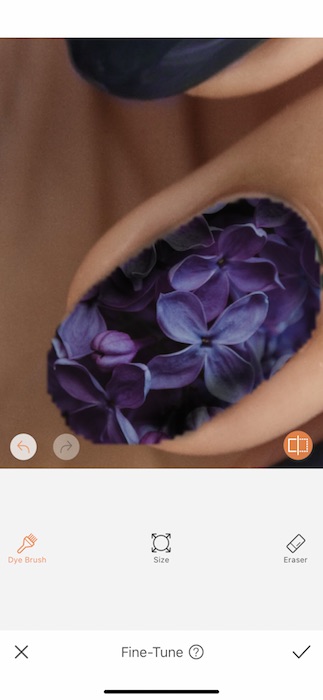
- Obviously we need to make some adjustments to our Easter nails…
- You can adjust the size by pinching and zooming both images to make it just right.
Shape and Fill
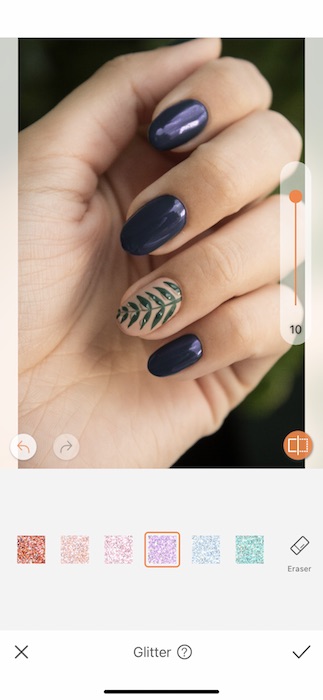
- We’re one step closer to Easter nails but we’ve still got some work to do.
- Tap the check mark to save your Background Edit.
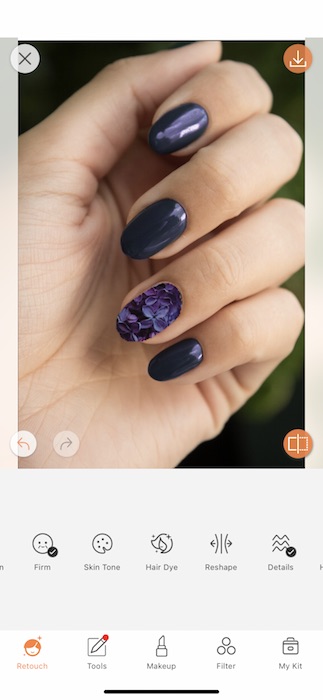
- Go to your Retouch Tab and find your Hair Dye Tool.
- We’re going to use Hair Dye to shade in you accent nails for a more realistic look.
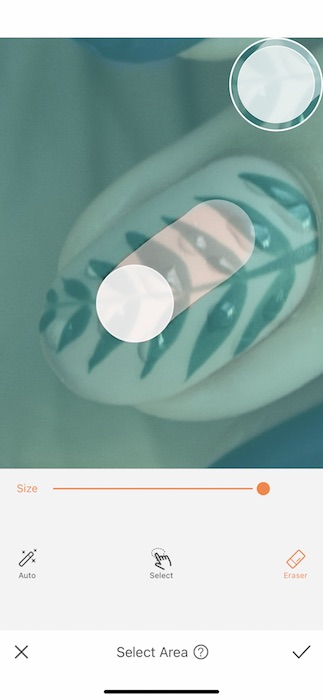
- Zoom in to your accent nail.
- Tap the Brush Tool and adjust your brush size as needed.
- Begin to brush around the corners of your nail to create shape.
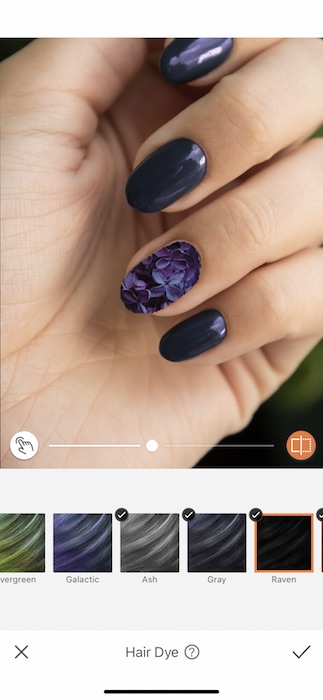
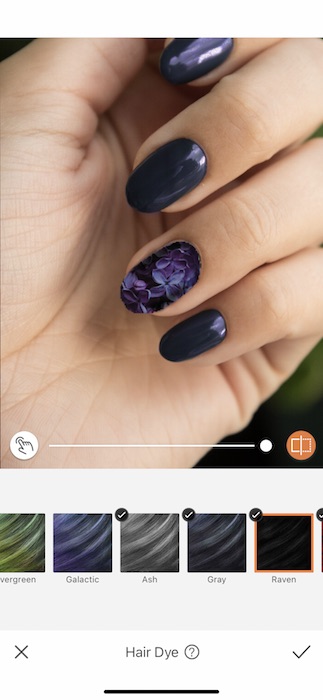
- Once you’re done applying the dye you can zoom out and adjust the weight of the dye.
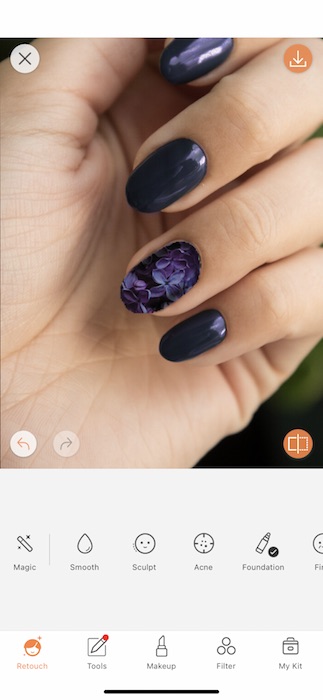
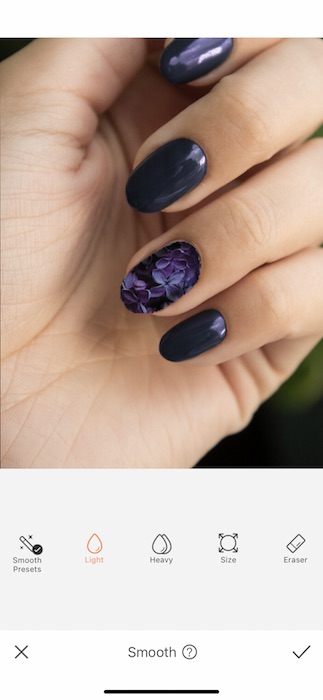
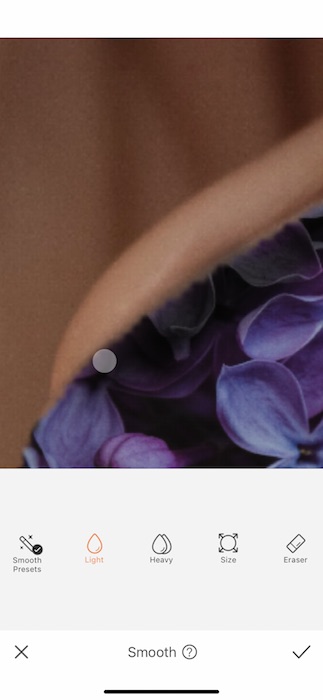
- Just like at your manicurist, these Easter nails will need a lil touch up.
- Find your Smooth Tool in your Retouch Tab.
- Adjust the brush size to be small enough to get the edges.
- Tap the check mark to save your edits.
Top Coat
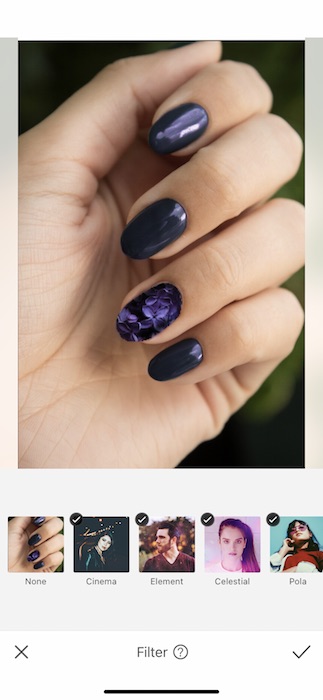
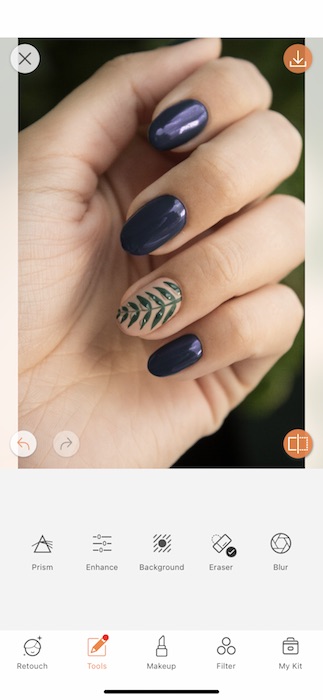
Last but not least let’s get a Filter on this masterpiece.
- Go to your Filter Library.
- Find the Celestial Filter Pack.
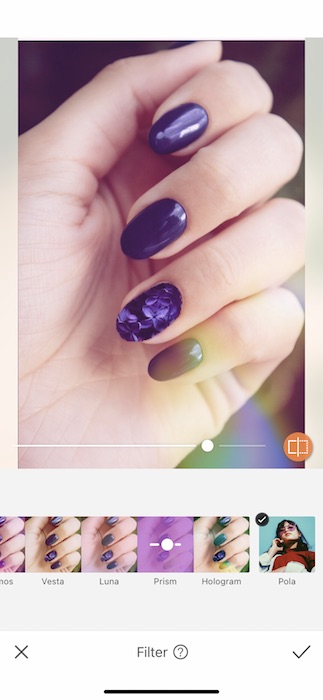
- For today we’ll be using the Prism Filter to give our nails a magical glow.
- Tap the check mark to save your edits.
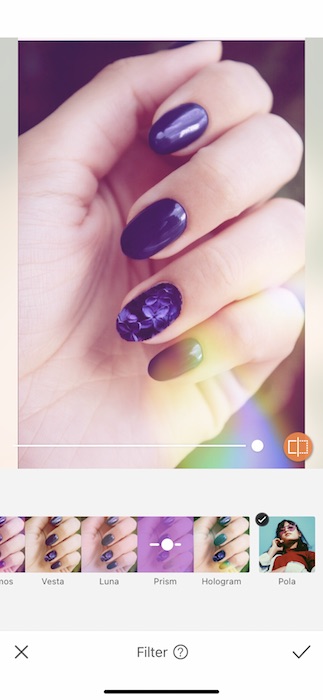
TA DA!!!
Look at those gorgeous Easter Nails! Are you ready to be your own nail technician? Now you can make sure those nails are poppin’ in every pic! Show us your creations! Tag #AirBrushApp on your next nail post and AirBrush might feature you on their IG account @AirBrushOfficial. Now get out there and get those nails right!