Technology has gotten to the point where we pack a pretty amazing camera right in our pockets. Now, there are now smartphone photography competitions and clubs that cater to the avid hobbyists born out of this advancement. Naturally, AirBrush, the easy photo editor, has all the tools, as well as a few tips to get you started with smartphone photography, so keep reading to learn more.
Get a Tripod

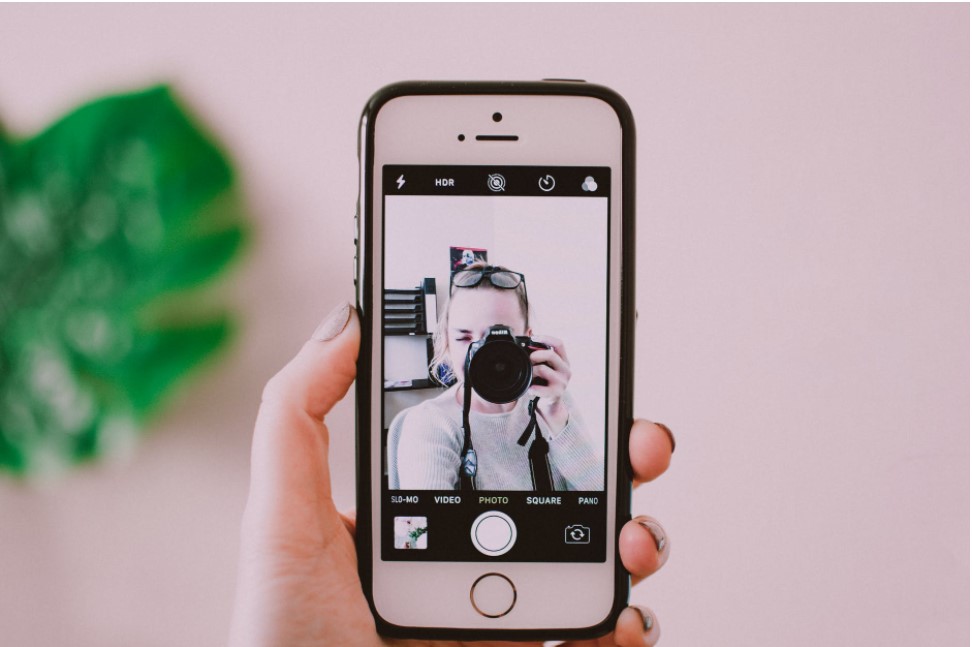
Or a stack of books or a cereal box. Whatever you use, you just need something to give your camera some height and to hold it steady. Then you’re able to back up and strike a few poses. Otherwise, you’re stuck with the same selfie perspective and pose as everyone else.
Timed Shots

In conjunction with a tripod, you can then use a timer to assist with your smartphone photography. Most phones these days will have timer interval options. Choose from 2, 5 or 10 seconds or any variation that may be on your phone model. Once you press the shutter button, you have the allotted time to get to your mark and pose. Throw in a remote if your phone doesn’t have an automatic repeat option, so you don’t have to walk back and forth between shots.
Try the “Pro” Setting
Check out your camera phone’s pro settings to up the anté a bit. Under this menu, you should find toggle settings like white balance, ISO and exposure. The impact of each of these tools will be determined by your own phone’s specifications. These are the essential features that DSLR camera photographers play around with. Now you can elevate your smartphone photography in the same way.
Find the Light
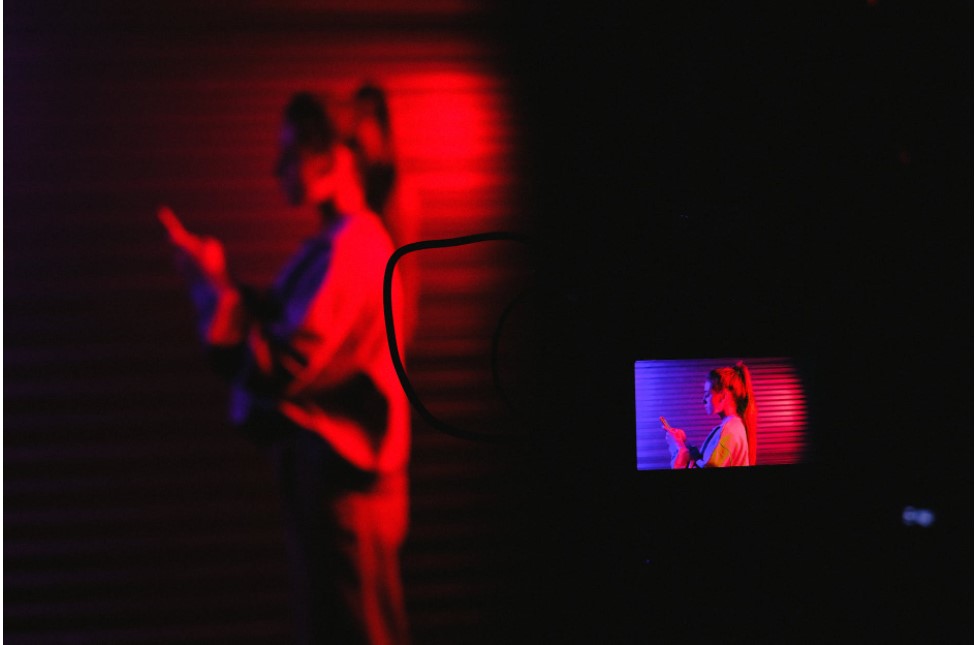
Photography’s guiding principle is to find the light, always. Whether you use a little or a lot, some light is needed for your smartphone photography. You can use dim light to create moody, silhouetted shots, neon street lights for an edgy effect. Or you can simply face the sun for a wholesome smartphone photography session.
Polish up with AirBrush
Now that you’ve got the basics down, our last tip is to give your raw photo the AirBrush touch. Even the pros use editing tools to enhance their photos and you can too!
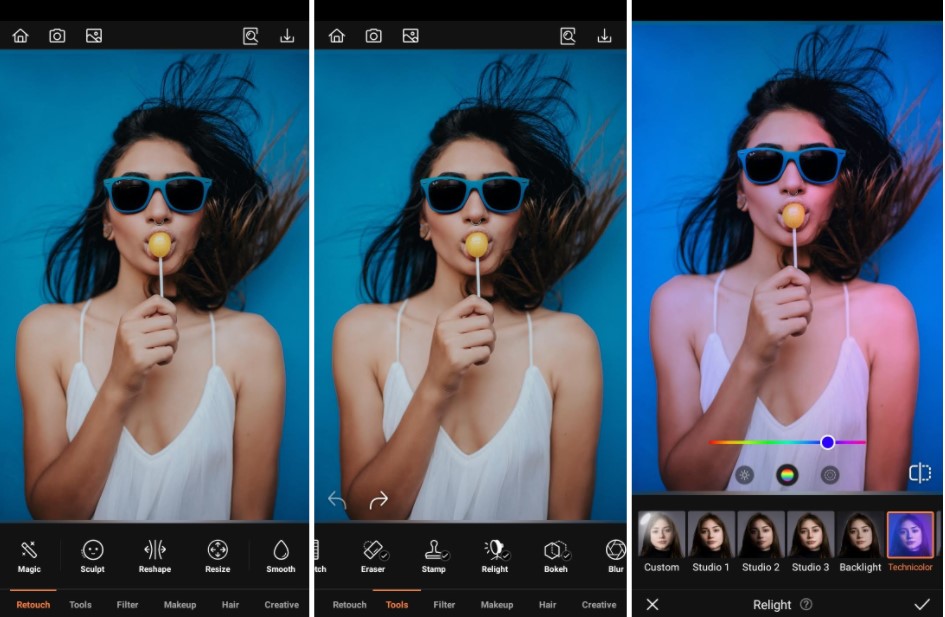
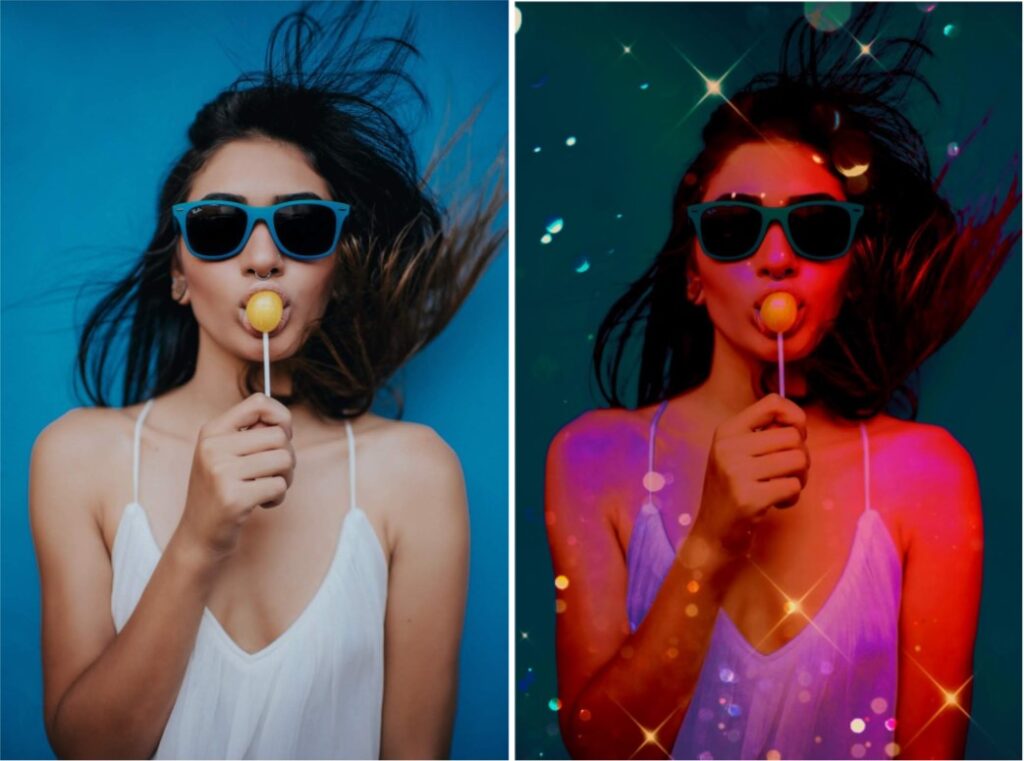
Use Relight to brighten up your photo subject if your light source wasn’t the brightest. Or you can use the fun Technicolor feature to add a dual-tone effect. This will make your smartphone photography pics look like it was taken in a studio.
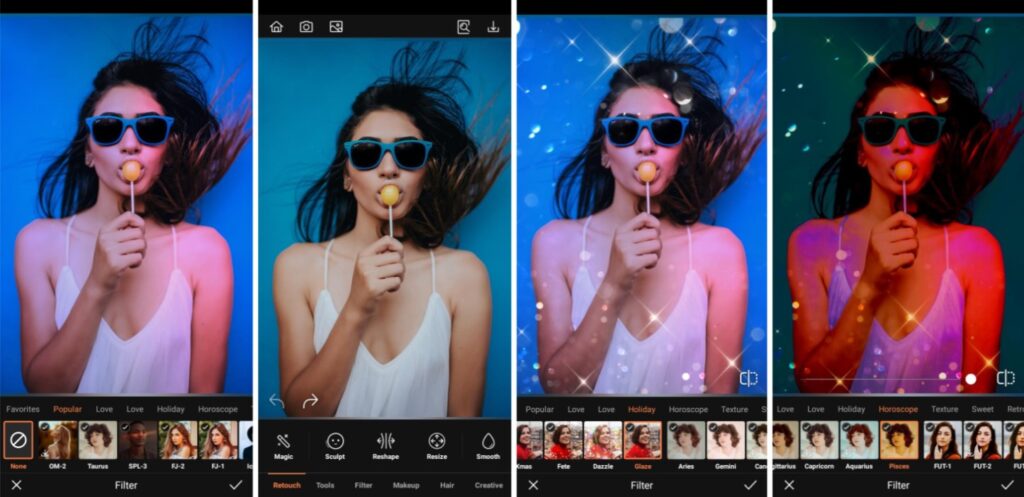
Once your lighting is sorted, move on to Filters, which is one of our most well-loved and used tools. In the pictures above, we layered Glaze and the Pisces filters to get this edit inspired by A. Warhol and nineties album cover art.
Now don’t say we never gave you anything. These tips will have you whizzing through your camera phone settings with ease. And AirBrush, the easy photo editor, will be there to add that punch of impact with a great edit. Once your posts are ready, tag them with #AirBrushApp so they’re easy to find. Then follow us on Instagram @AirBrushOfficial for our latest tips, tricks and hacks!
- How to Keep Photobombers out of your Photos - 03/11/2023
- 7 AirBrush Editing Tools for Influencers to Easily Enhance Their Photos - 03/11/2023
- 7 Tools for Easy Photo Edits with AirBrush - 03/11/2023


- How to Keep Photobombers out of your Photos - 03/11/2023
- 7 AirBrush Editing Tools for Influencers to Easily Enhance Their Photos - 03/11/2023
- 7 Tools for Easy Photo Edits with AirBrush - 03/11/2023