These days you can’t blame anyone for wanting a little more… Unfortunately you can’t make something out of nothing but you can learn to stretch what you’ve already got. That’s why we’re going to explore the power of the Stretch tool. A super diverse feature that allows you to stretch any portion of your image both vertically and horizontally. Wish you had more sky above you? Done. Wish that view spanned even wider? Easy. Now, bust out your pictures and get ready to make some photo magic with AirBrush.
Reach for it, reach for it…
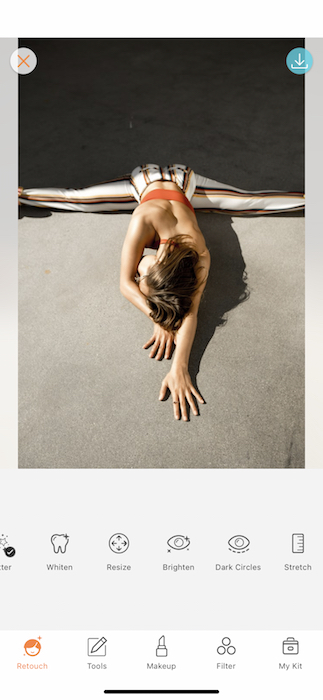

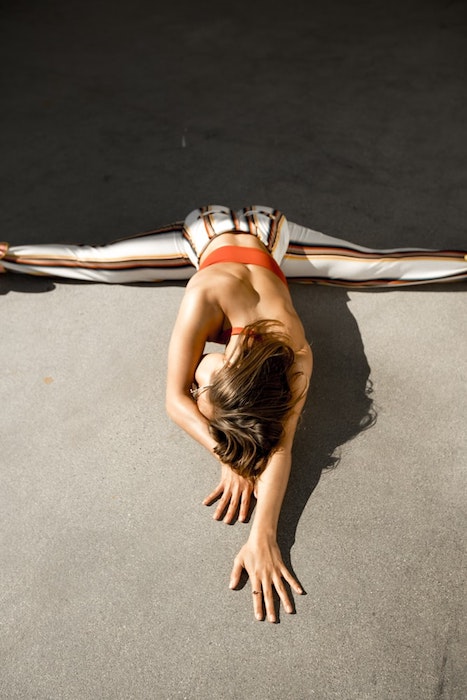
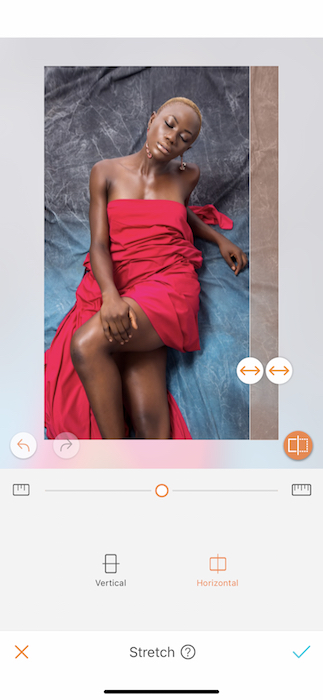
You will find the stretch tool at the very end of your Retouch panel. When you open your tool it will automatically select a section of your photo in either a vertical or horizontal position. That selected block has two arrow icons on either side. These are your anchor points and you can drag them to fit your desired area before beginning your stretch process. Here we’ve selected the outstretched arms to create a more dramatic effect on the image.
The Process
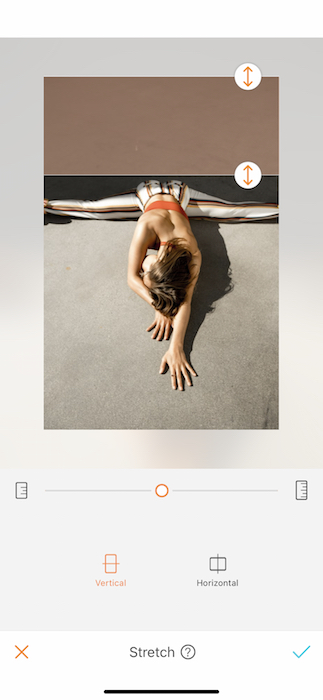
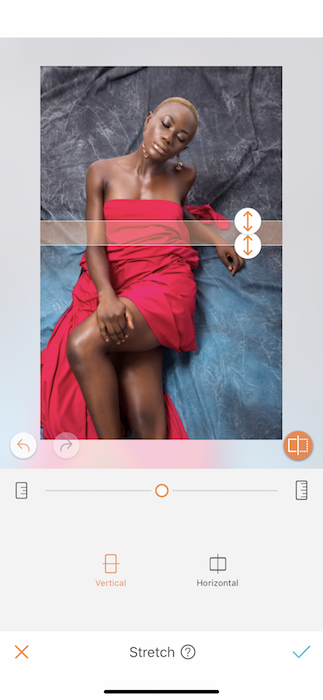
Listen, touching your toes can be hard. People don’t need to know whether you can or not, they just need to see a picture that you did (kind of). The goal with an image like this is to create a dramatic never ending reach feel. For this reason we will concentrate on manipulating the negative space. First select the space behind our focal point. We are going to shrink this area. Drag your anchors to the space ahead of the focal point. We are going to stretch this area. You can drag, stretch, and shrink as many times as you’d like but beware of pixelation. Too many stretches can lead to a pixelated picture.
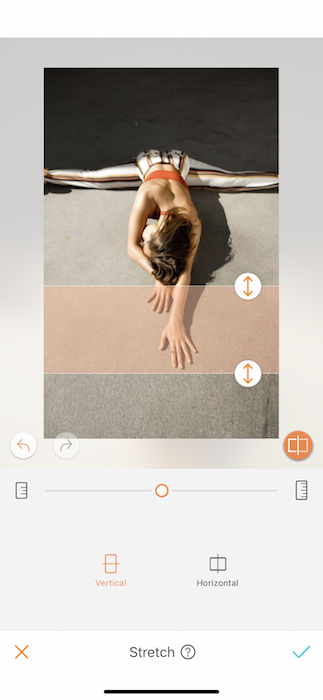
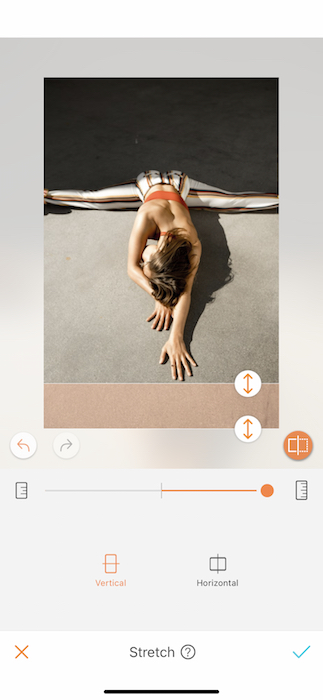
Next we want to exaggerate the length of the arms and emphasize that reach. Select the length of the arms that aren’t interrupted by hair, a face, or any other things that would not look good stretched. Keep in mind you can always tap the back arrow if you’ve overdone it.
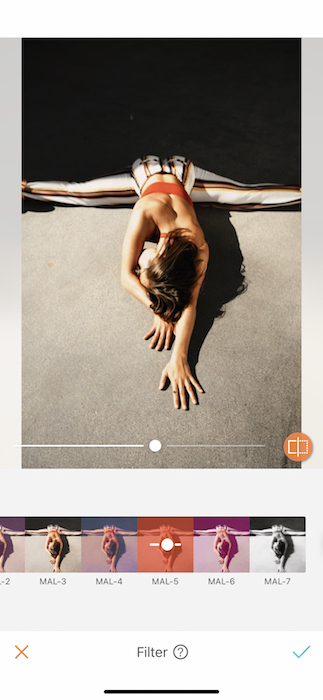
Once you’ve created the space you need make your way over to the Filter panel. There you can slap on a gorgeous filter to finish off your future yoga-wear ad. Remember you can always adjust the strength of each filter by using the toggle at the bottom of the photo.
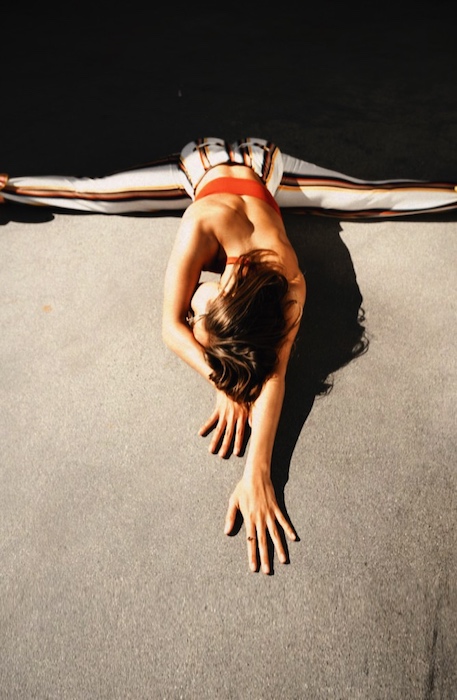
Look at that! You’re ready for your next yoga-wear influencer campaign. Are you ready to take this tool to brand ambassador level?
This has legs
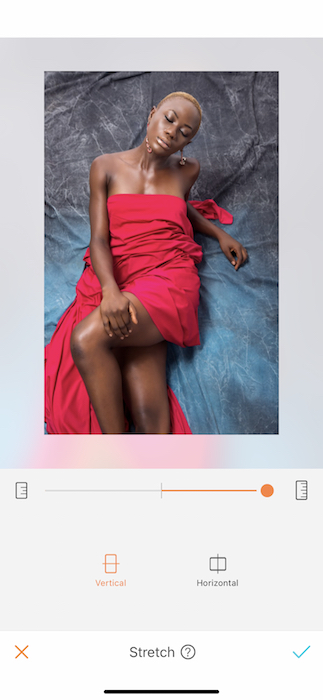
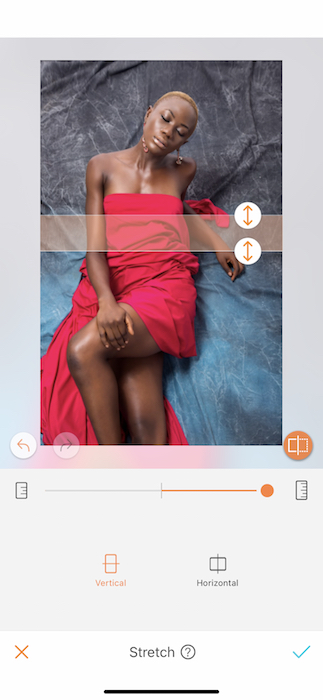
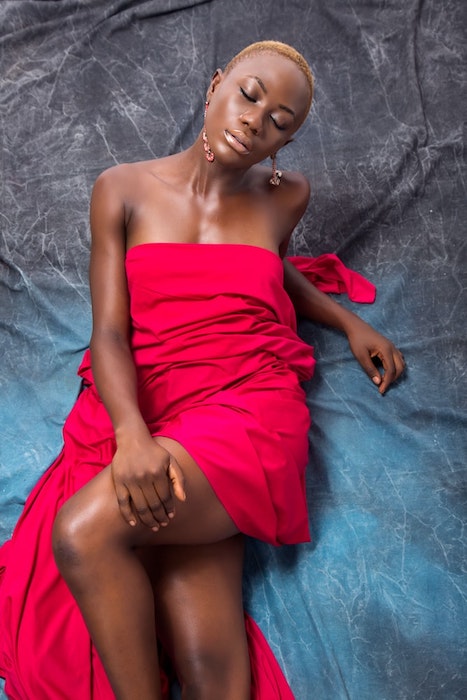
Even Naomi Campbell uses the power of the photo edit to get her cover girl masterpieces. Here we’ll be exploring using stretch on the body. Start off by loading up the stretch tool.
We’ll start off by giving ourselves some room to grow. Select the negative space in the image and begin stretching those spaces out. This will give us a more editorial, interesting view in the image. A bit of asymmetry for your nerves.

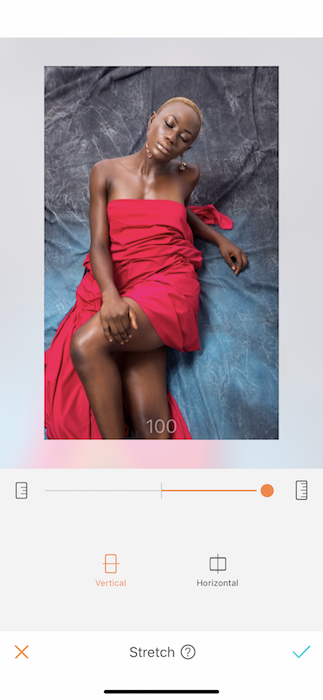
Once you’ve finished creating more space play with the body. Sometimes our posing can make it seem that we are short waisted or a bit disproportioned. Here we’ll select the area around the waist. Make sure that none of the areas affected will look odd after stretching.
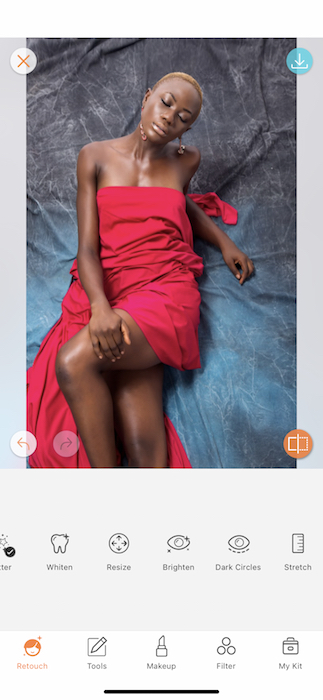
Now we’ve got that long, gorgeous torso we see in the mirror, right ladies? When you’re satisfied with that edit move onto the legs or hair. Maybe you’re wearing a gown and want to get that red carpet drama. This tool is just the ticket to all your vertical and horizontal dreams coming true.
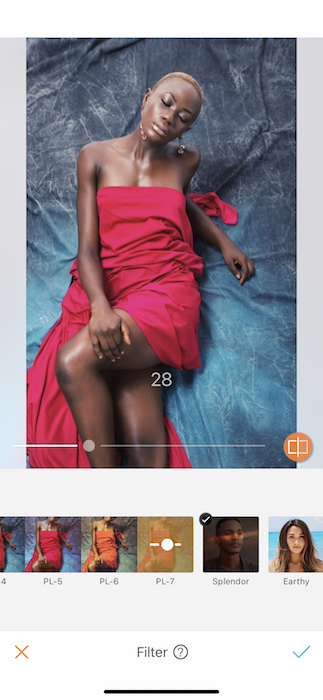
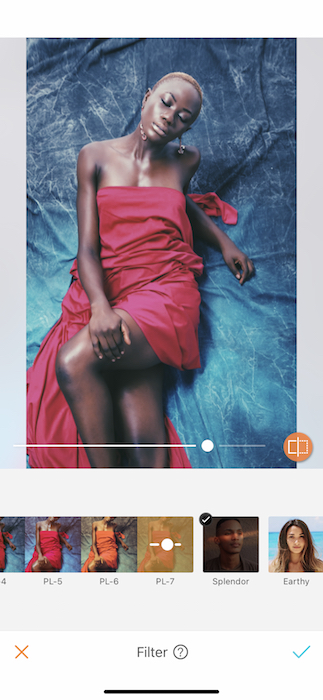
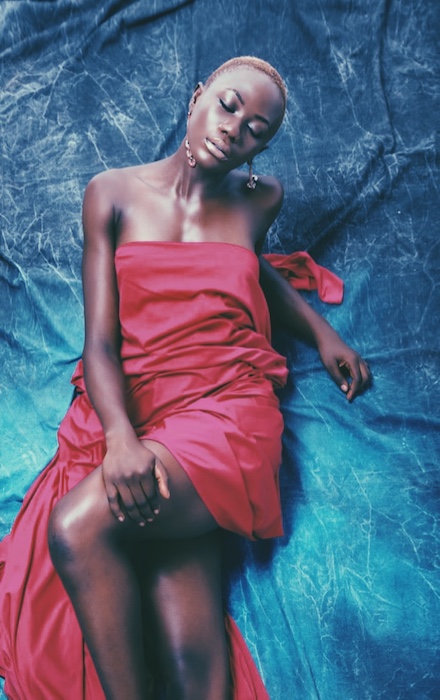
No edit is complete without it’s very own filter. Here we’re tapping into PL-7 from the Pola filter group. Just that gorgeous blue glow we didn’t know we’ve always needed!
There you have it! You’ve got all the secrets to giving your pictures the supermodel treatment. Are you ready to hit the pages of Vogue? We think you’ve got what it takes! Remember to upload your photos and tag #AirBrushApp on Instagram for a chance to be featured on our profile, @AirBrushOfficial. See you on the runway, girl!
- AirBrush Premium Feature: Sculpt - 03/11/2023
- Make the most of the Sculpt tool this Holiday Season - 02/11/2023
- How it’s Started, How it’s Going. Get that Glow Up! - 30/03/2021


- AirBrush Premium Feature: Sculpt - 03/11/2023
- Make the most of the Sculpt tool this Holiday Season - 02/11/2023
- How it’s Started, How it’s Going. Get that Glow Up! - 30/03/2021