?Alert! Alert! Alert! ? There’s a new feature rolling out and some of you may have seen it in the Tools menu already. AI Replace is now on the scene, so allow us to make introductions. As always, we aim to craft photo editing tools that perform to the standards that make the user experience seamless and satisfying. But before you head over to the app to check it out, we’re going to go through the tool in detail so that you can use it with confidence. AI photo editing is the latest frontier and we can’t wait to see how far our users can take it!
AI Replace Guide
Step 1
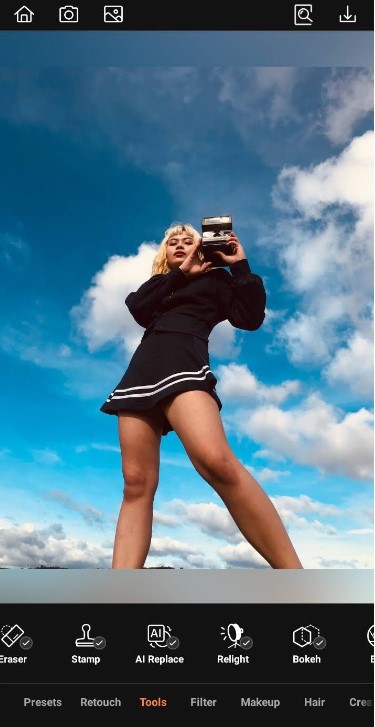
After you import your photo to the AirBrush app, tap the Tools tab and select AI Replace.
Step 2
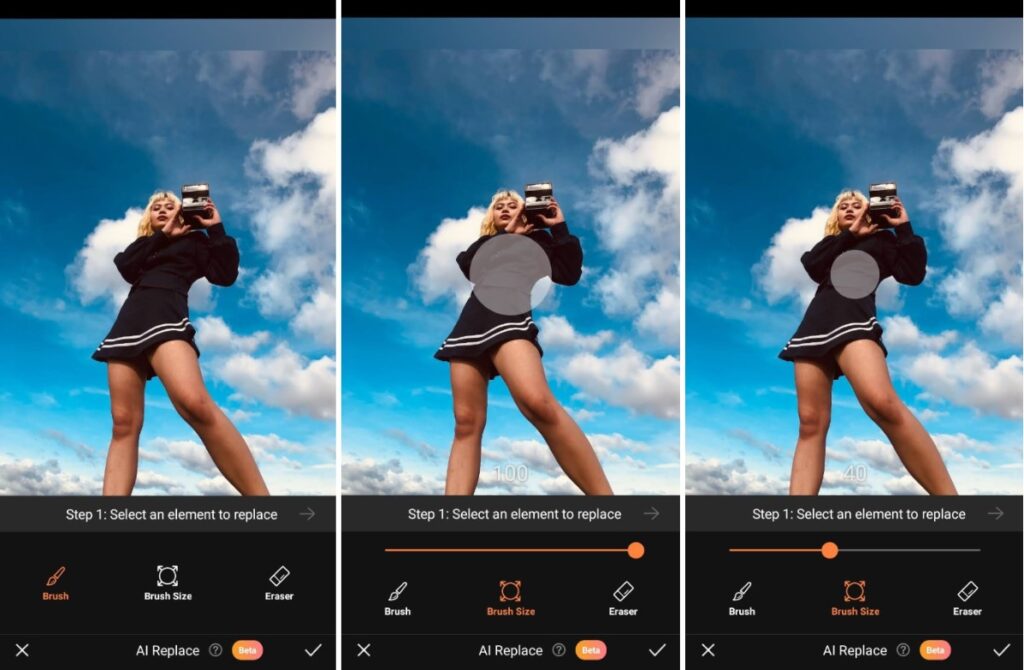
Adjust the Brush Size to suit the area you’re looking to replace and then switch to the Brush to begin applying the effect. Pinch the screen to zoom in and out for a more precise application.
Step 3
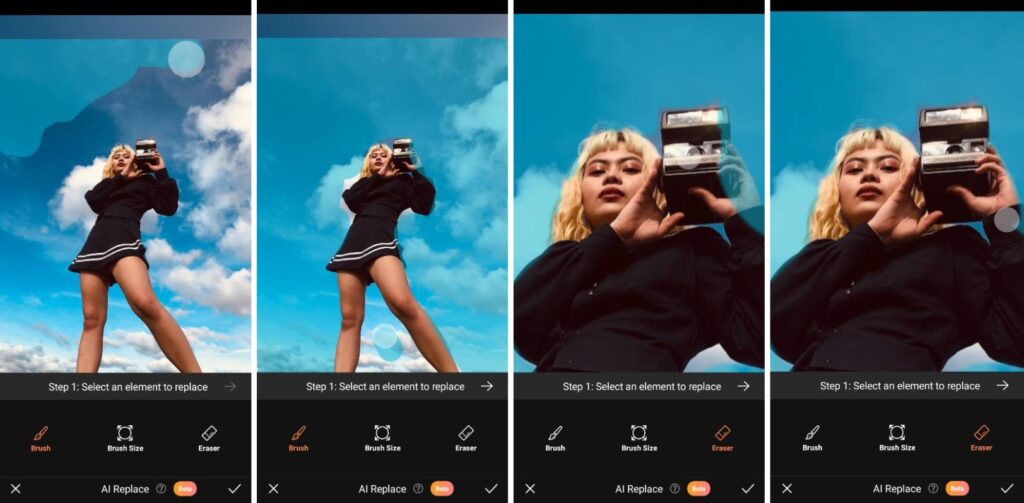
Swipe over the area of the photo you want to change. Use the Eraser feature to clean up any mistakes. Tap the right-facing arrow in the top right of the control bar to move to the next step.
Step 4
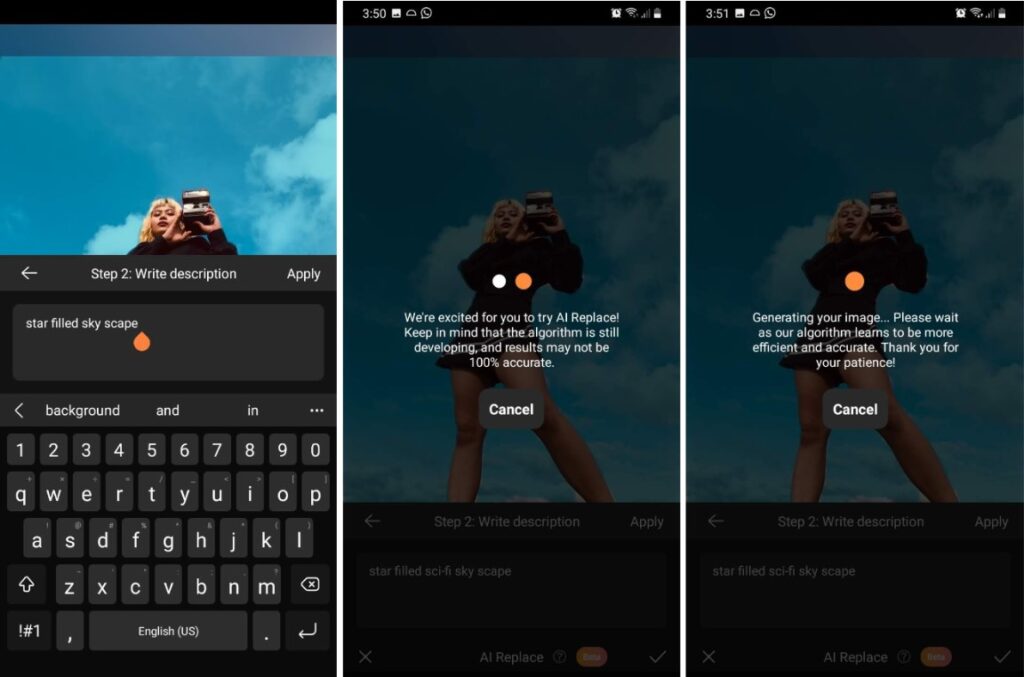
In the text box that appears, describe in detail what you want your selected area to be replaced with. Tap Apply.
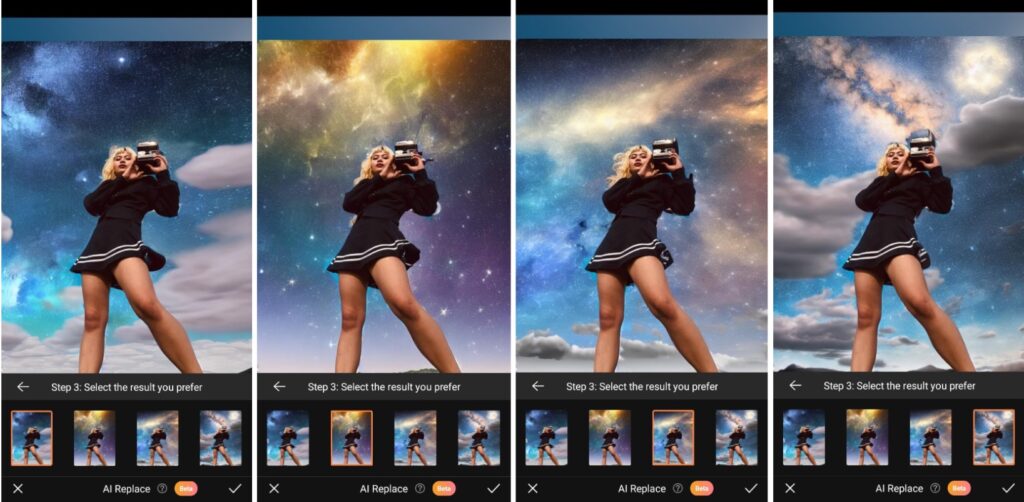
Step 5
One of four options will be displayed. Toggle among the three other generated options to make the final selection. We chose option number three in this example. Tap the checkmark in the bottom right of the control bar to confirm your selection.
Step 6
Your AI Replace effect will be saved and returned to the main menu. Then you can continue editing with other AirBrush tools like Filters or Eraser. For example, we used Stamp in one of the photo edits below. Once you’re satisfied with the edit tap the save button in the top right-hand corner to download to your gallery.
Check out AI Replace Before and After!
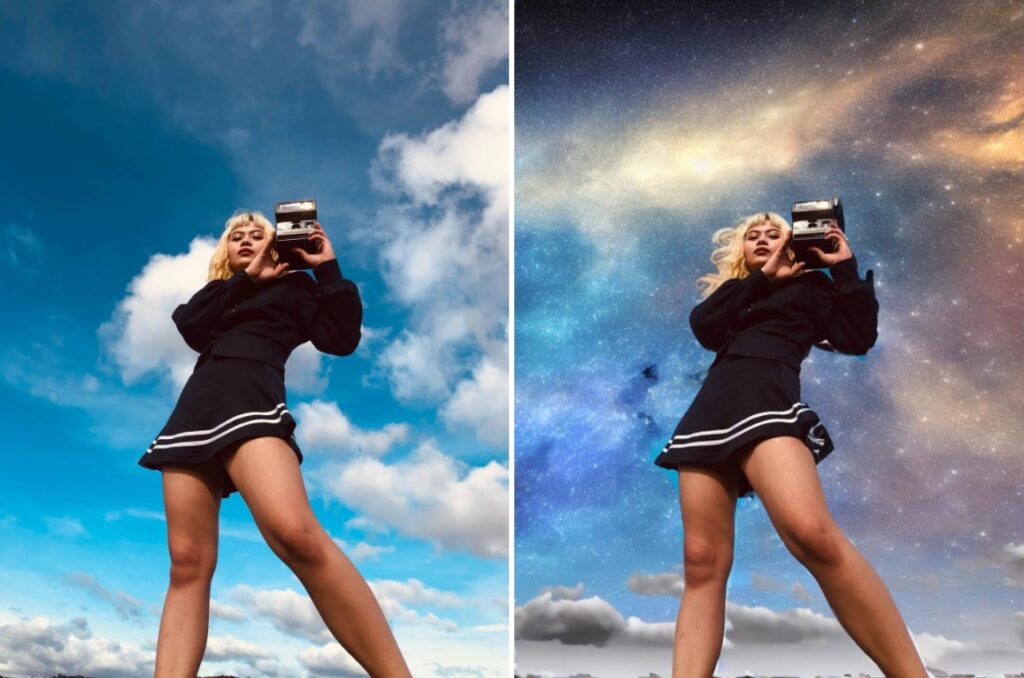
And the results pretty much speak for themselves. The new visuals blend smoothly onto your existing photo, without looking cartoonish or out of place. Let’s show you a few more examples of what AI Replace can do!
- How to Keep Photobombers out of your Photos - 03/11/2023
- 7 AirBrush Editing Tools for Influencers to Easily Enhance Their Photos - 03/11/2023
- 7 Tools for Easy Photo Edits with AirBrush - 03/11/2023
Use AI Replace for…
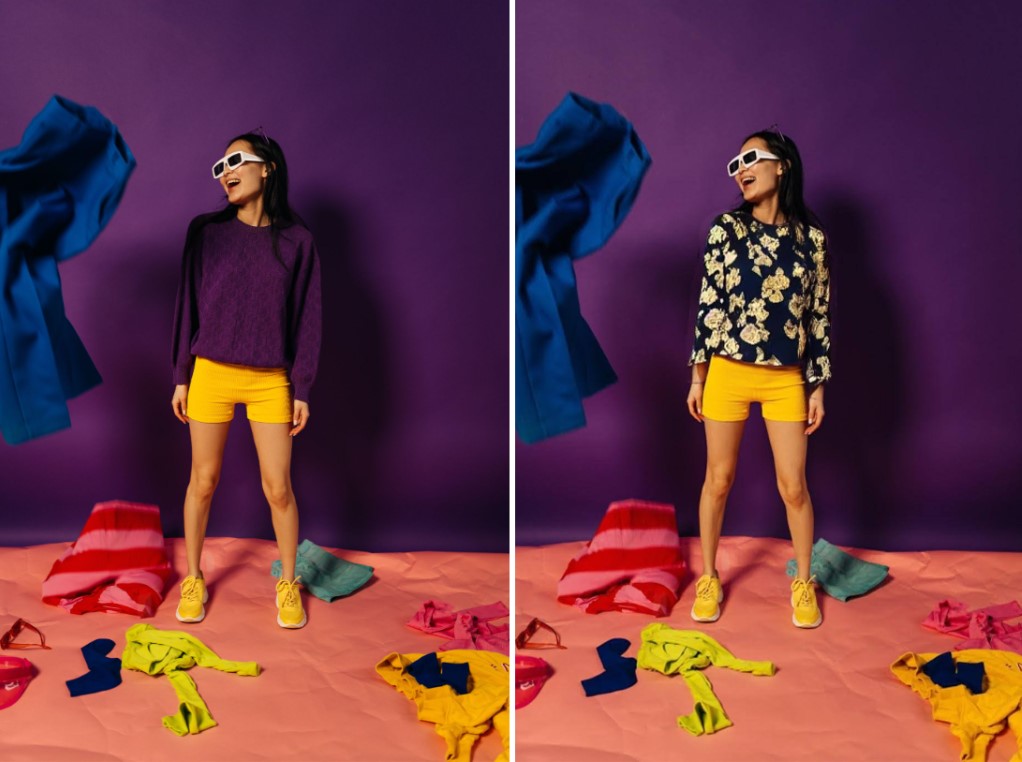
Fashion
Easily replace articles of clothing by simply typing in the exact description of the new piece you want to see. It’s important that you use as much precise language as possible for the best results. This helps the generator produce options that are as close to what you’re looking for as possible.
Landscapes
Replace large areas of a landscape photo to change the visual story you want to tell. And did you guess? We used the Stamp tool to complete this particular edit.

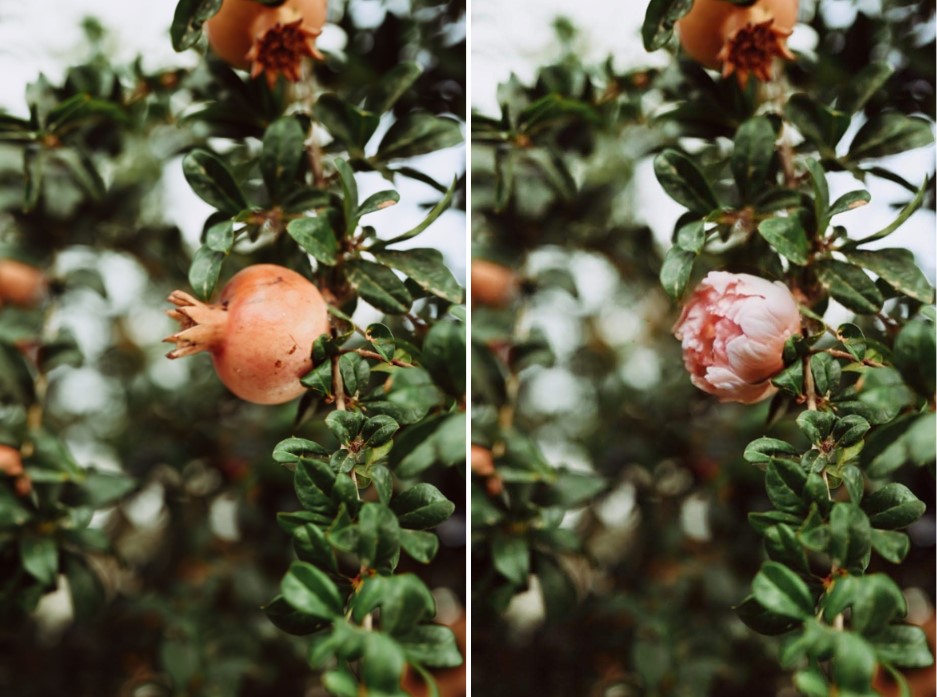
Composite Shots
You can combine unlikely elements together to create composite shots. Composite photography is when two or more different images are used to create one new image. Use AI Replace to facilitate your imagination and bring unique images to life.
Gotta say, we’re pretty gassed about the new AI Replace tool and hope you are too! AI has a whole opens up a whole new world for you. Did we mention, the AirBrush Pinterest page is active again and we recommend checking it out for our latest How To’s. AirBrush, the easy photo editor, stays bringing you the latest in photo editing advances and once you’re ready to post, tag your photos with #AirBrushApp so we can have a look. Then follow us @AirBrushOfficial for all our latest tips, tricks and hacks!
- How to Keep Photobombers out of your Photos - 03/11/2023
- 7 AirBrush Editing Tools for Influencers to Easily Enhance Their Photos - 03/11/2023
- 7 Tools for Easy Photo Edits with AirBrush - 03/11/2023


- How to Keep Photobombers out of your Photos - 03/11/2023
- 7 AirBrush Editing Tools for Influencers to Easily Enhance Their Photos - 03/11/2023
- 7 Tools for Easy Photo Edits with AirBrush - 03/11/2023